Tmack
0
- Joined
- Oct 13, 2013
- Messages
- 2,478
- Points
- 0
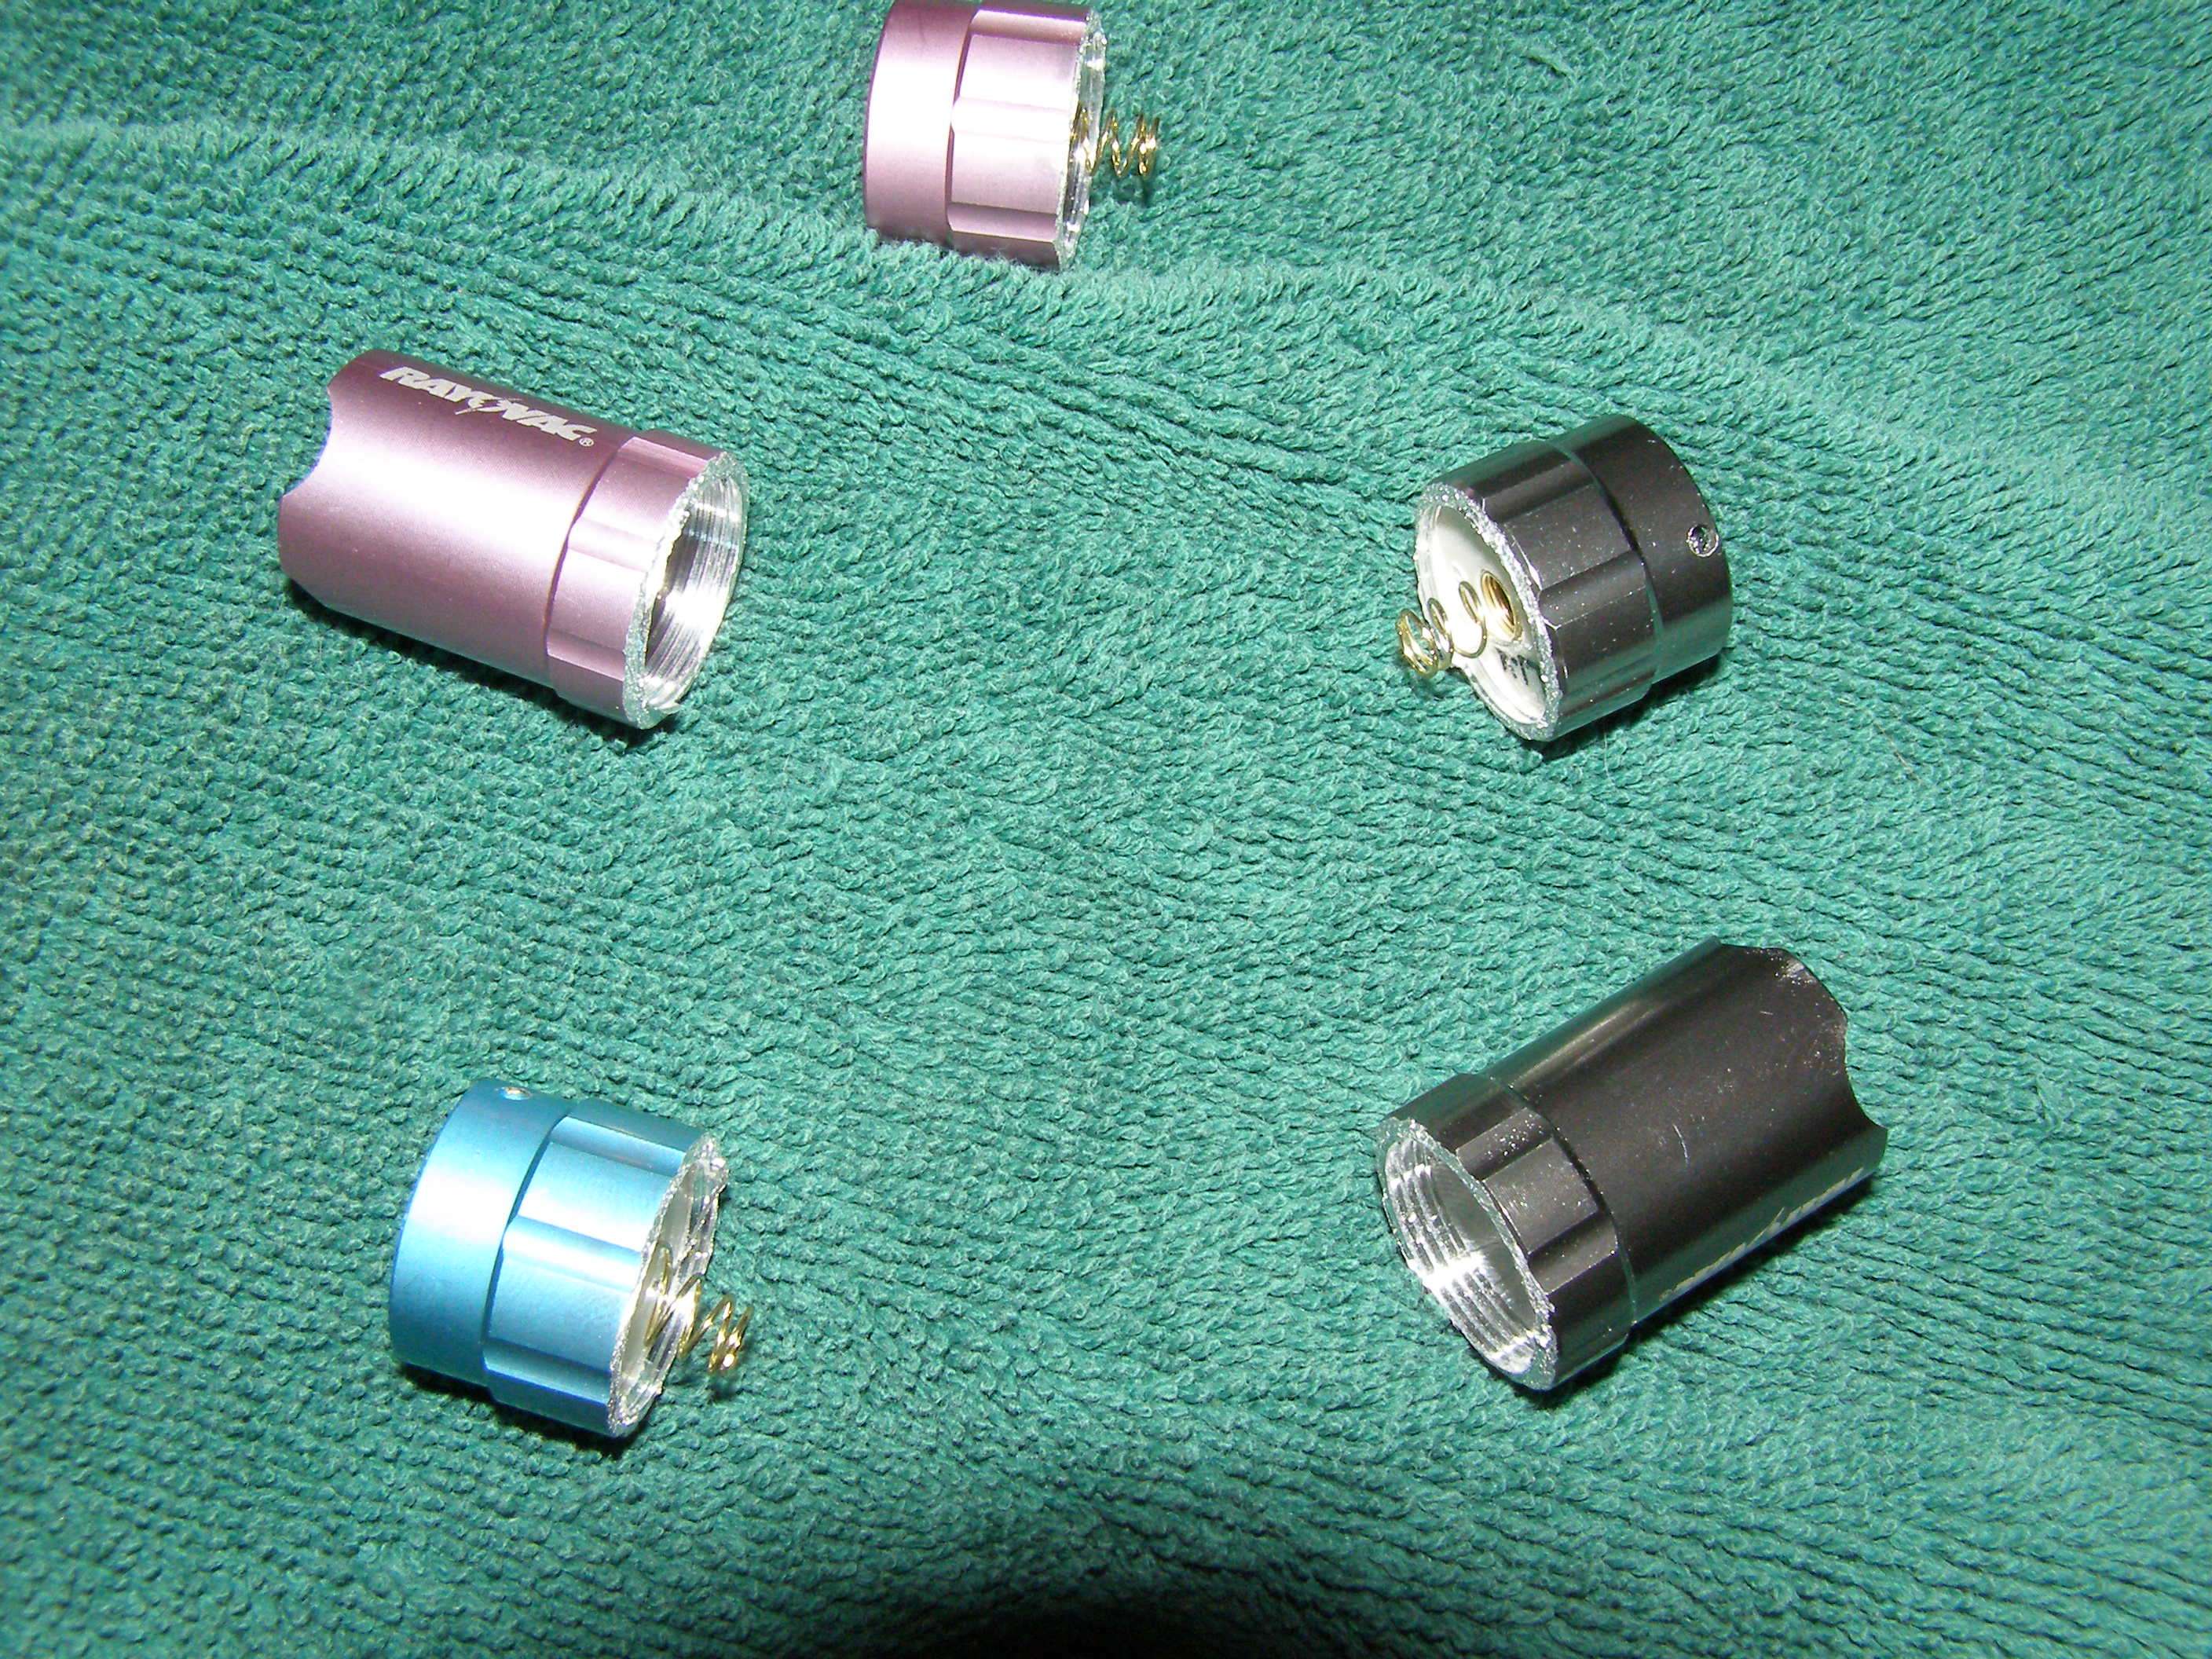
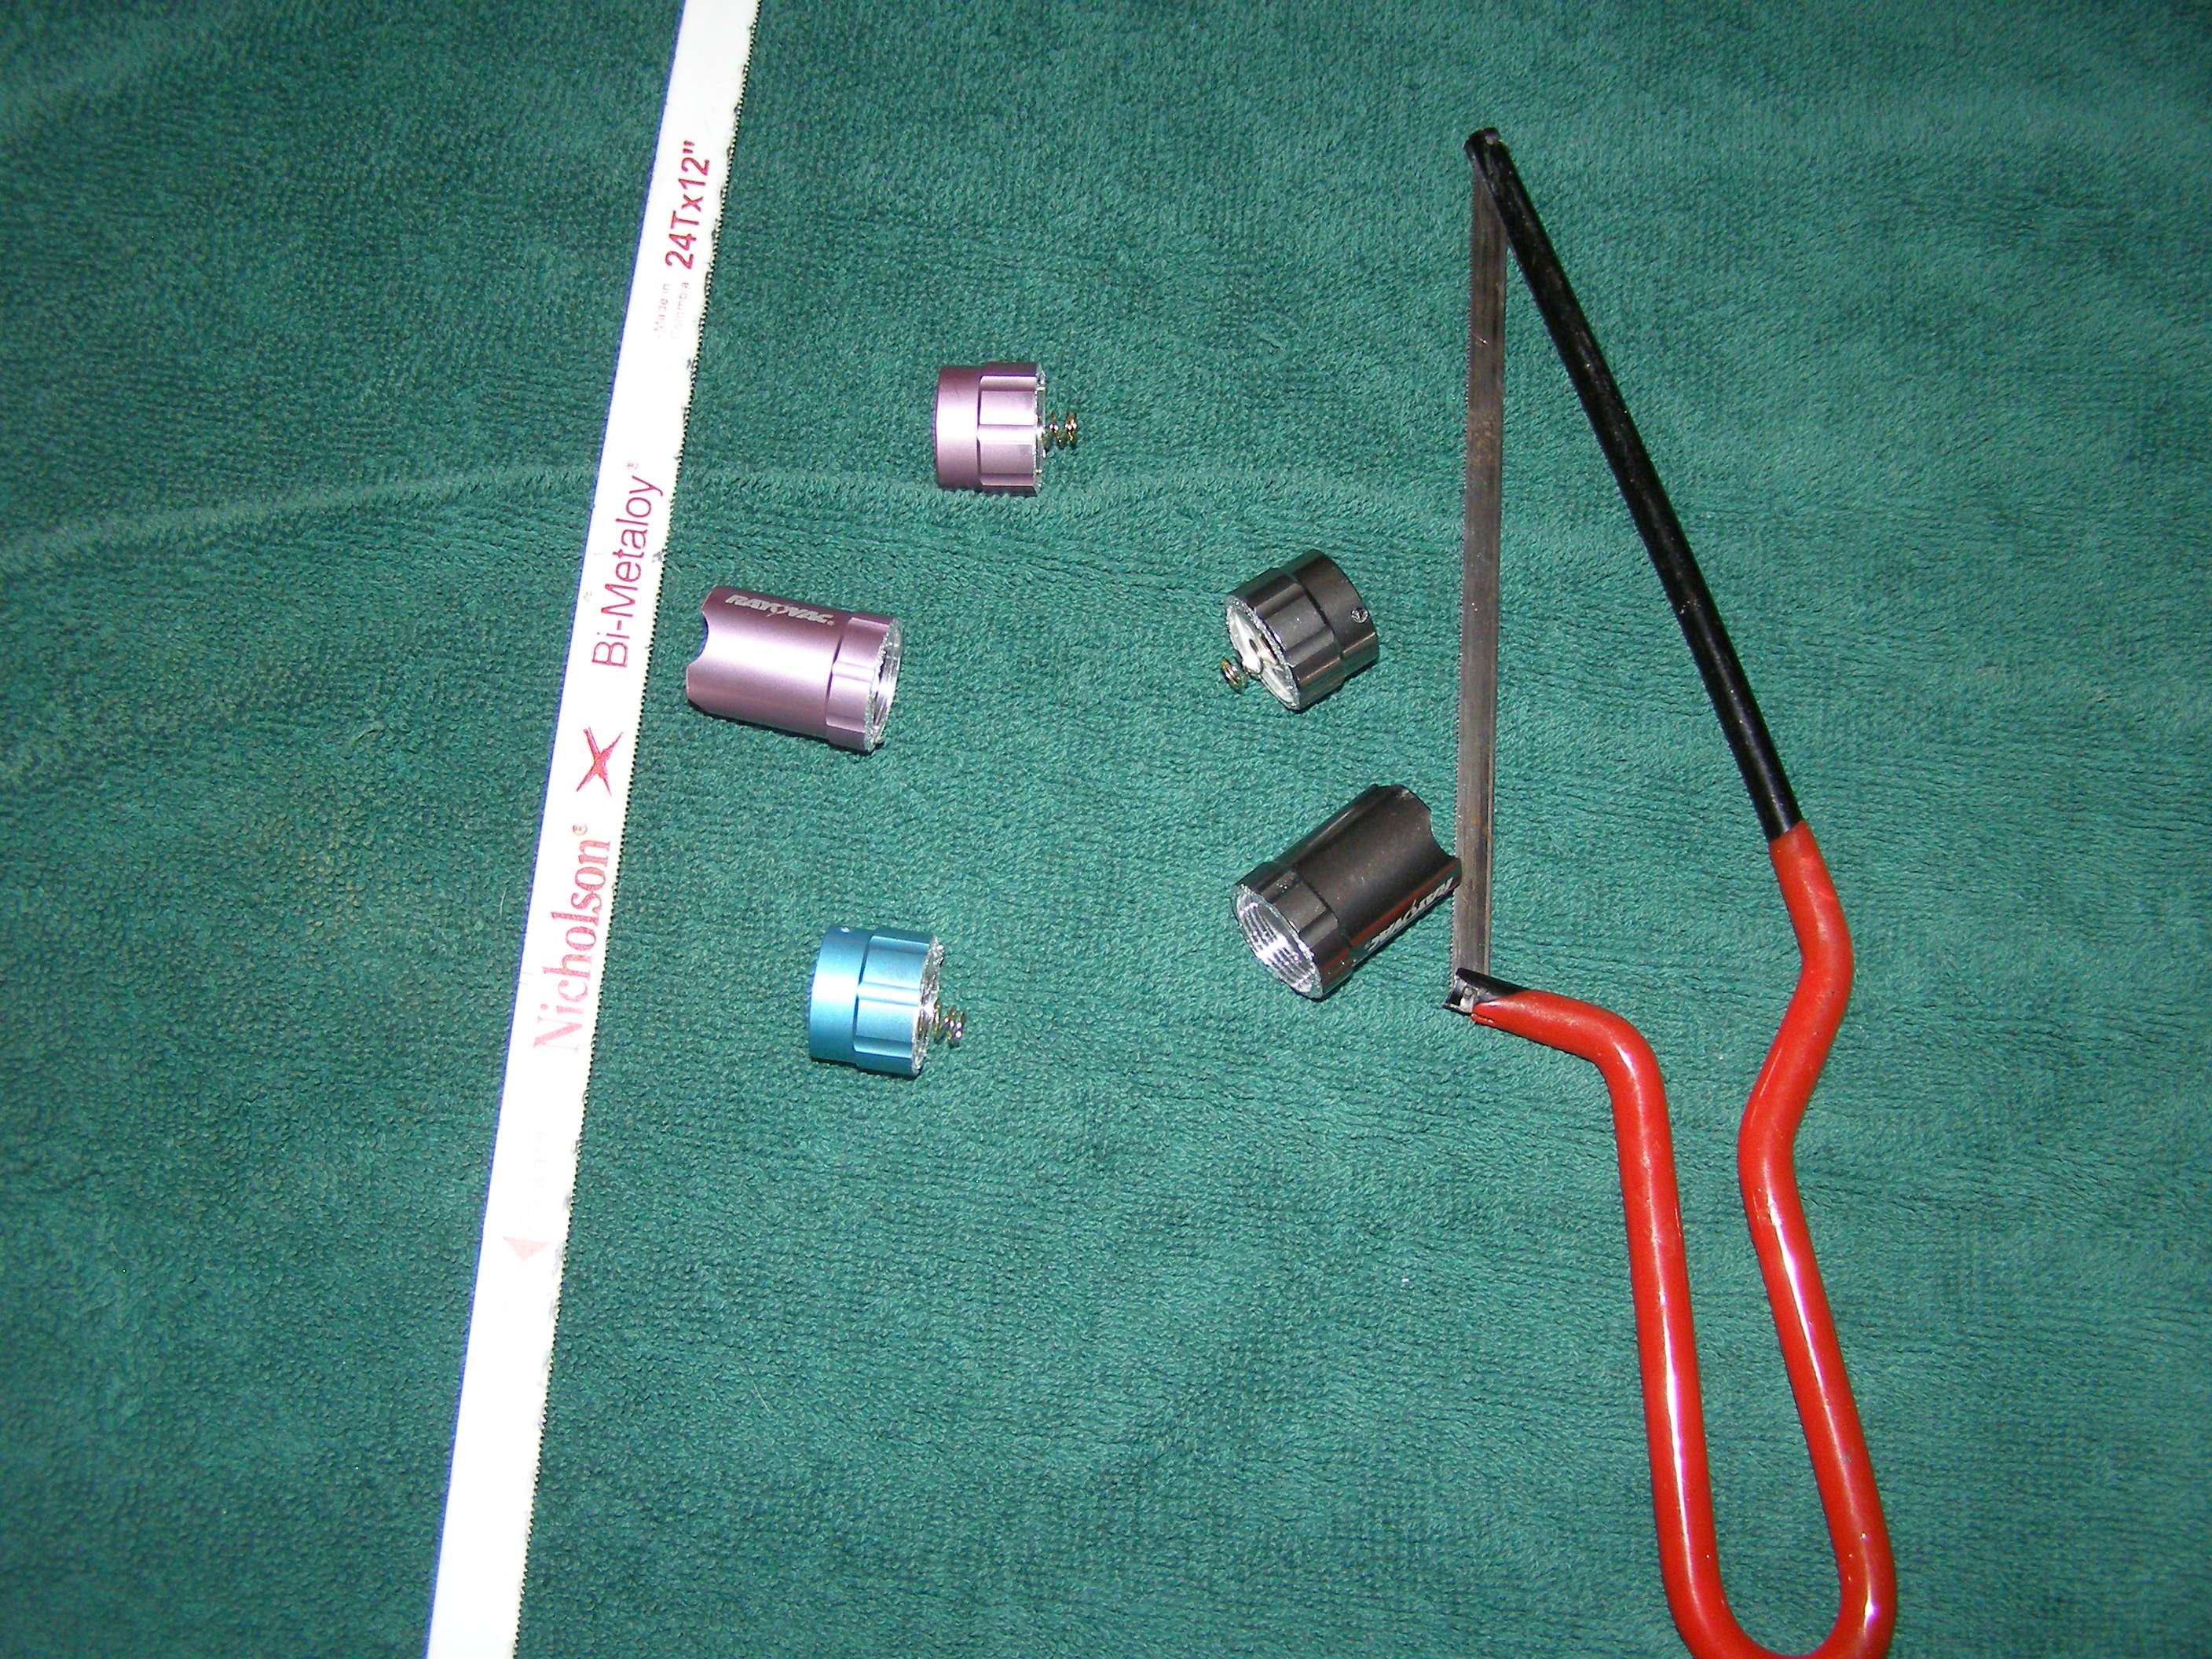
Hosts ready for a module " I see it lol. Oops


 Too bad they seem to be having some cutoms issues on the chinese side of things.
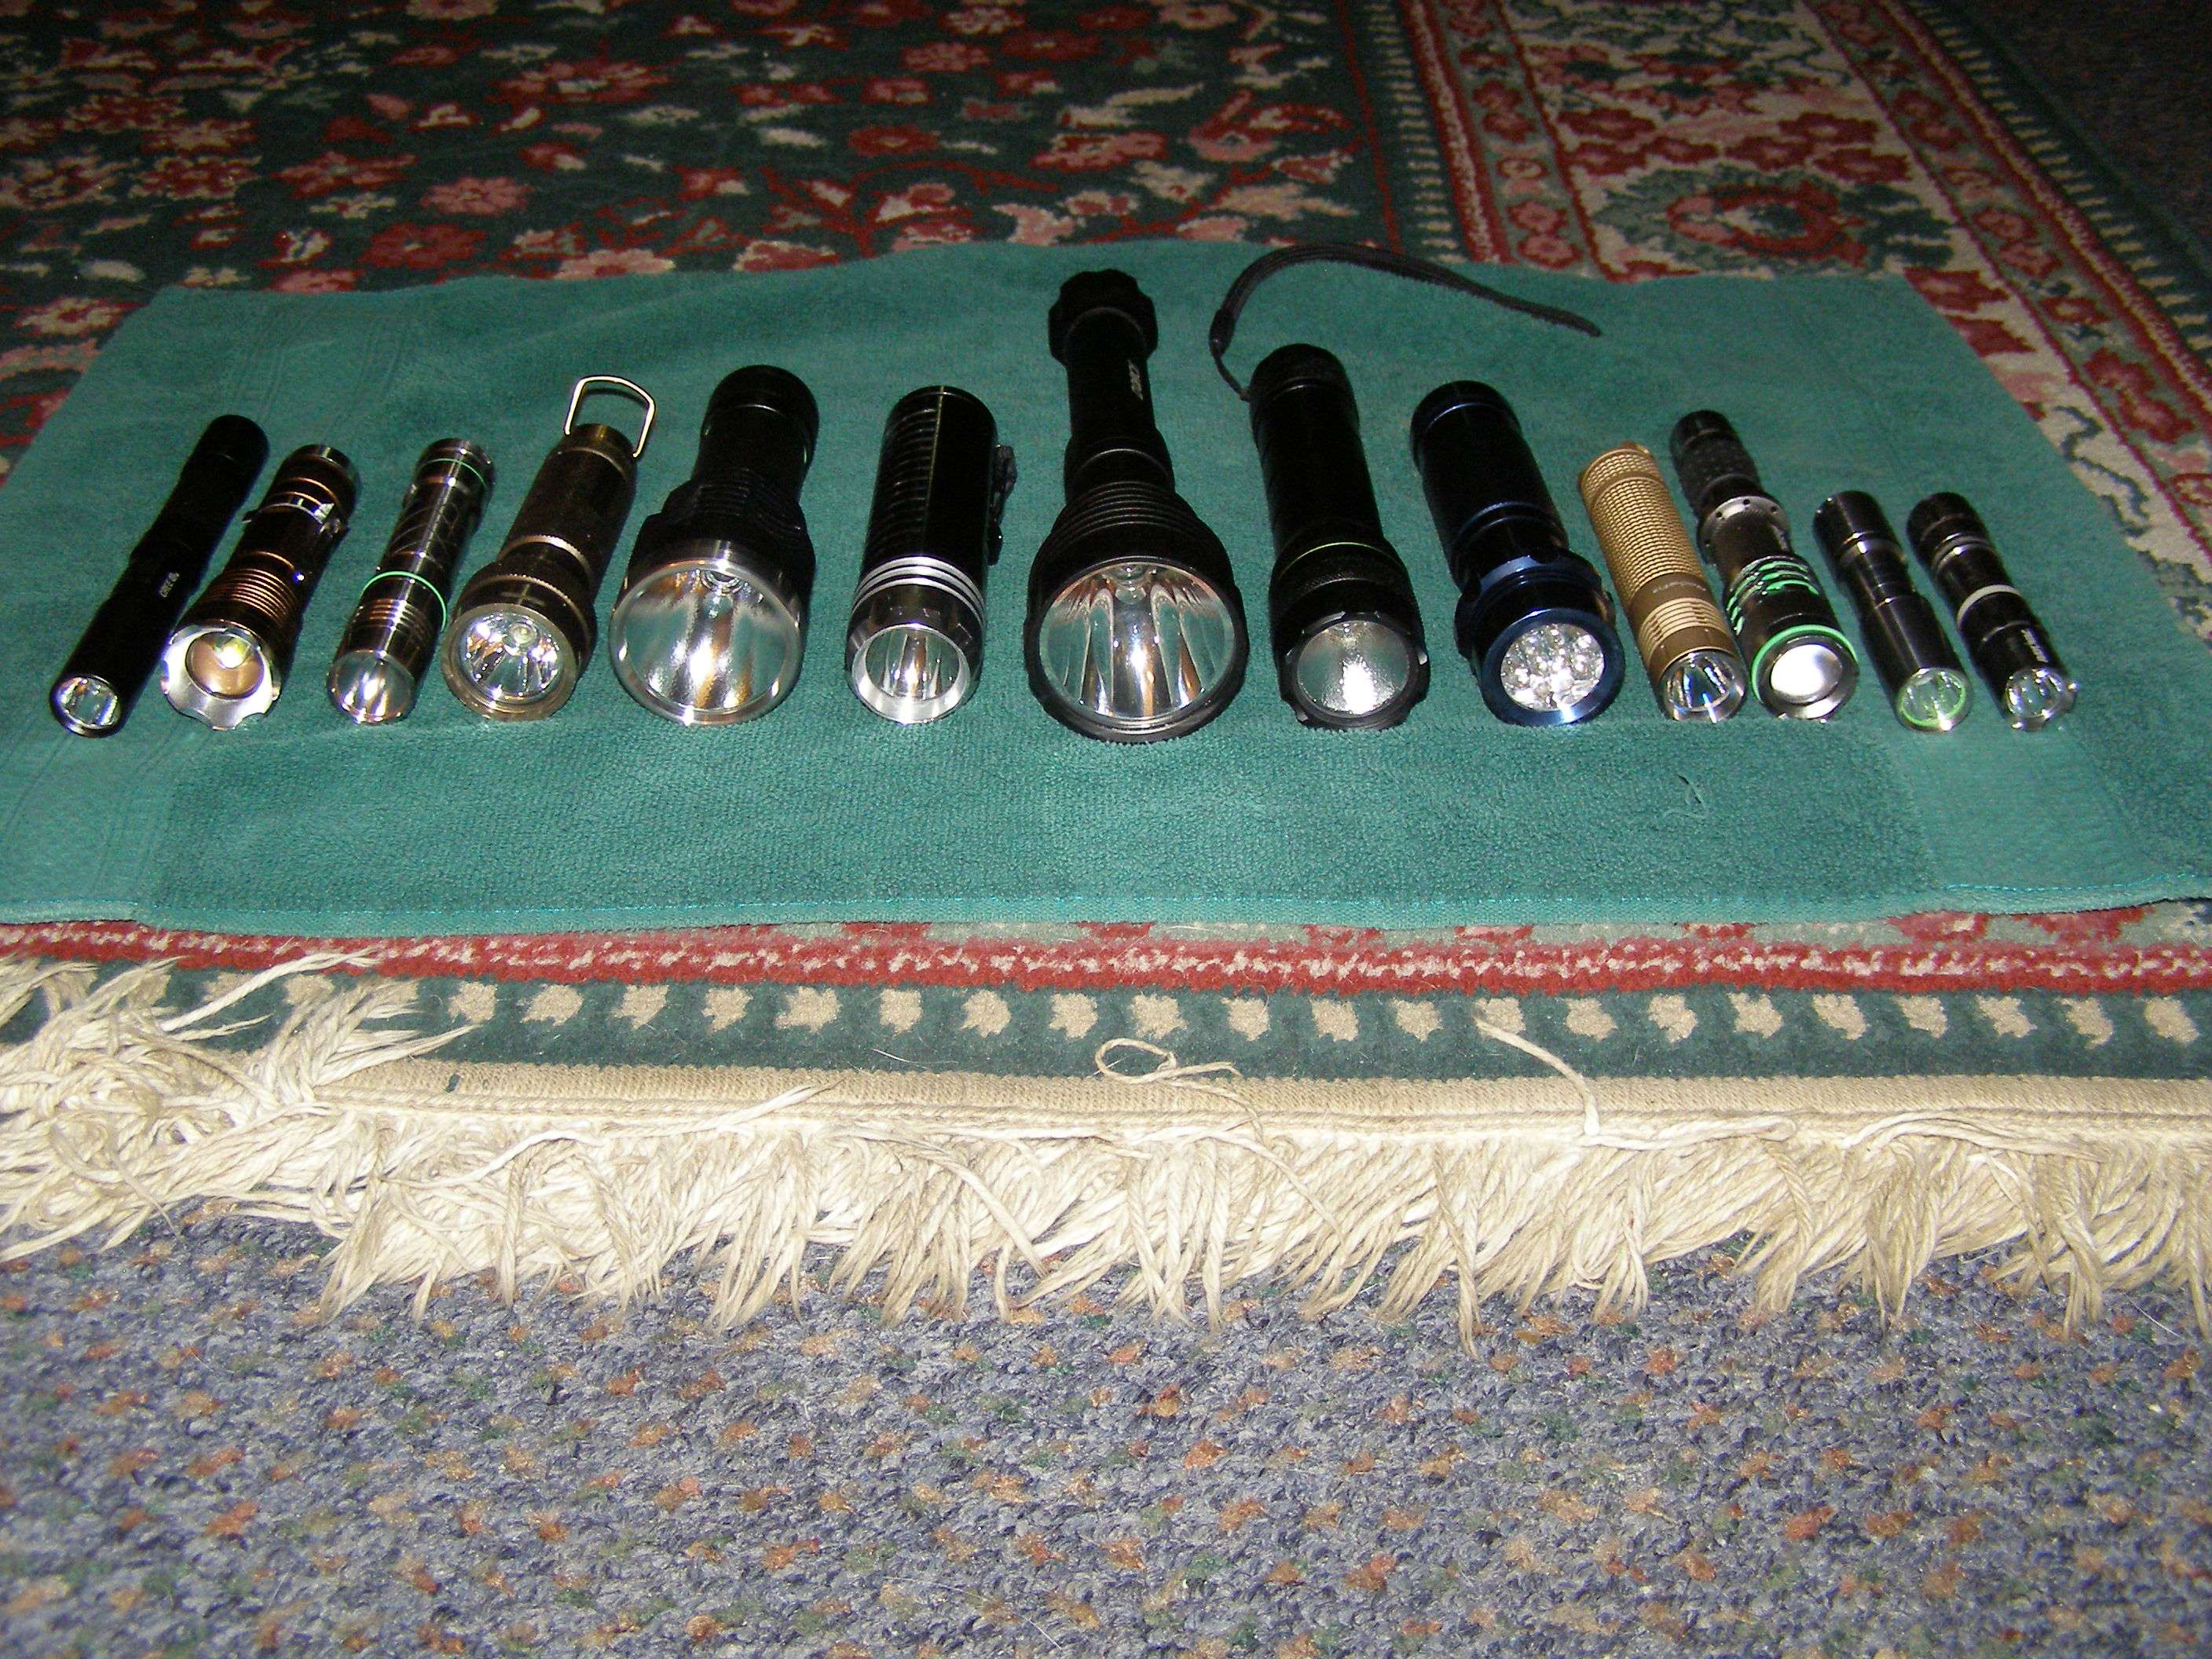


 Costs a couple bucks more but you do get a nice little pouch.
 Yup, I found the source for the correct units


FIRST PMAN SPECIAL HEATSINK VERSION LASER COMPLETED (by KRNAZNBOY)
Used a M140 with a buck driver @ 1.6 amps in my SK68 heatsink made for this host! (G2 lens)
Have yet to LPM the laser.
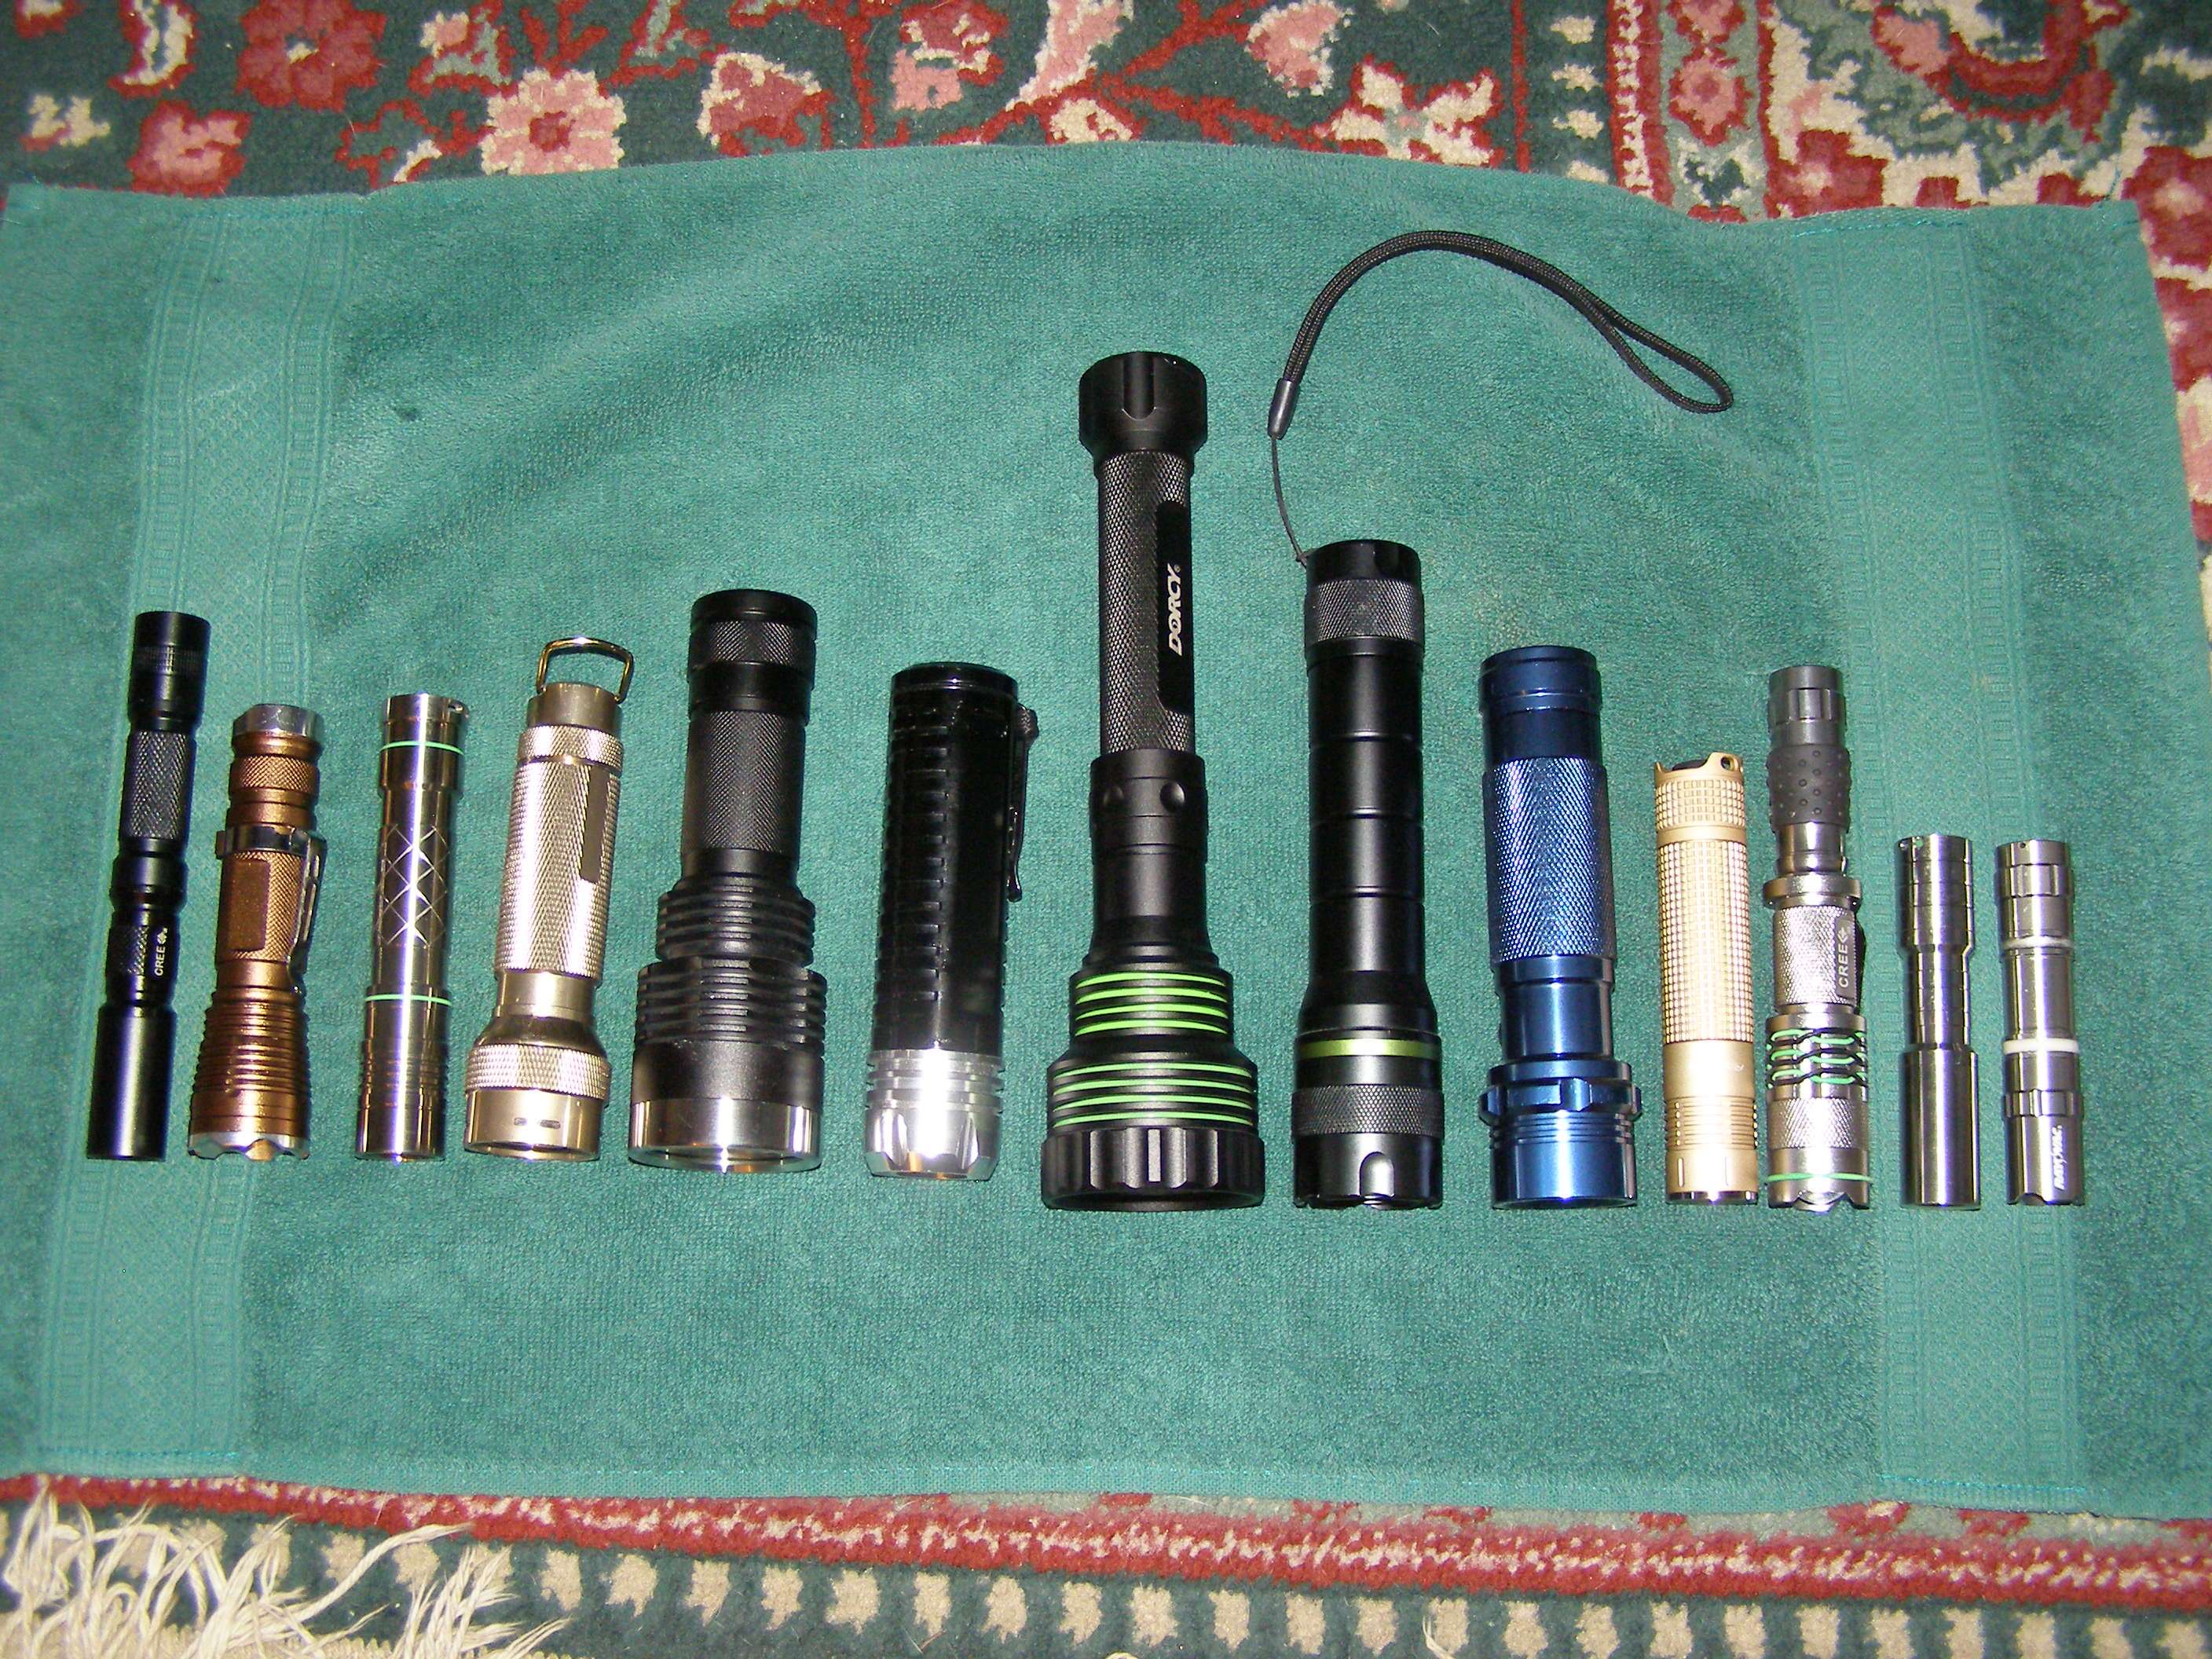
Sexy, ill let the pics do the talking! (shitty camera phone, better pics later)
CLICK ON THE IMAGES TO ENLARGE!
(photos cut from original quote)
Thanks Pman!
-Matt
