- Joined
- Jun 24, 2010
- Messages
- 5,705
- Points
- 113
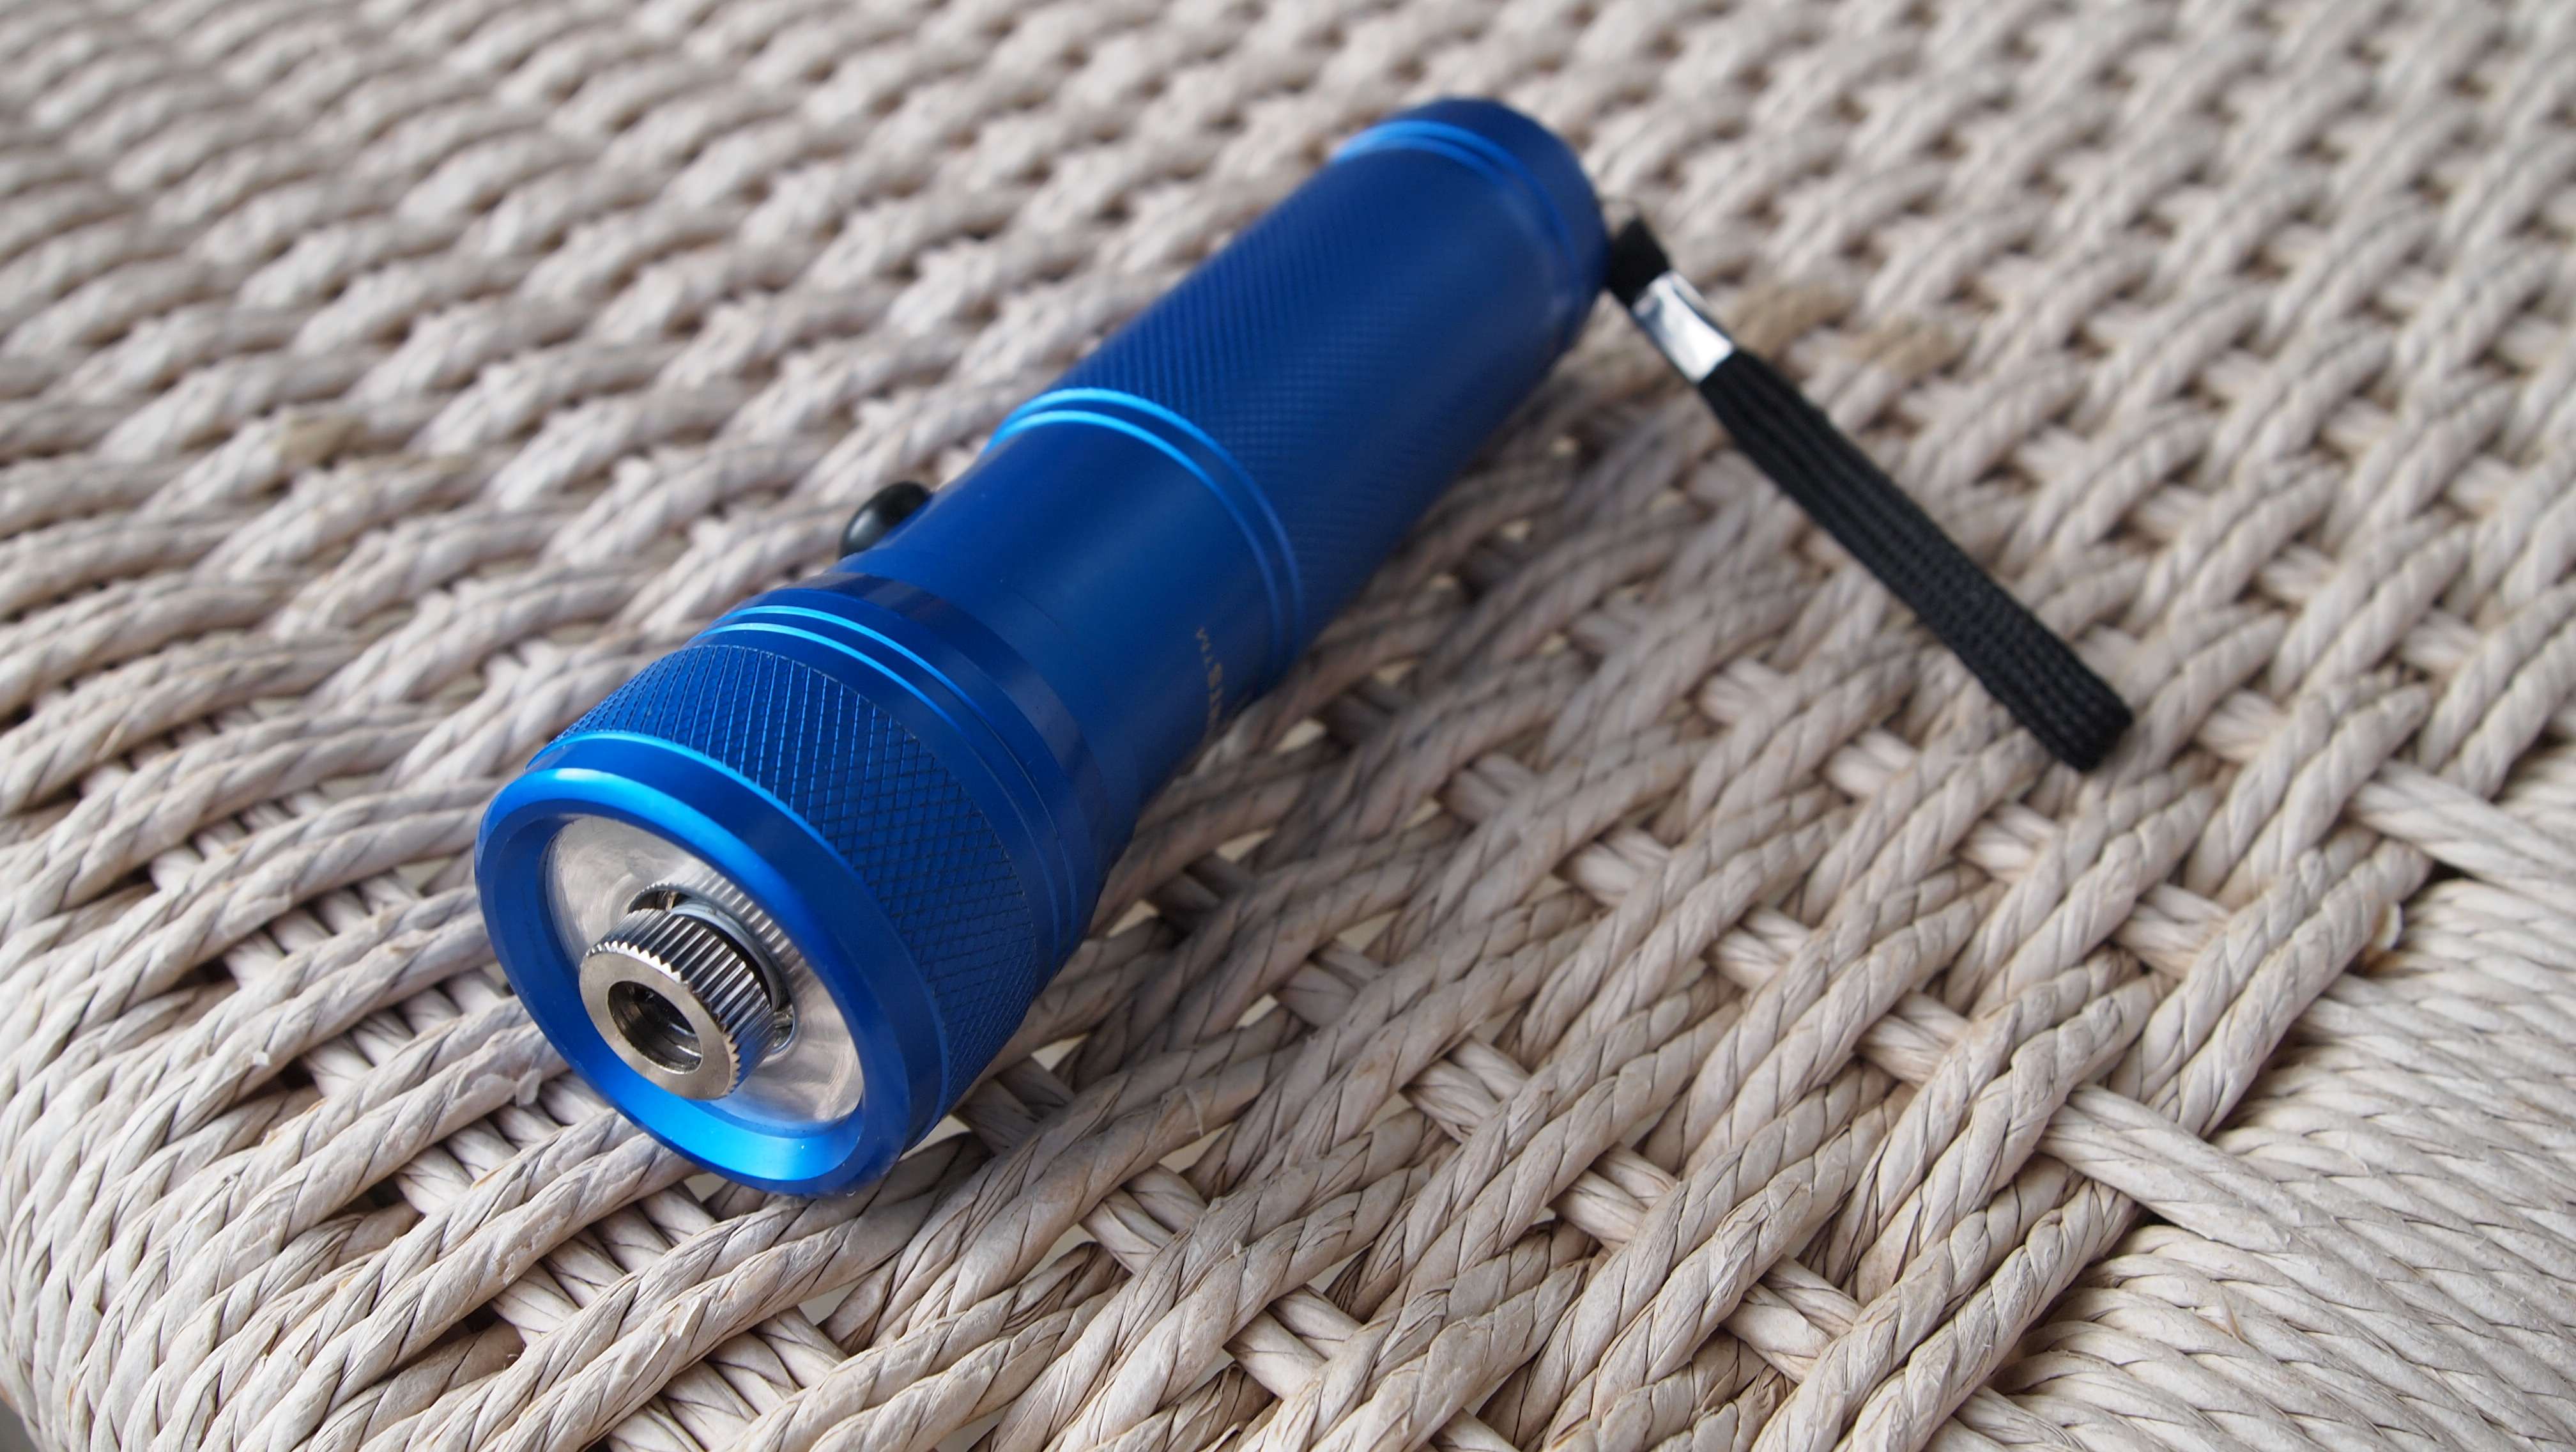
Alright I wanted to try my gold dollar mod for a Hotlights 18500 **EDIT** This host also accepts a 22600 2500mAh battery that is as good as most 18650's **EDIT** Host from Mohrenberg. I also wanted to see how an IRM 18500 holds up powering a 445 @ 1.5A.
If you would like to see more of my reviews and tutorials please visit my compilation page.
http://laserpointerforums.com/f51/d...difications-compilation-60258.html#post852148
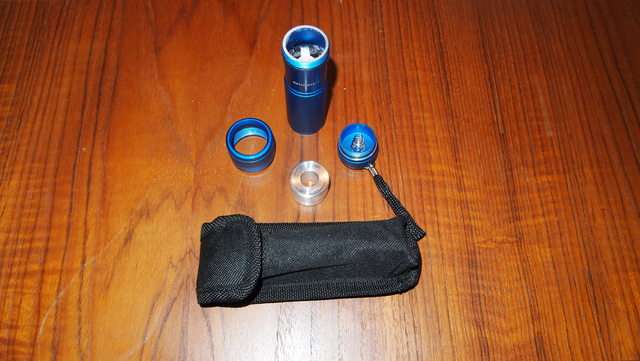
Here is the host kit from Mohrenberg. For being a compact unit this host actually has a pretty large heatsink which will work well for a 1.6W build. Also for an inexpensive I do love the way it feels and operates.
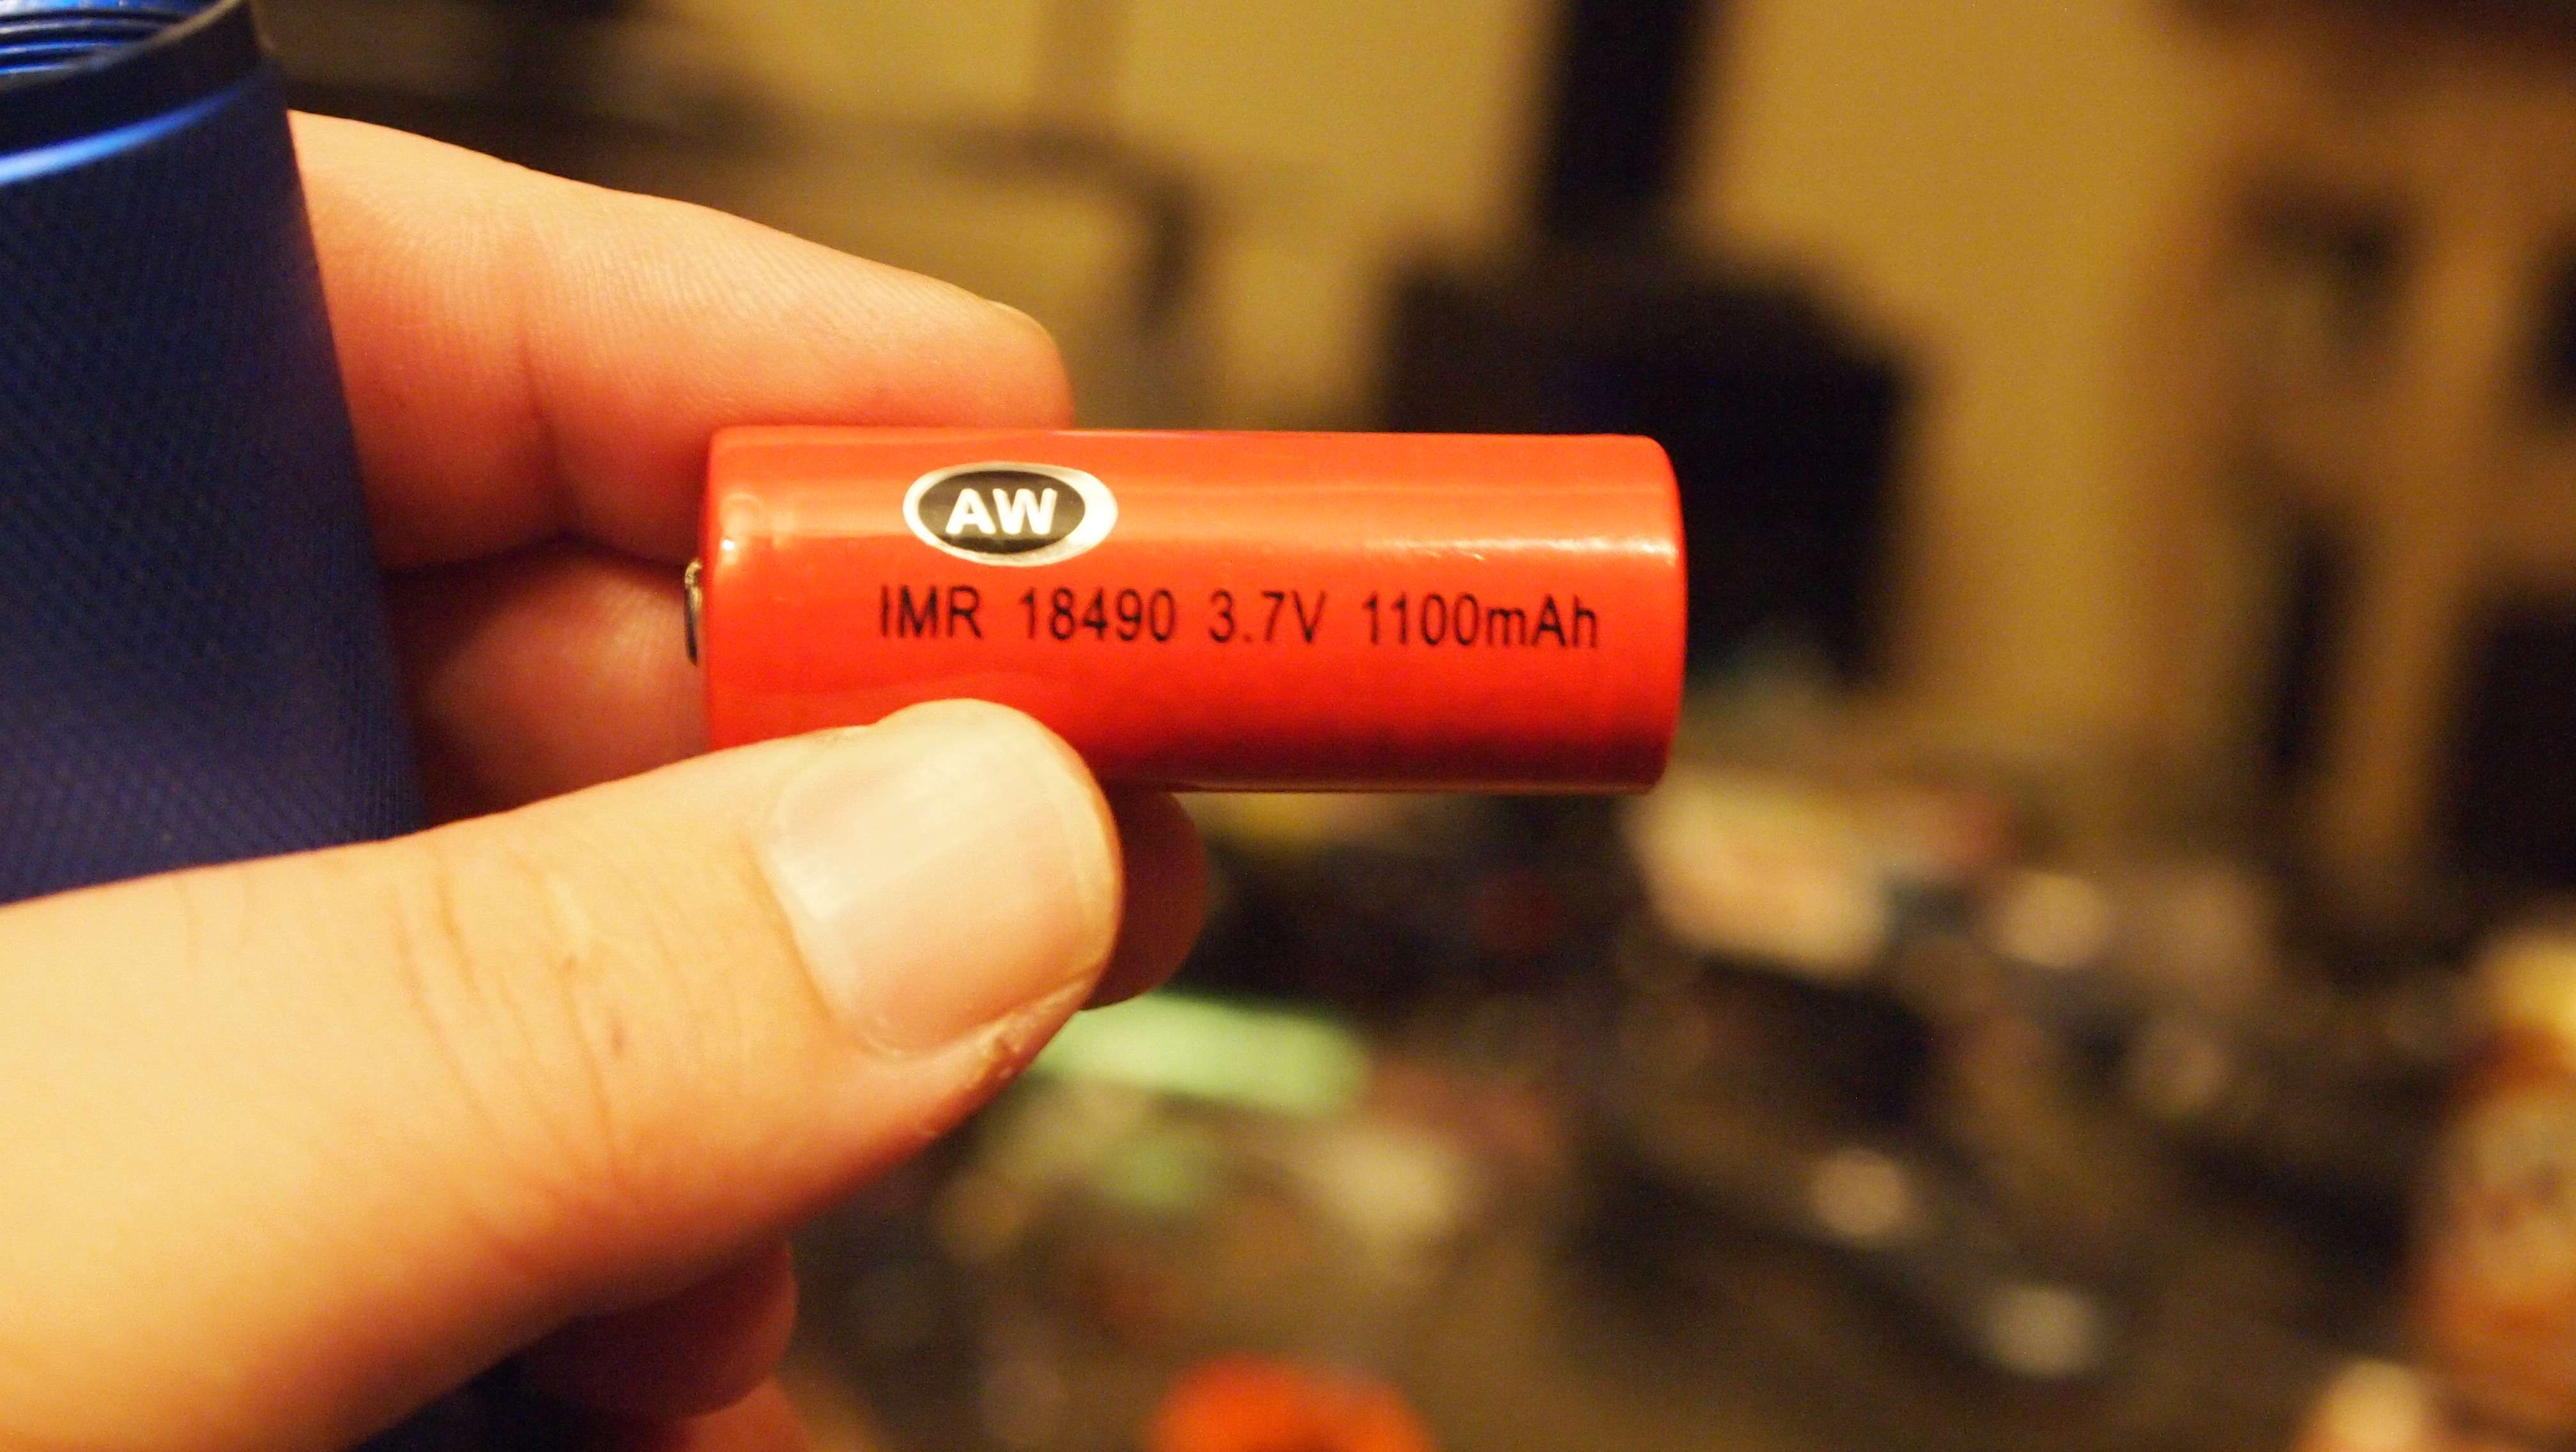
Here is the battery I will use. It is a high discharge AW IMR 18500 from Lighthound.
Specifications:
Nominal Voltage : 3.7V
Capacity : 1100mAH
Lowest Discharge Voltage : 2.50V
Standard Charge : CC/CV ( max. charging rate 4.5A )
Cycle Life : > 500 cycles
Max. continuous discharge rate : 10C
**EDIT**
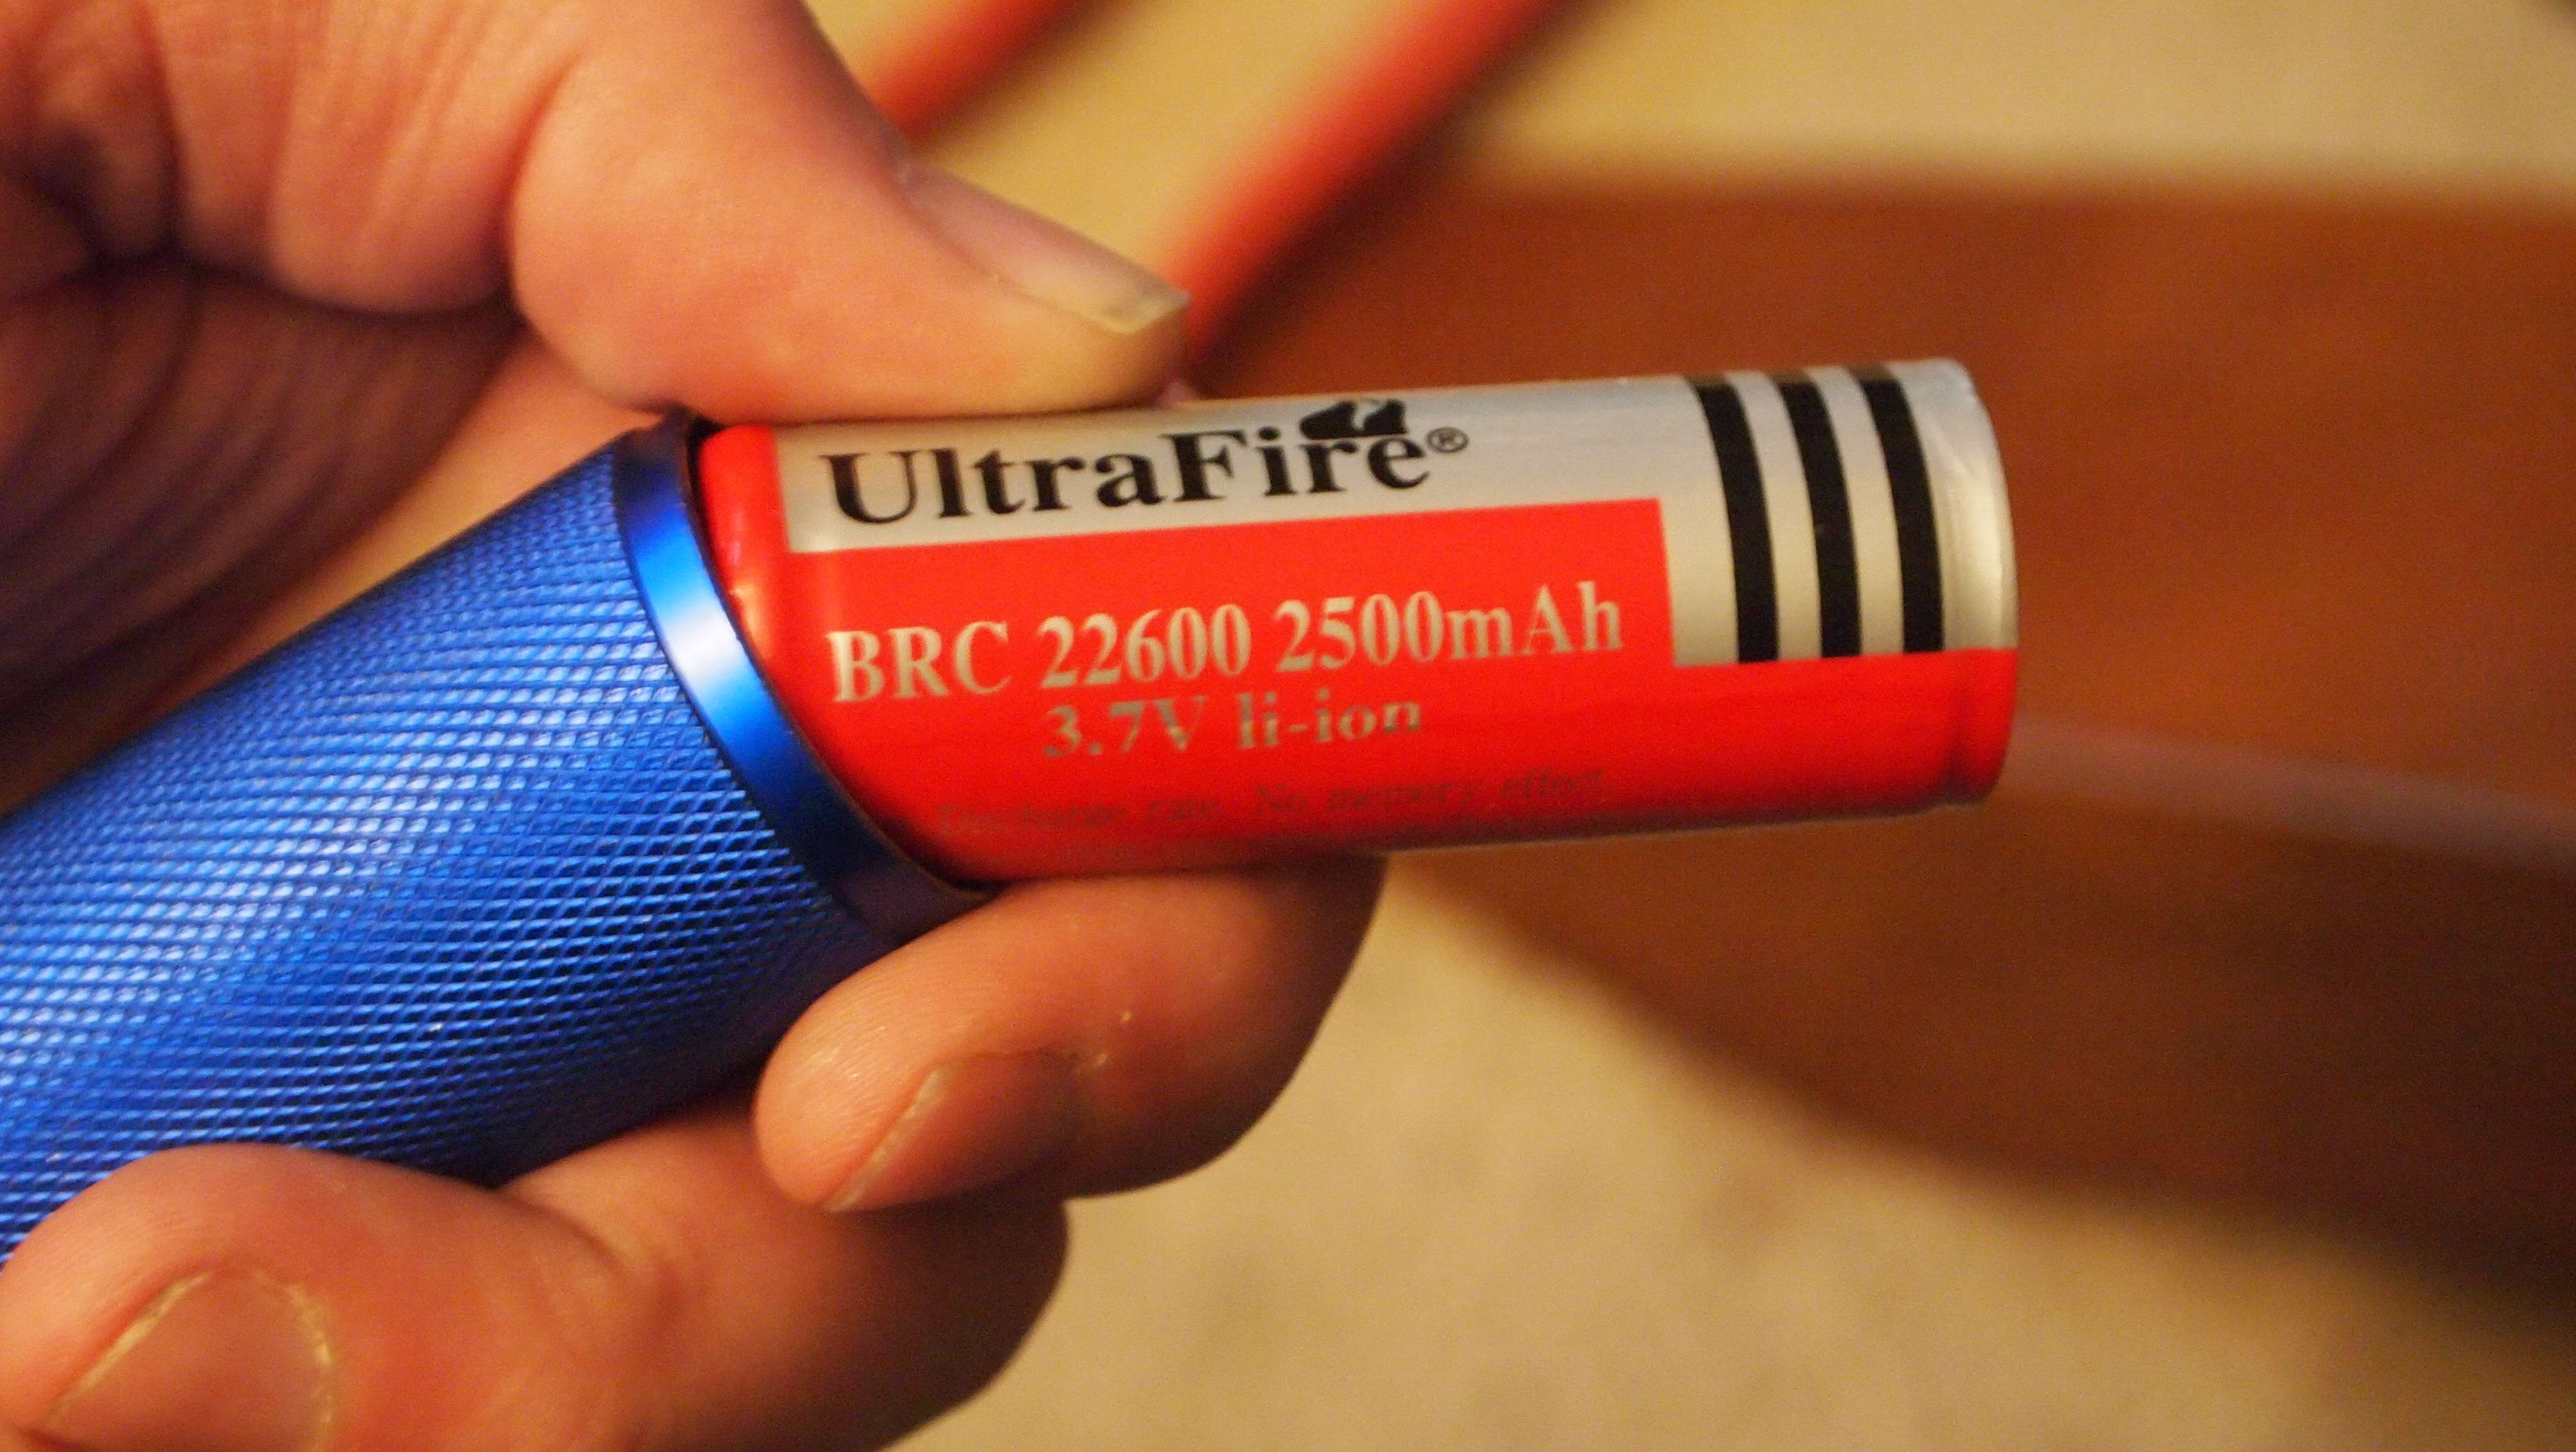
Here is the 22600 which is the preferable battery for this host as it does not require the additions of the spring on the clickys battery contact point to fill the gap you get with the 18500 plus you get a capacity that puts it closer to the better 18650's. Not to mention it just fits very snug in this unit.
http://kaidomain.com/ProductDetails.aspx?ProductID=10622

**EDIT**
So to get started on this project I prepared a Flexdrive.
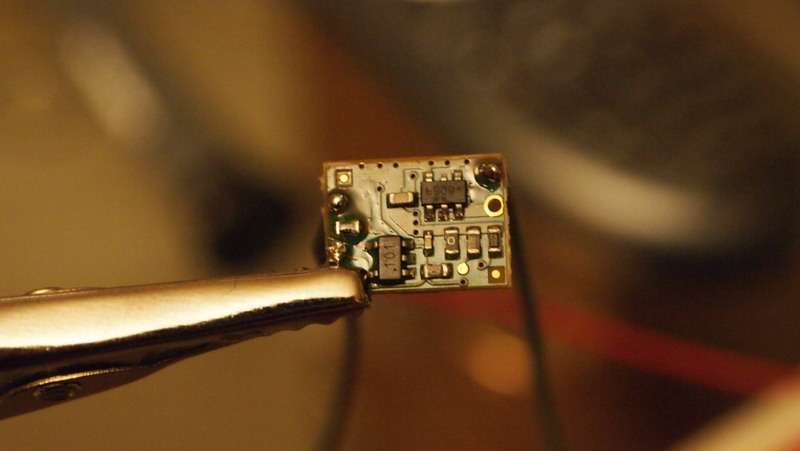
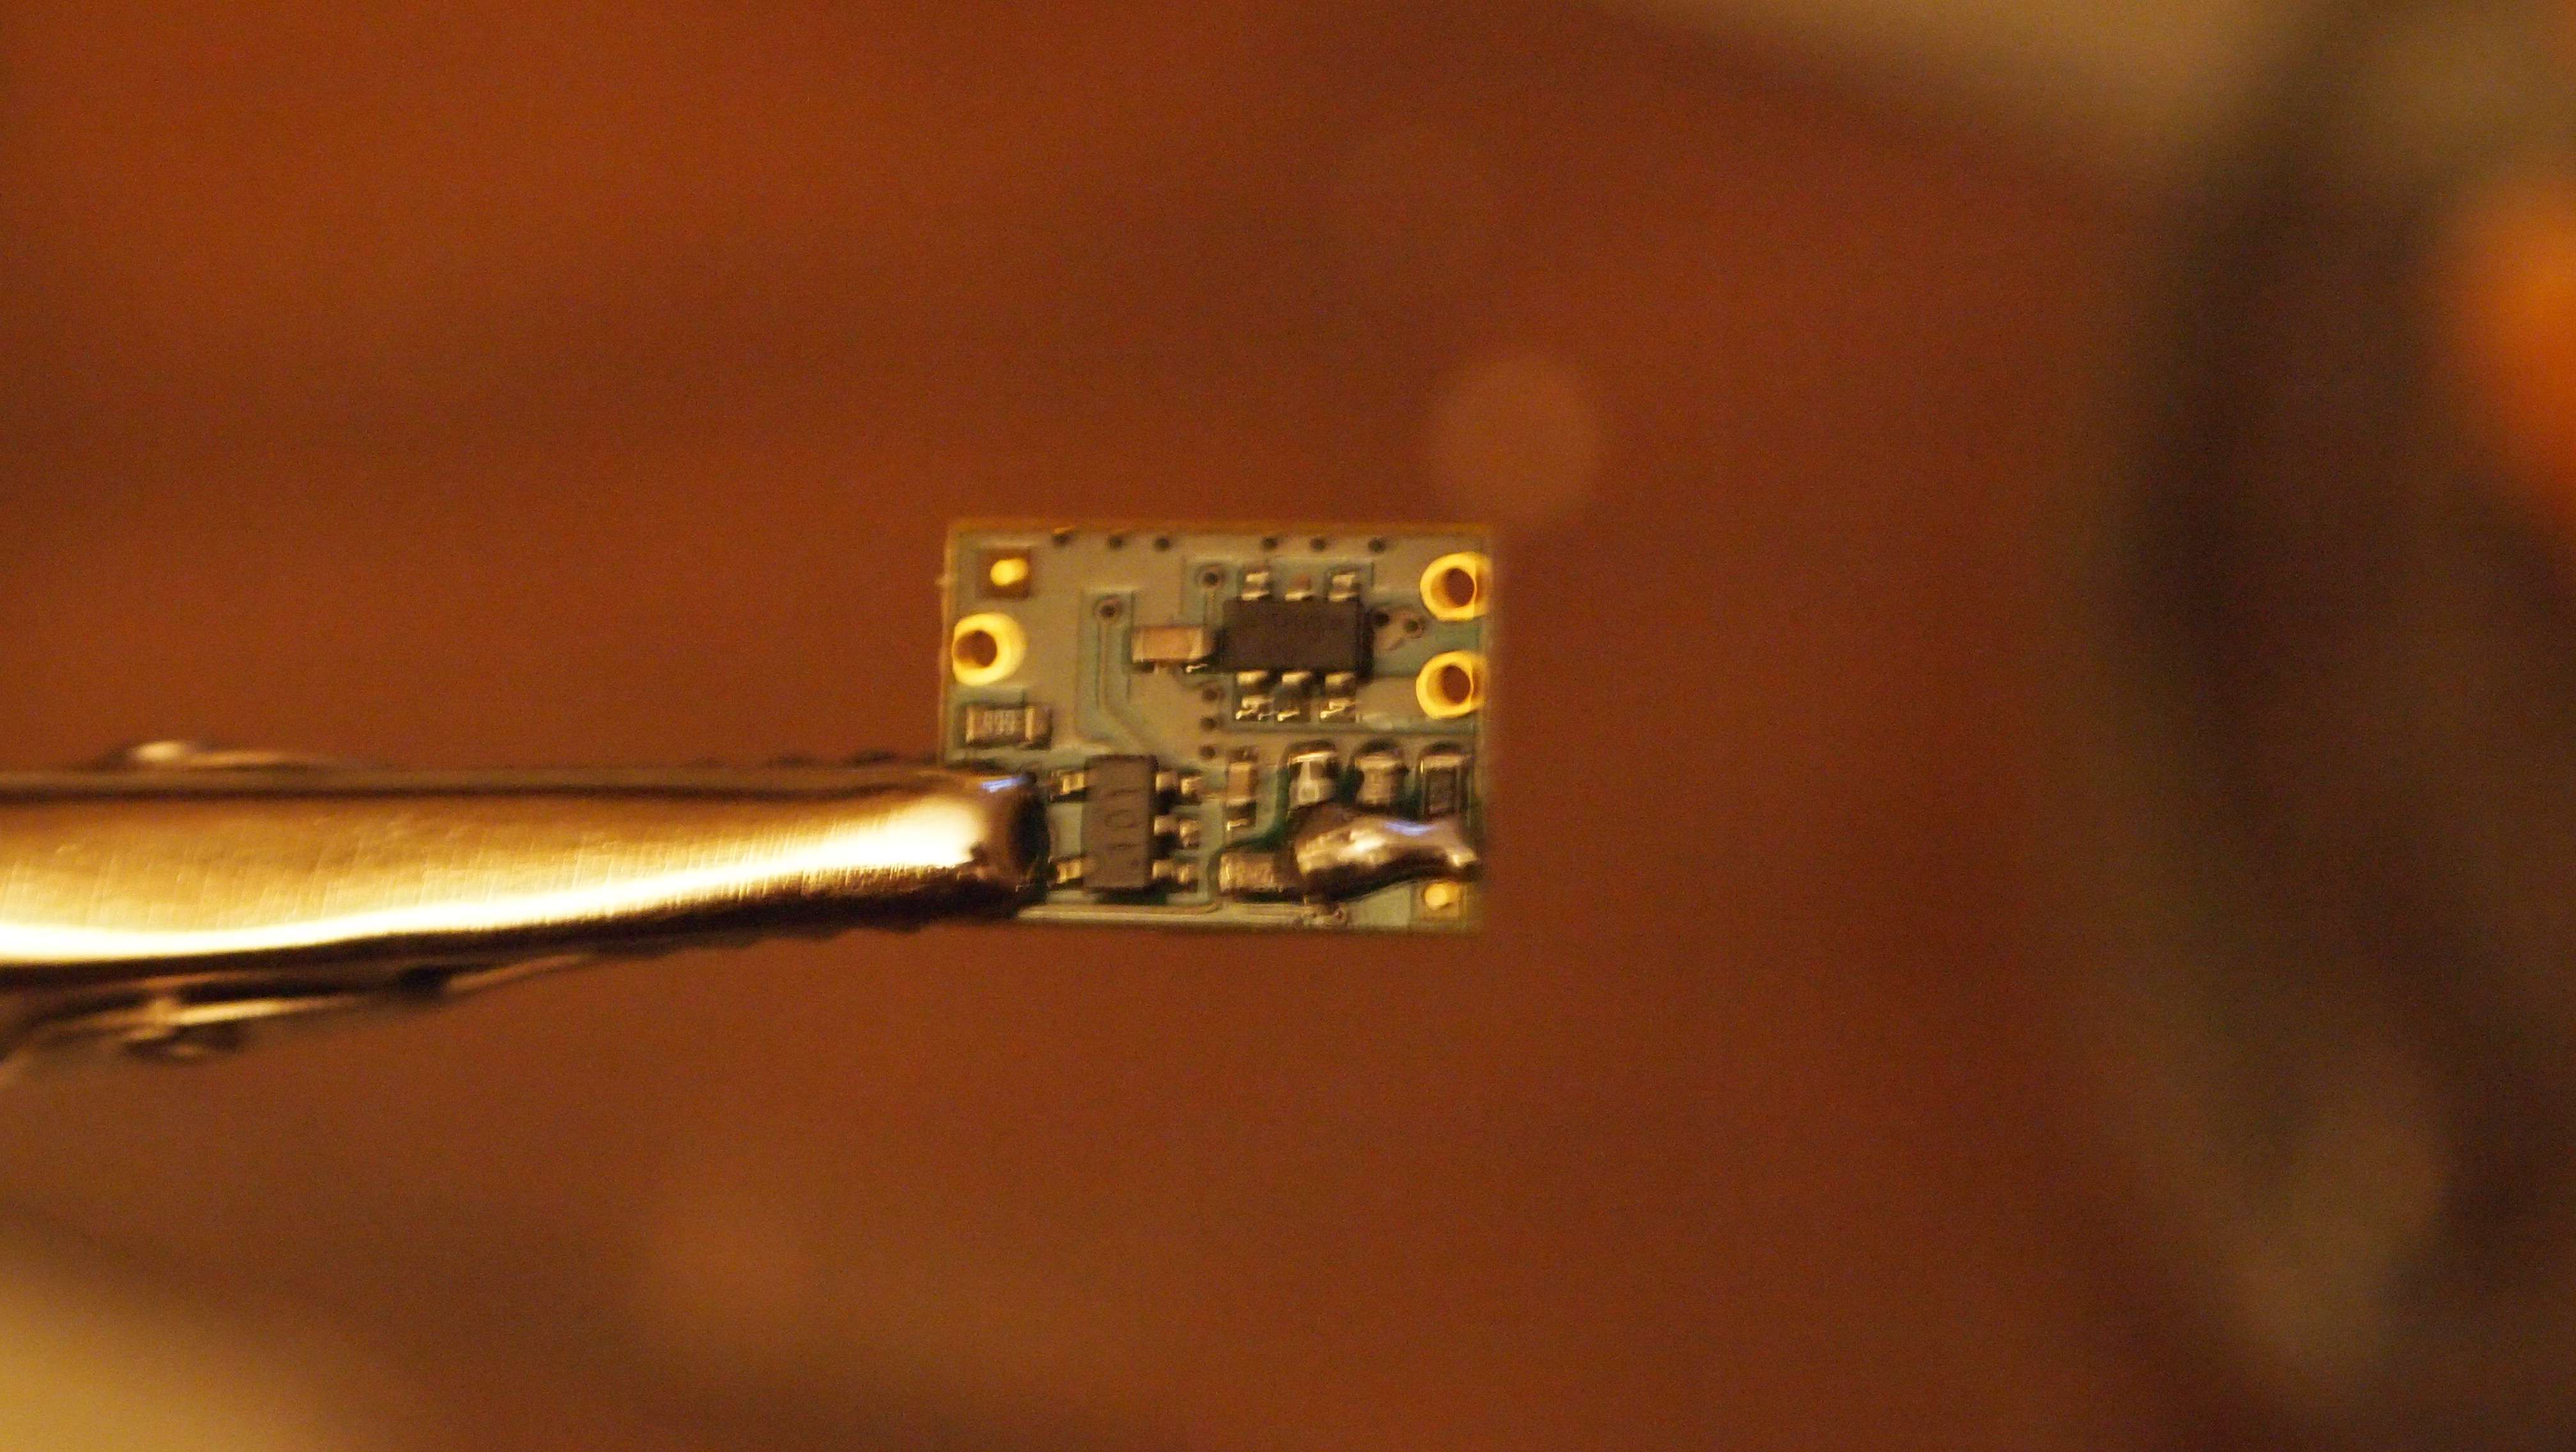
Solder the unit to set the range to allow it to run @ 1.5A.
Next we will prepare the Pill.
Bend the tab into an upright position.
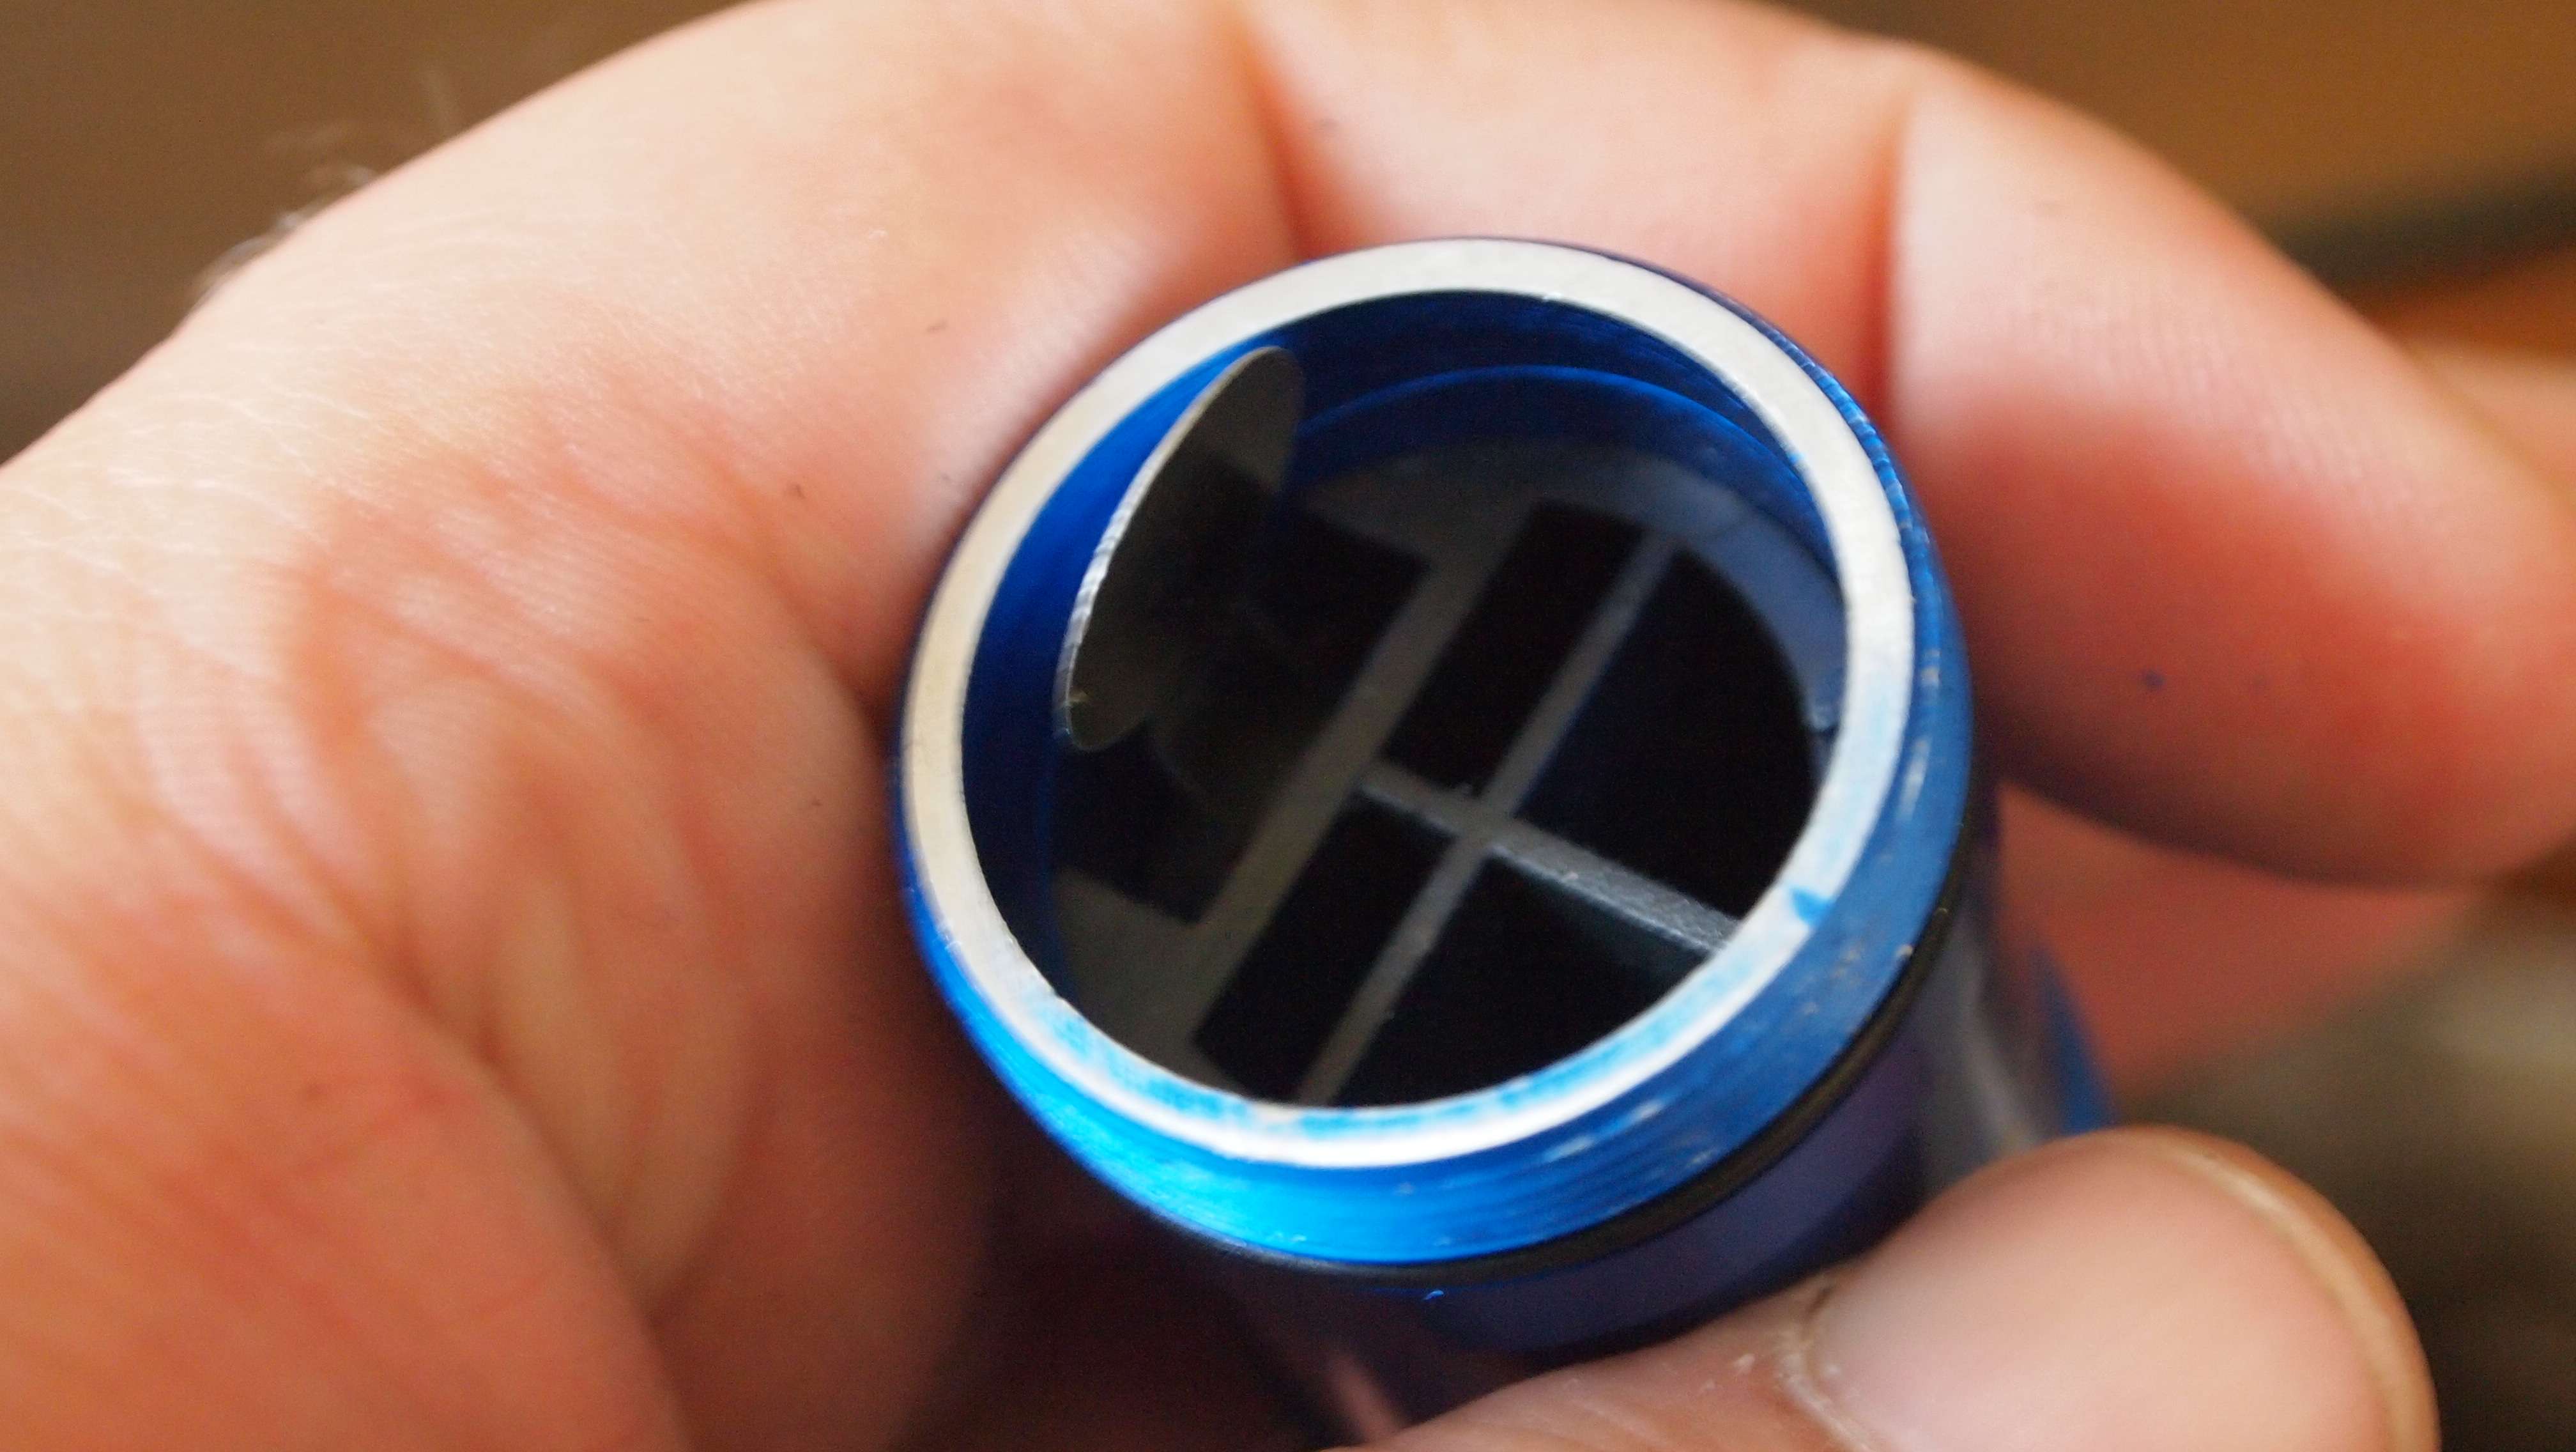
With the tab in the upright position you can now slide the spacer out with ease. You don't have to but I suggest cutting 1/3 of this spacer off to shorten it and make the pill a little bigger.
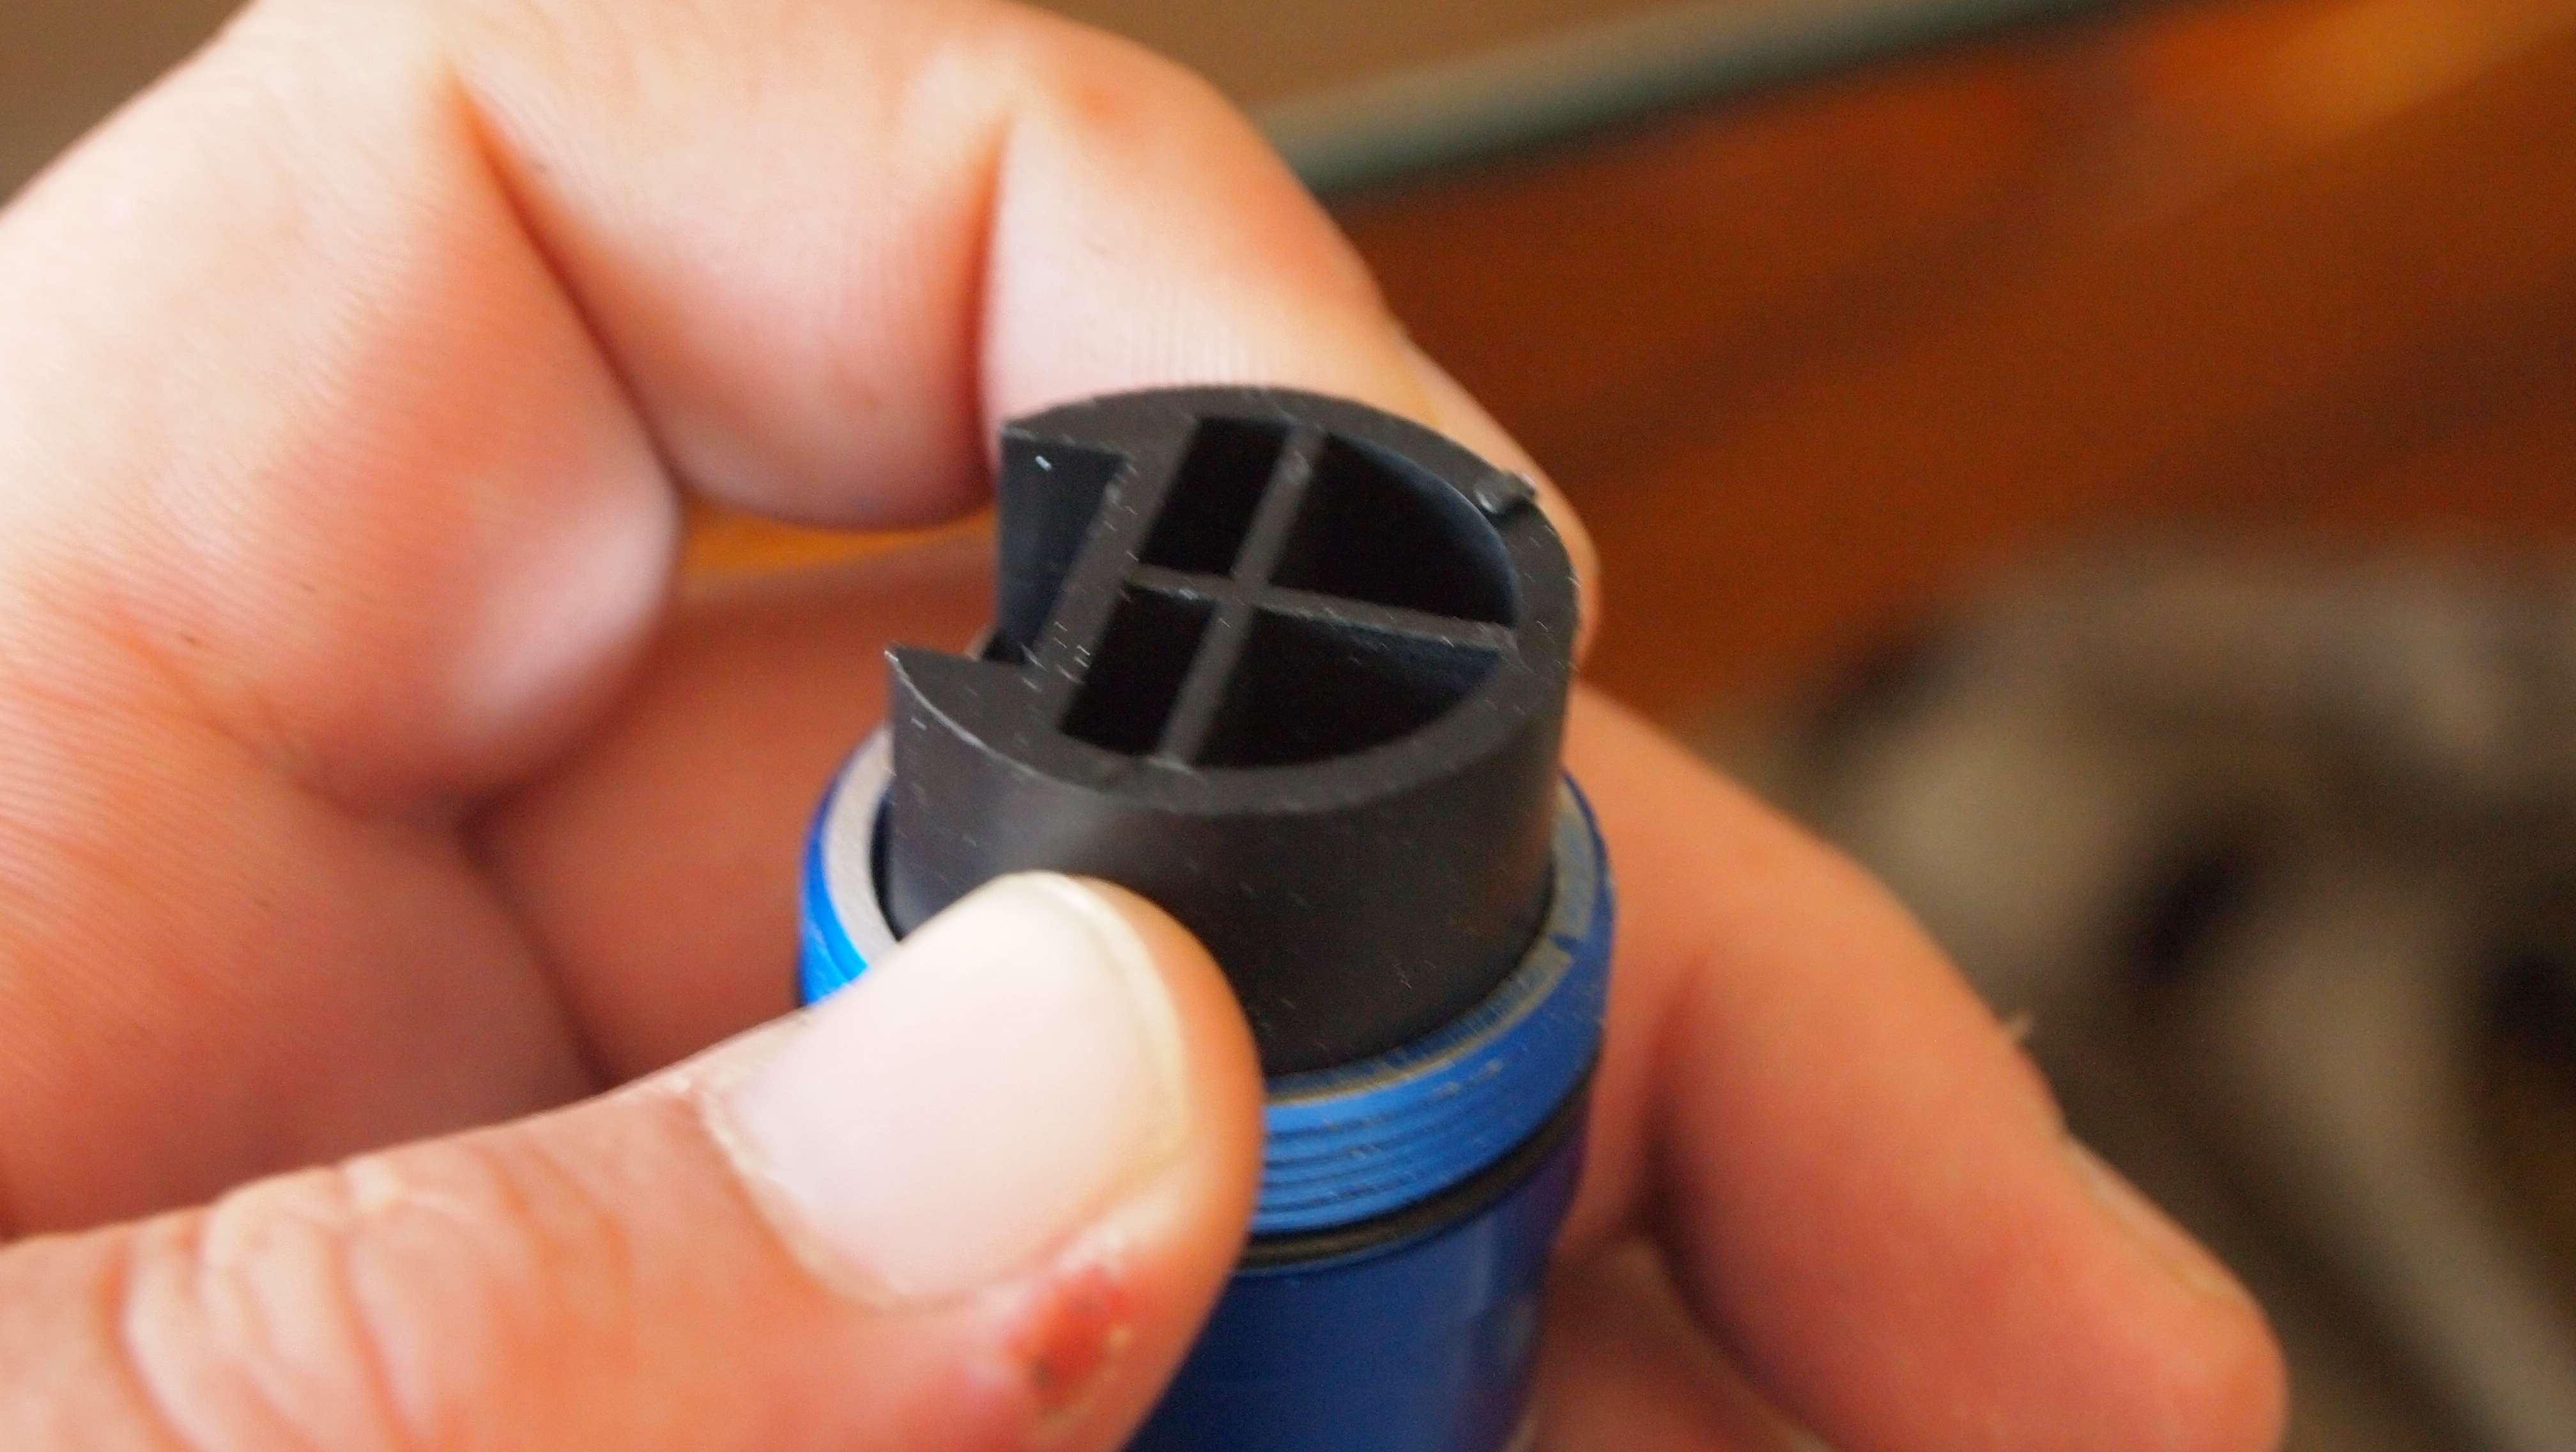
Now that the spacer is out you are left looking at the clicky.
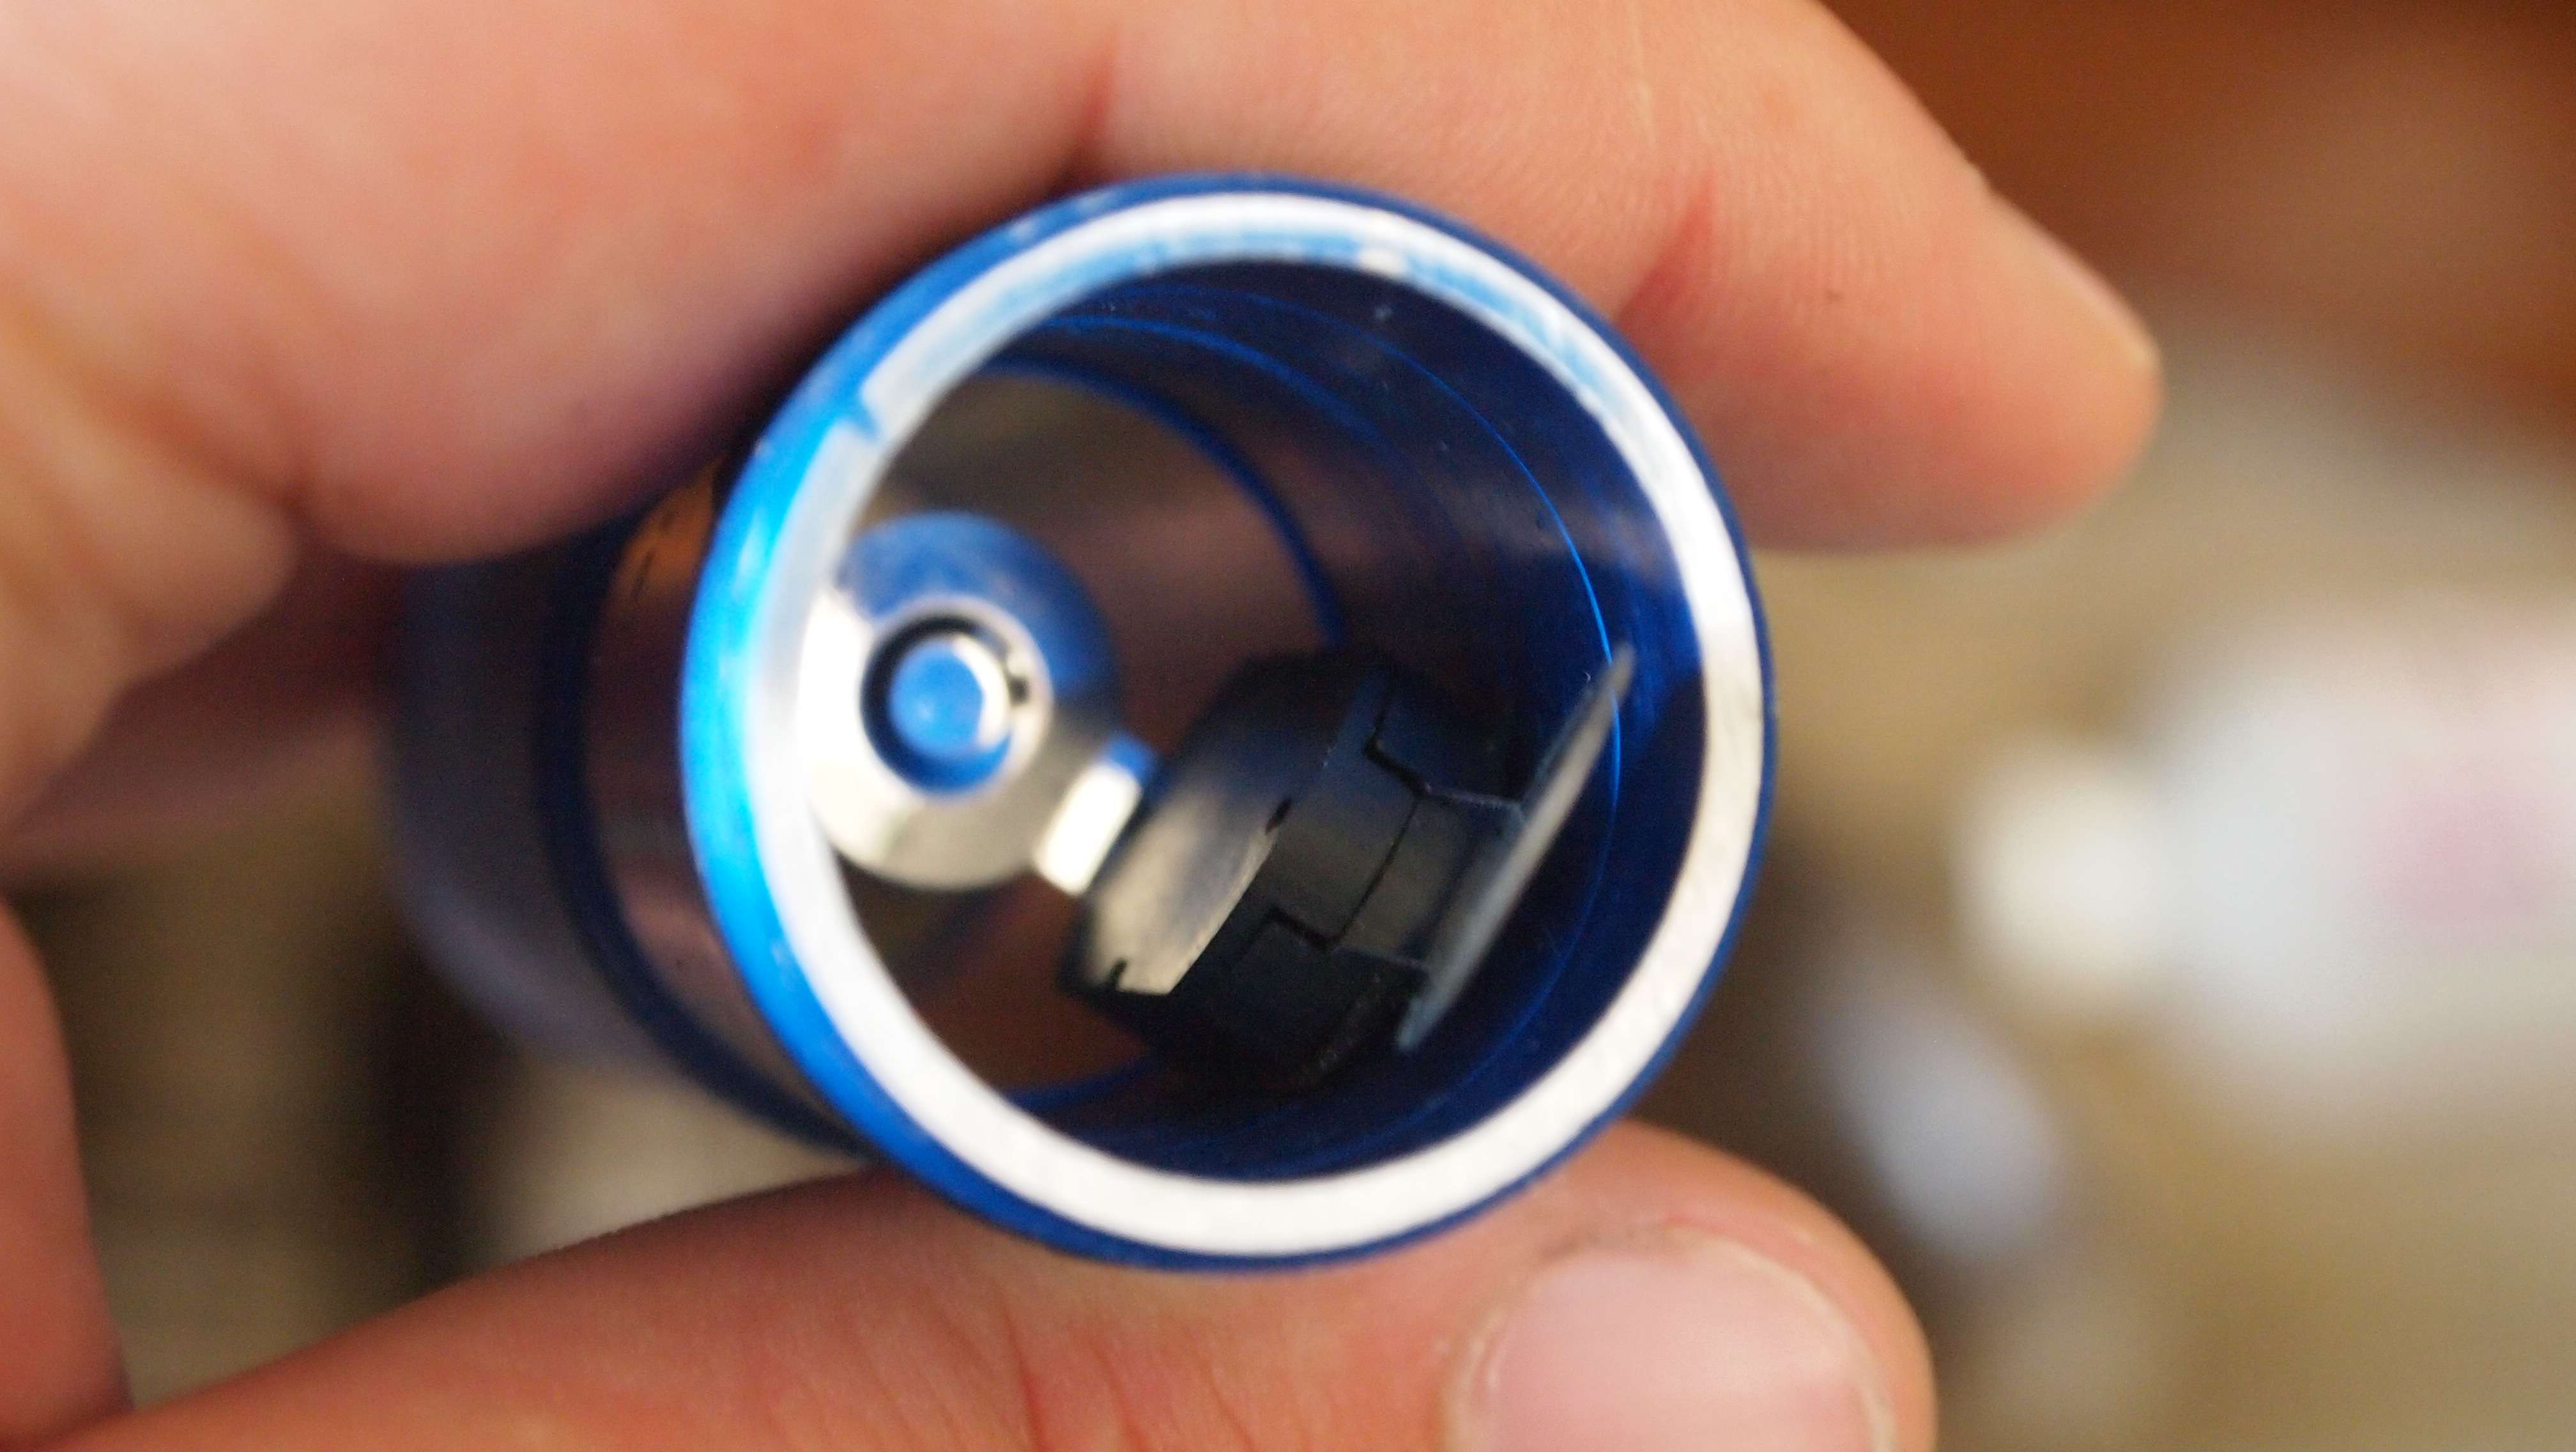
Now reinsert the clicky in the host with the spring facing the back of the host.
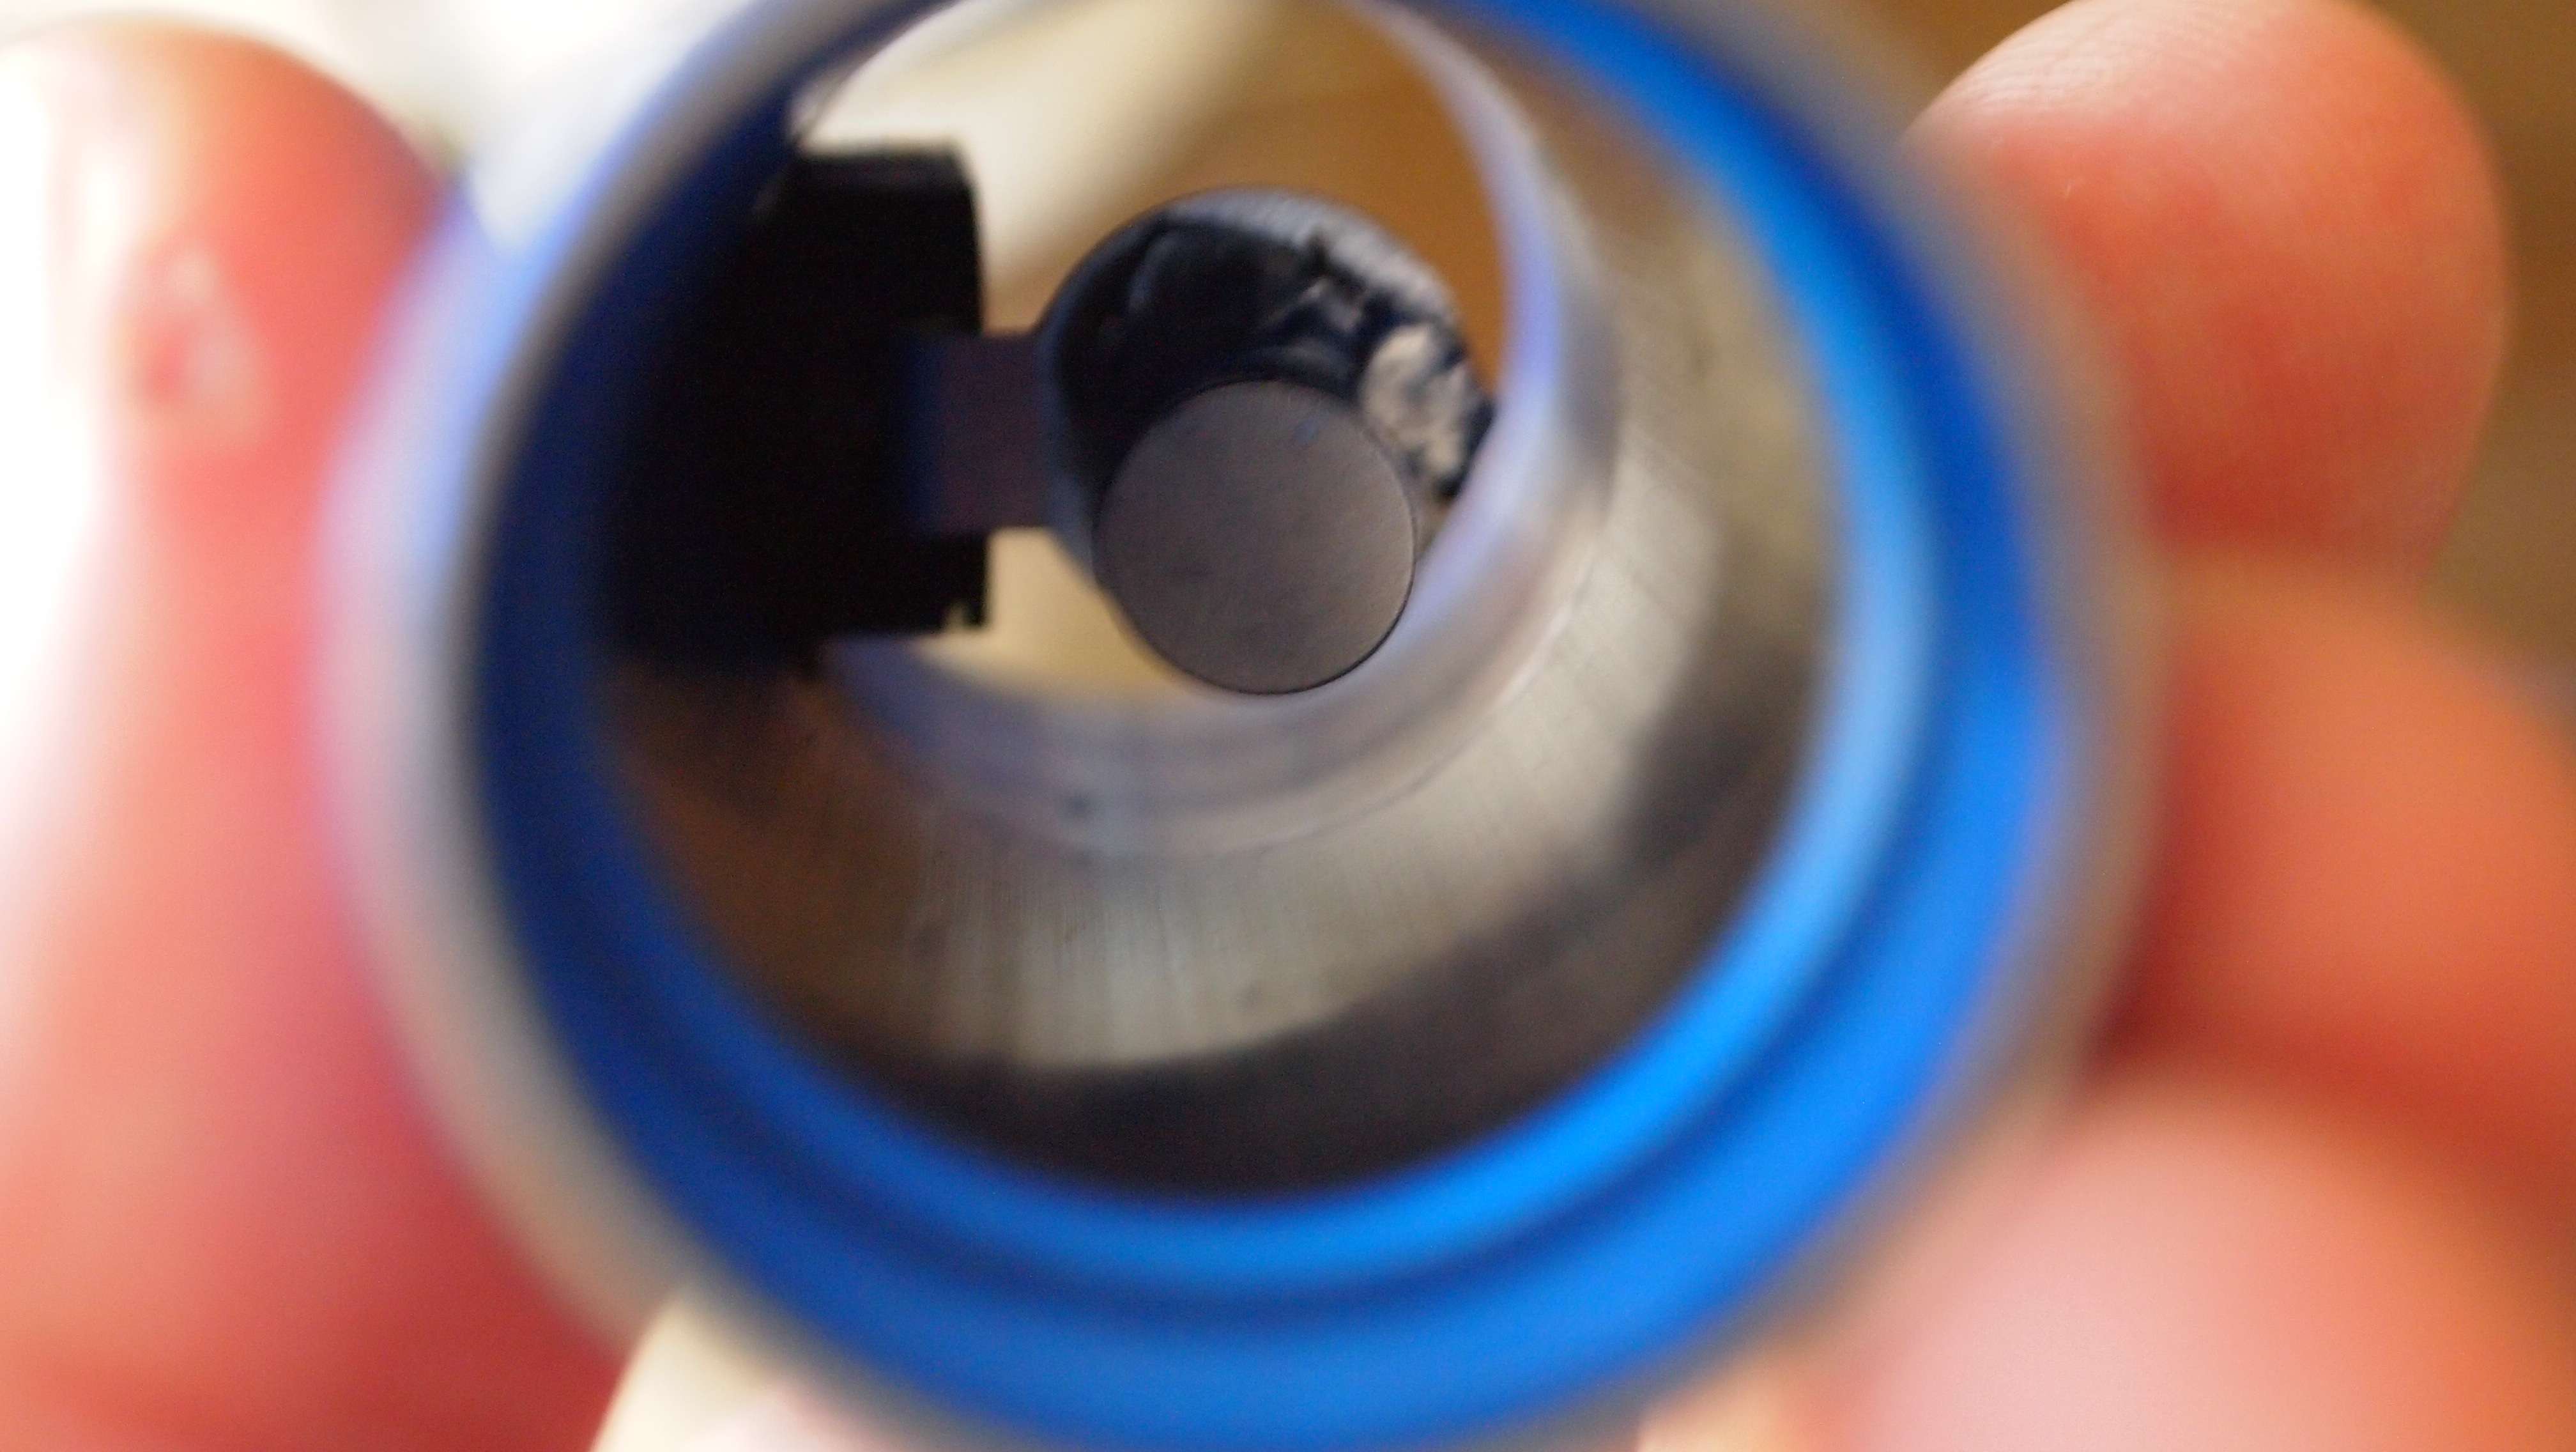
Slide your spacer in and add some Krazy Glue to hold the spacer in place. That's it for the pill preparation.

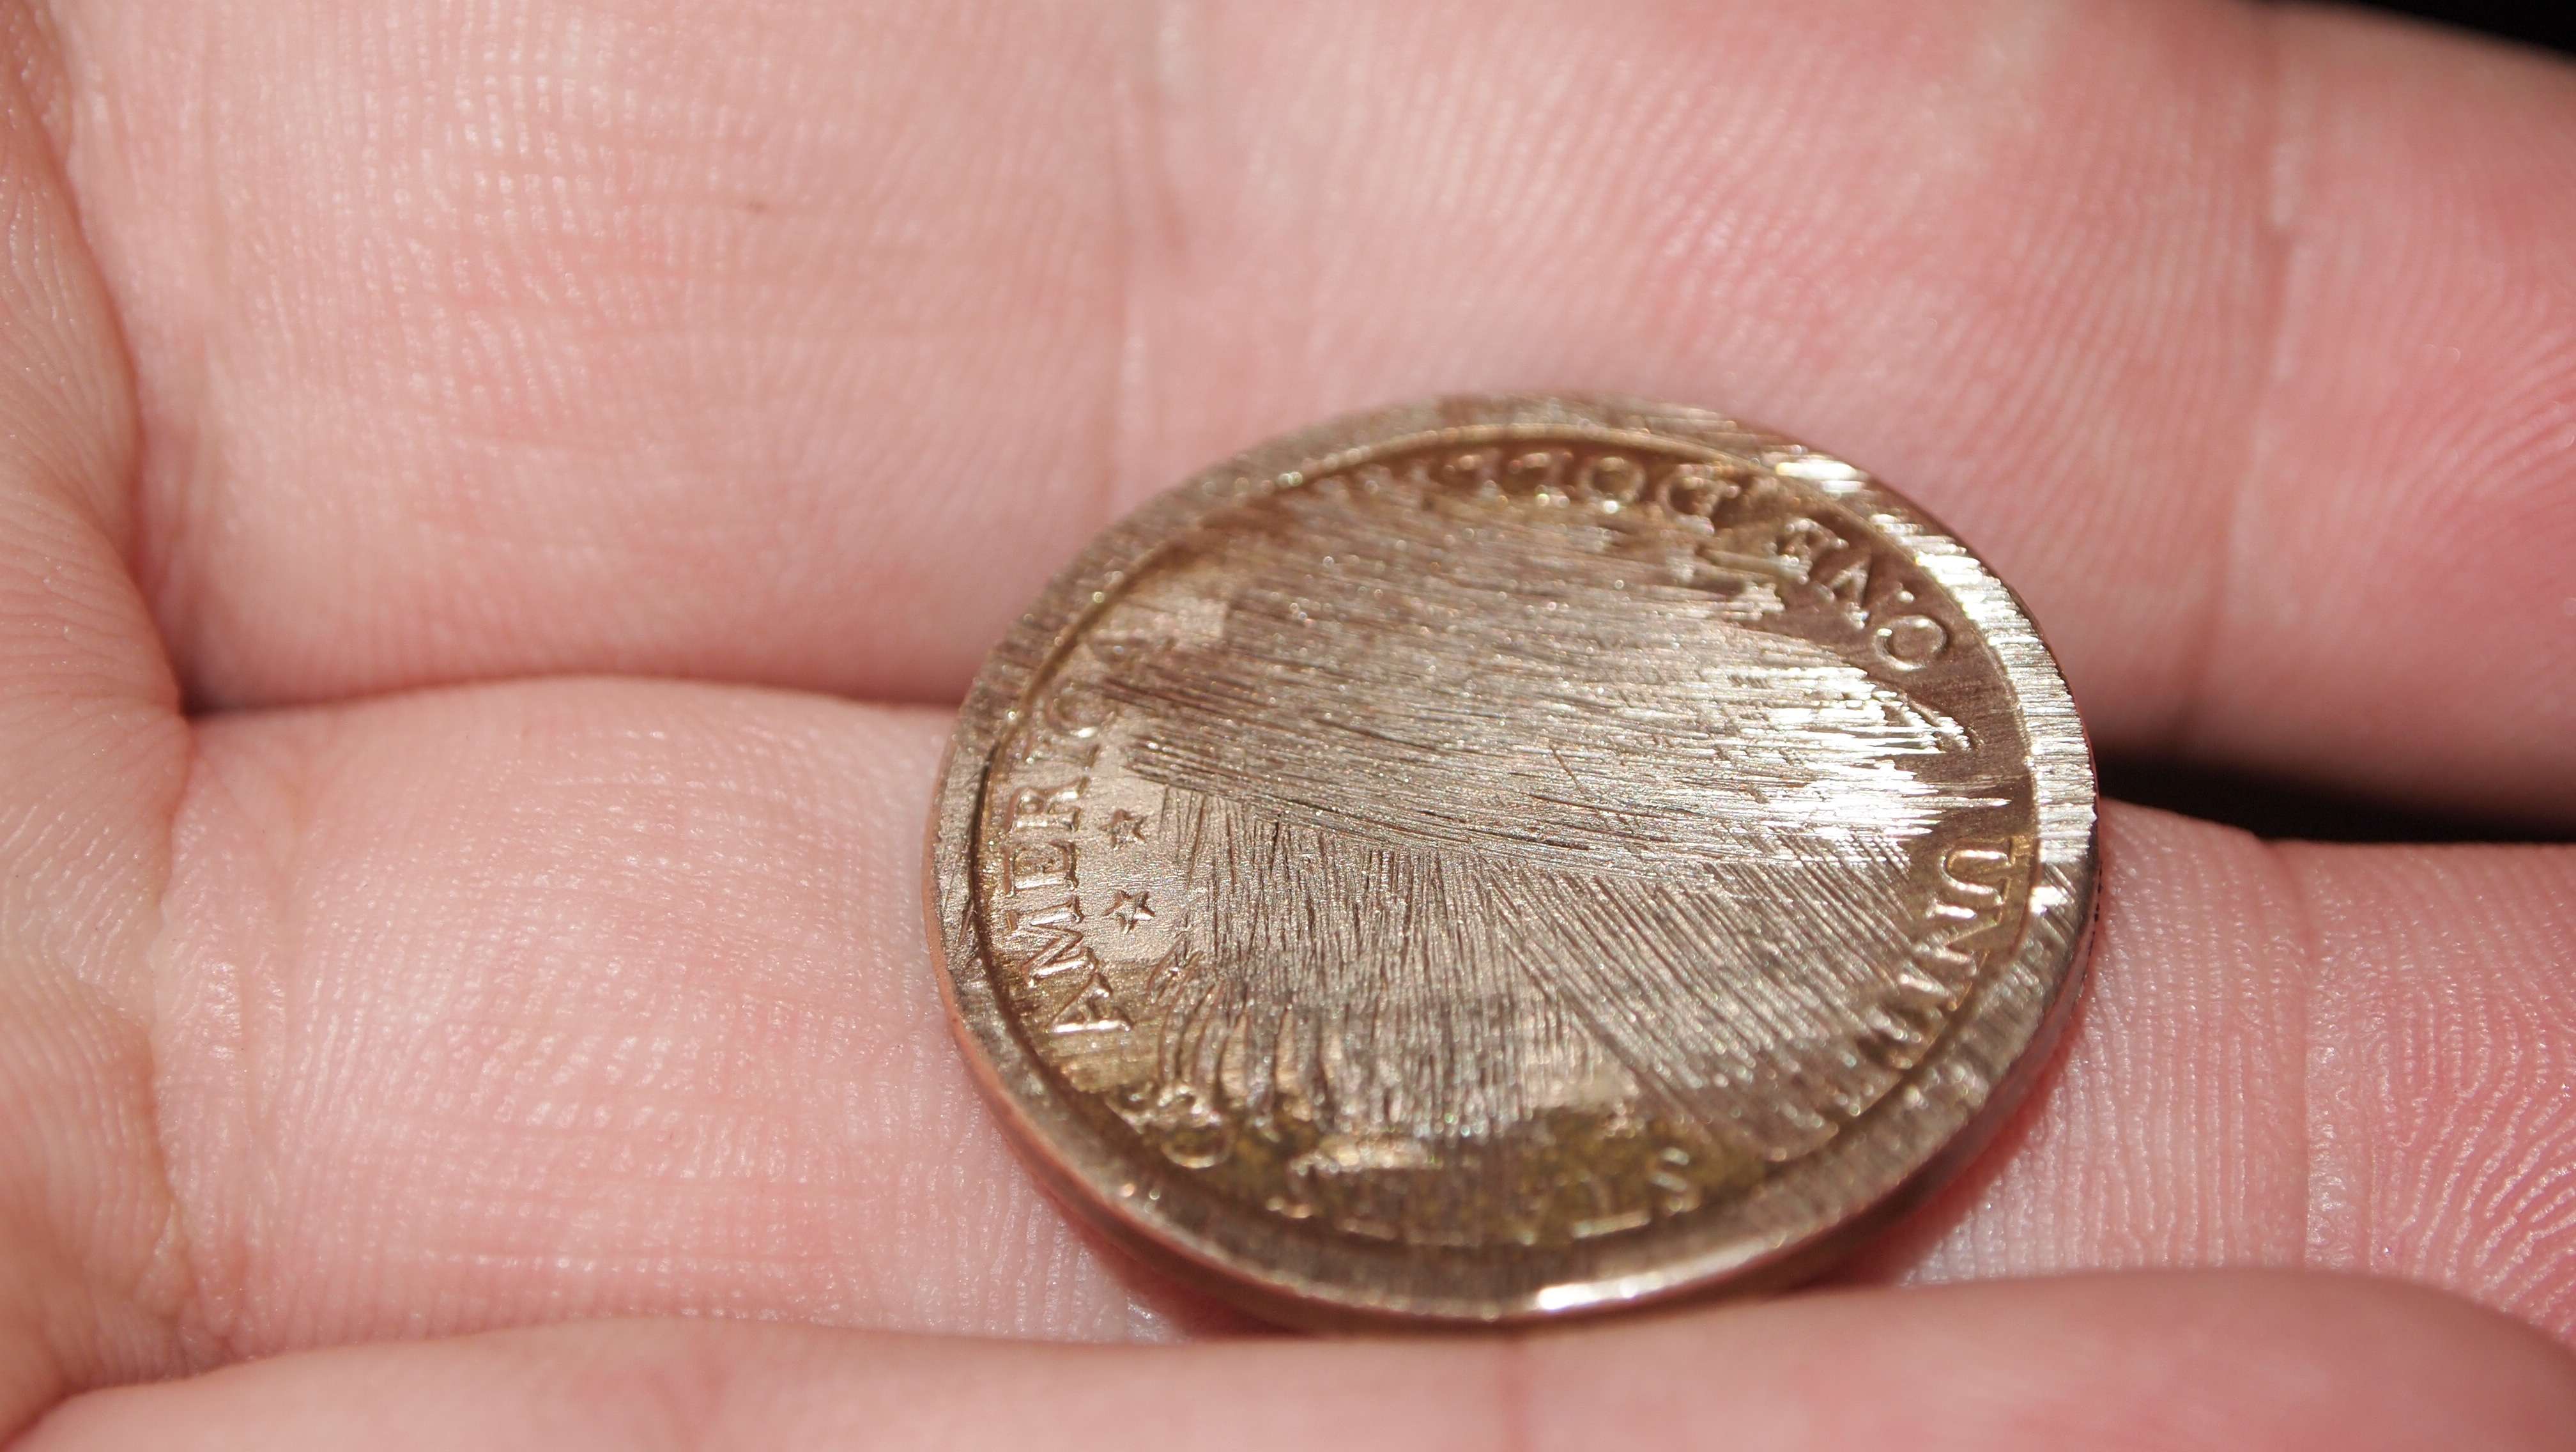
Next get your $1 gold coin to be used as the heatsink for the driver.

Take it to a grinder to flatten the points that will have contact. First the lip on the bottom of the coin that will press against the heatsink.
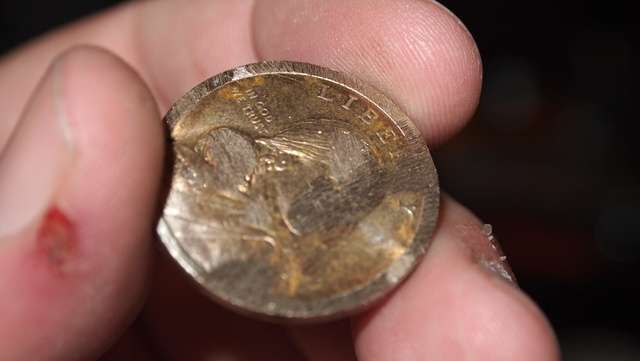
Then the area on the coin that the driver will sit.
I drilled a hole slightly off center for the wires to go through.
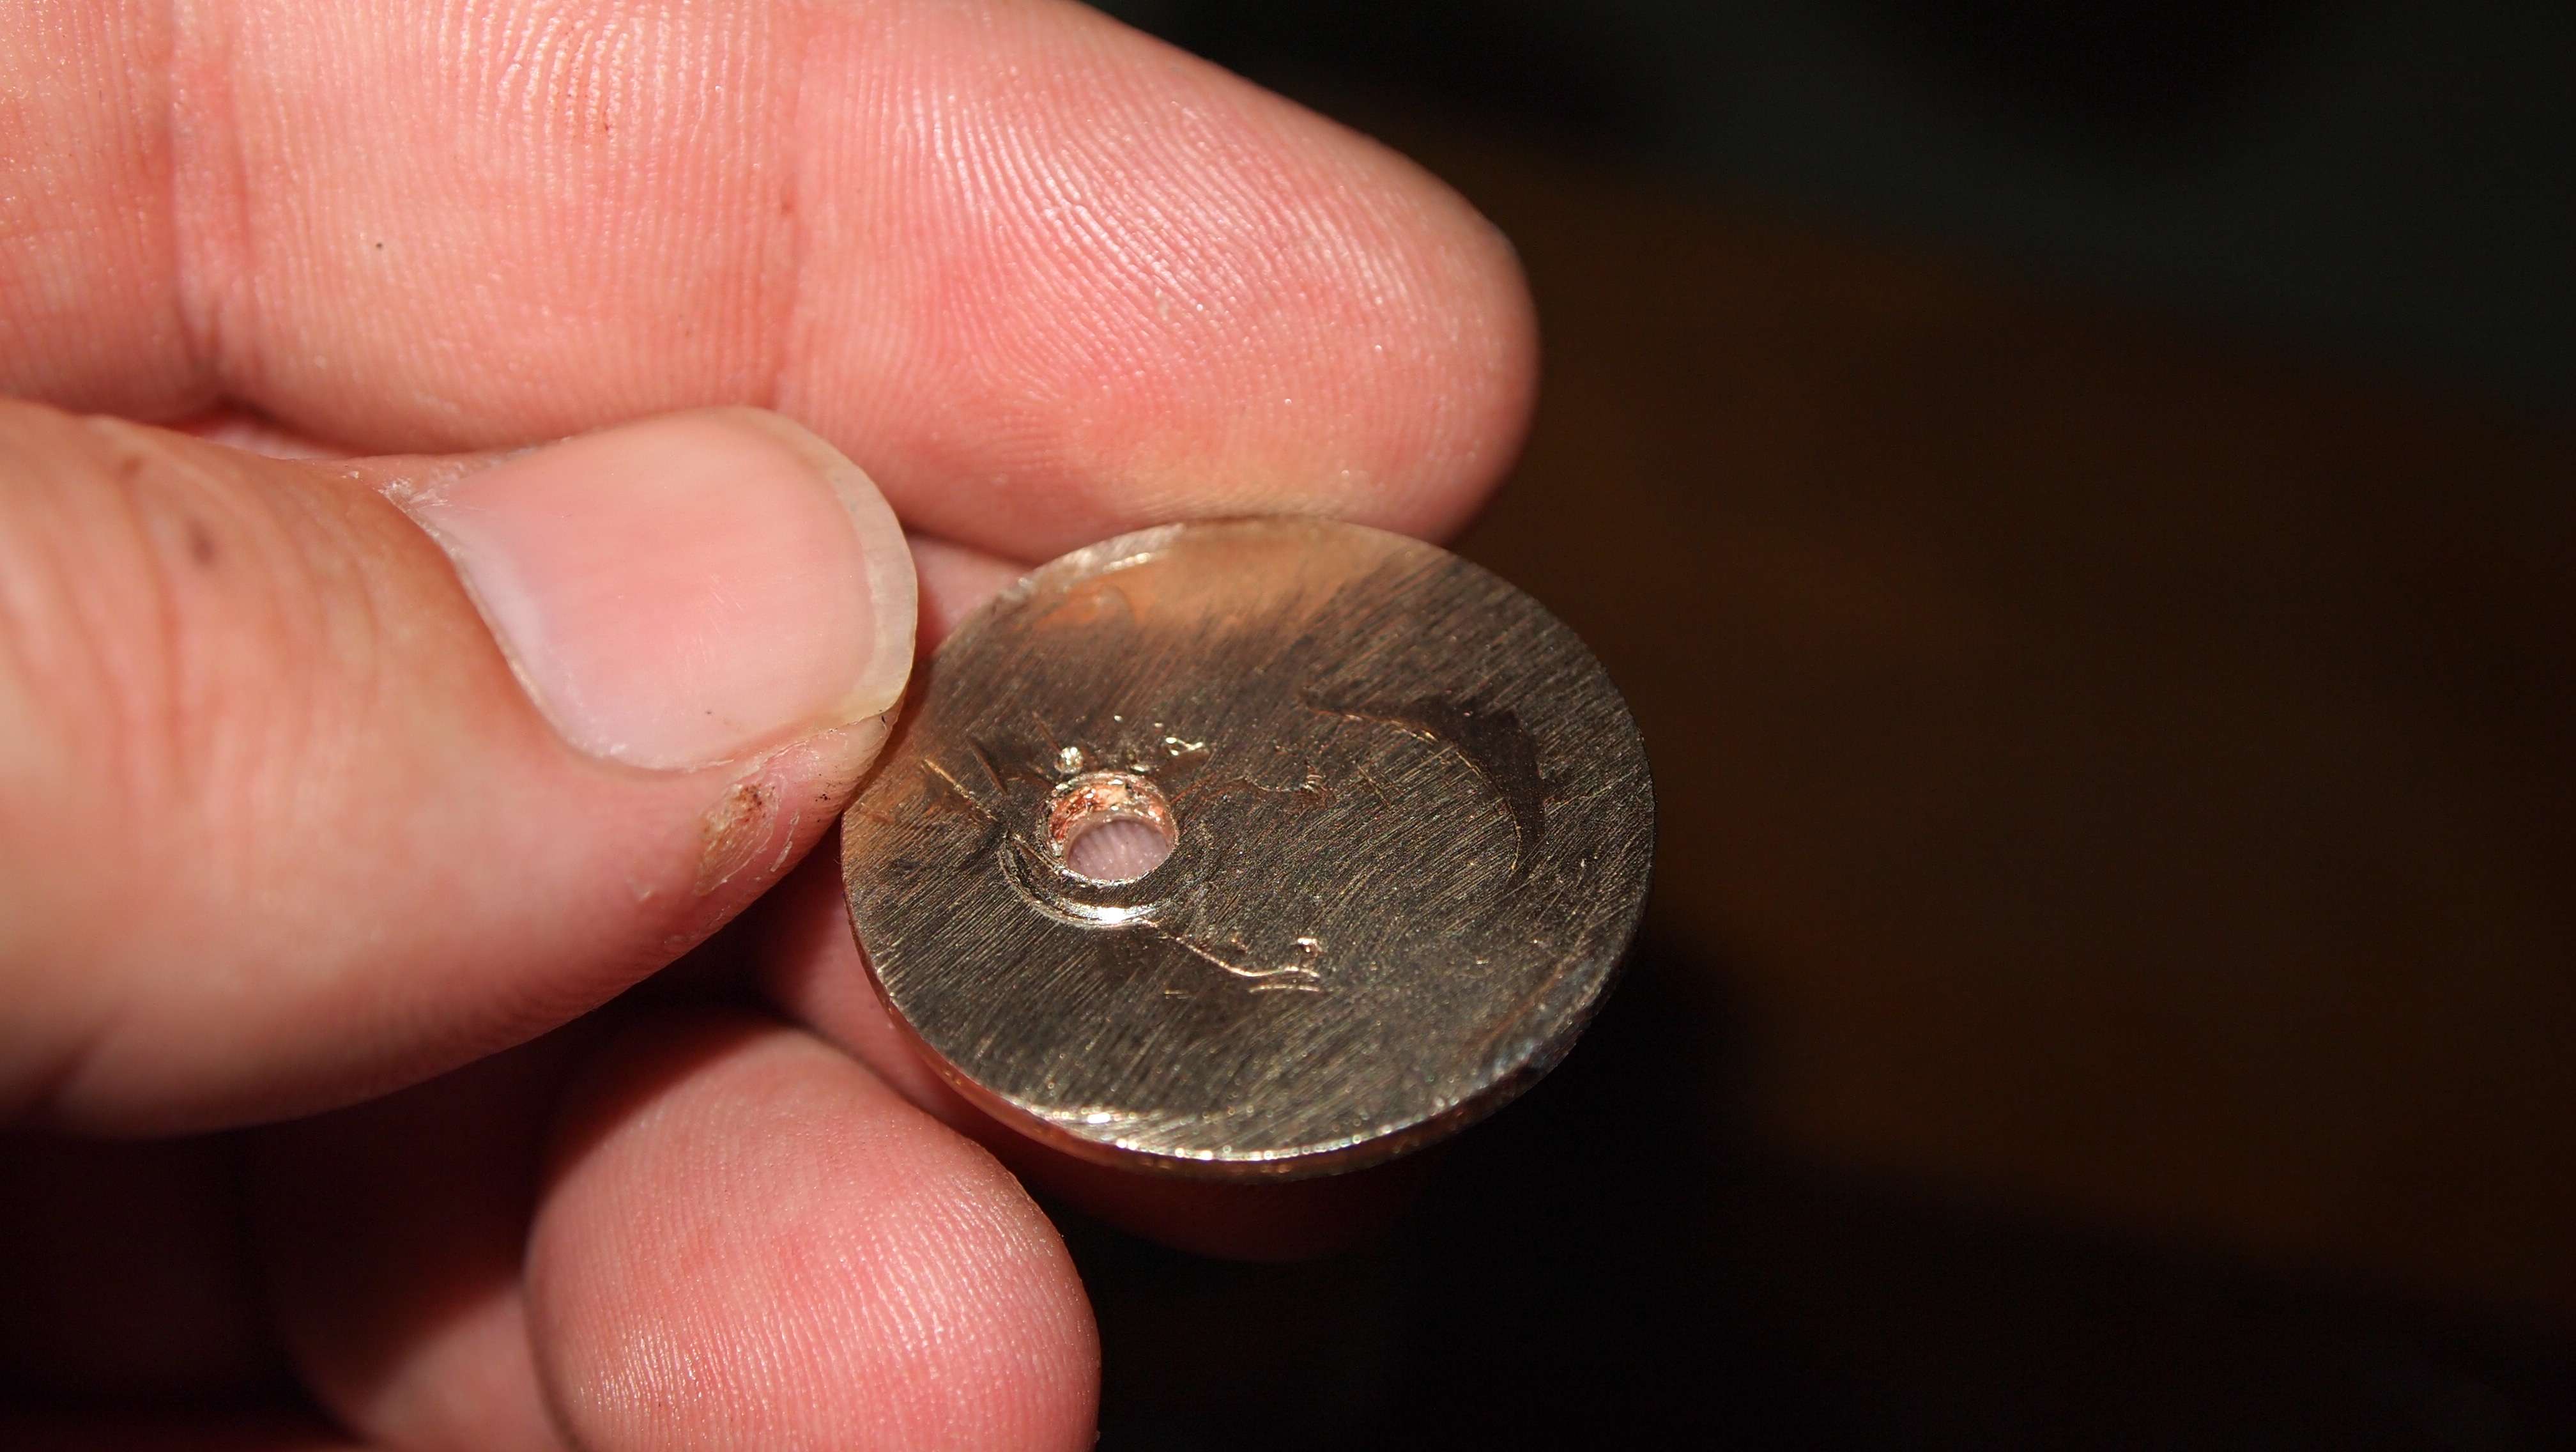
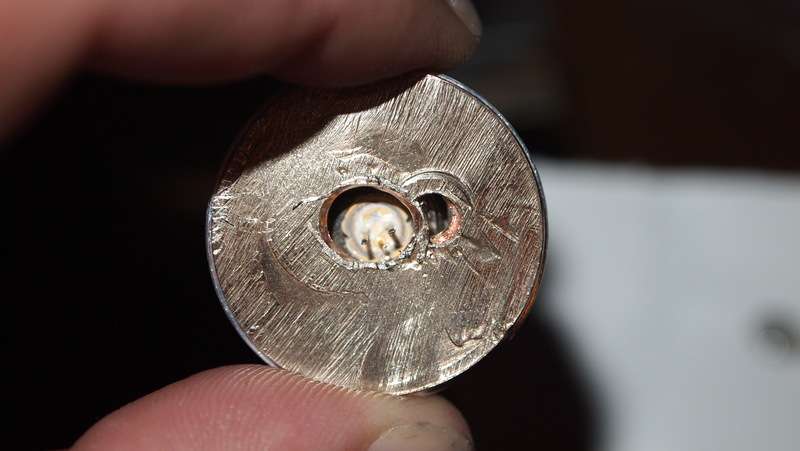
I quickly realized the diode pins will stick out too far for the dollar to fit over it. So I had to drill a larger hole centered for the pins to stick out.
Next I got some thermal adhesive mixed up.
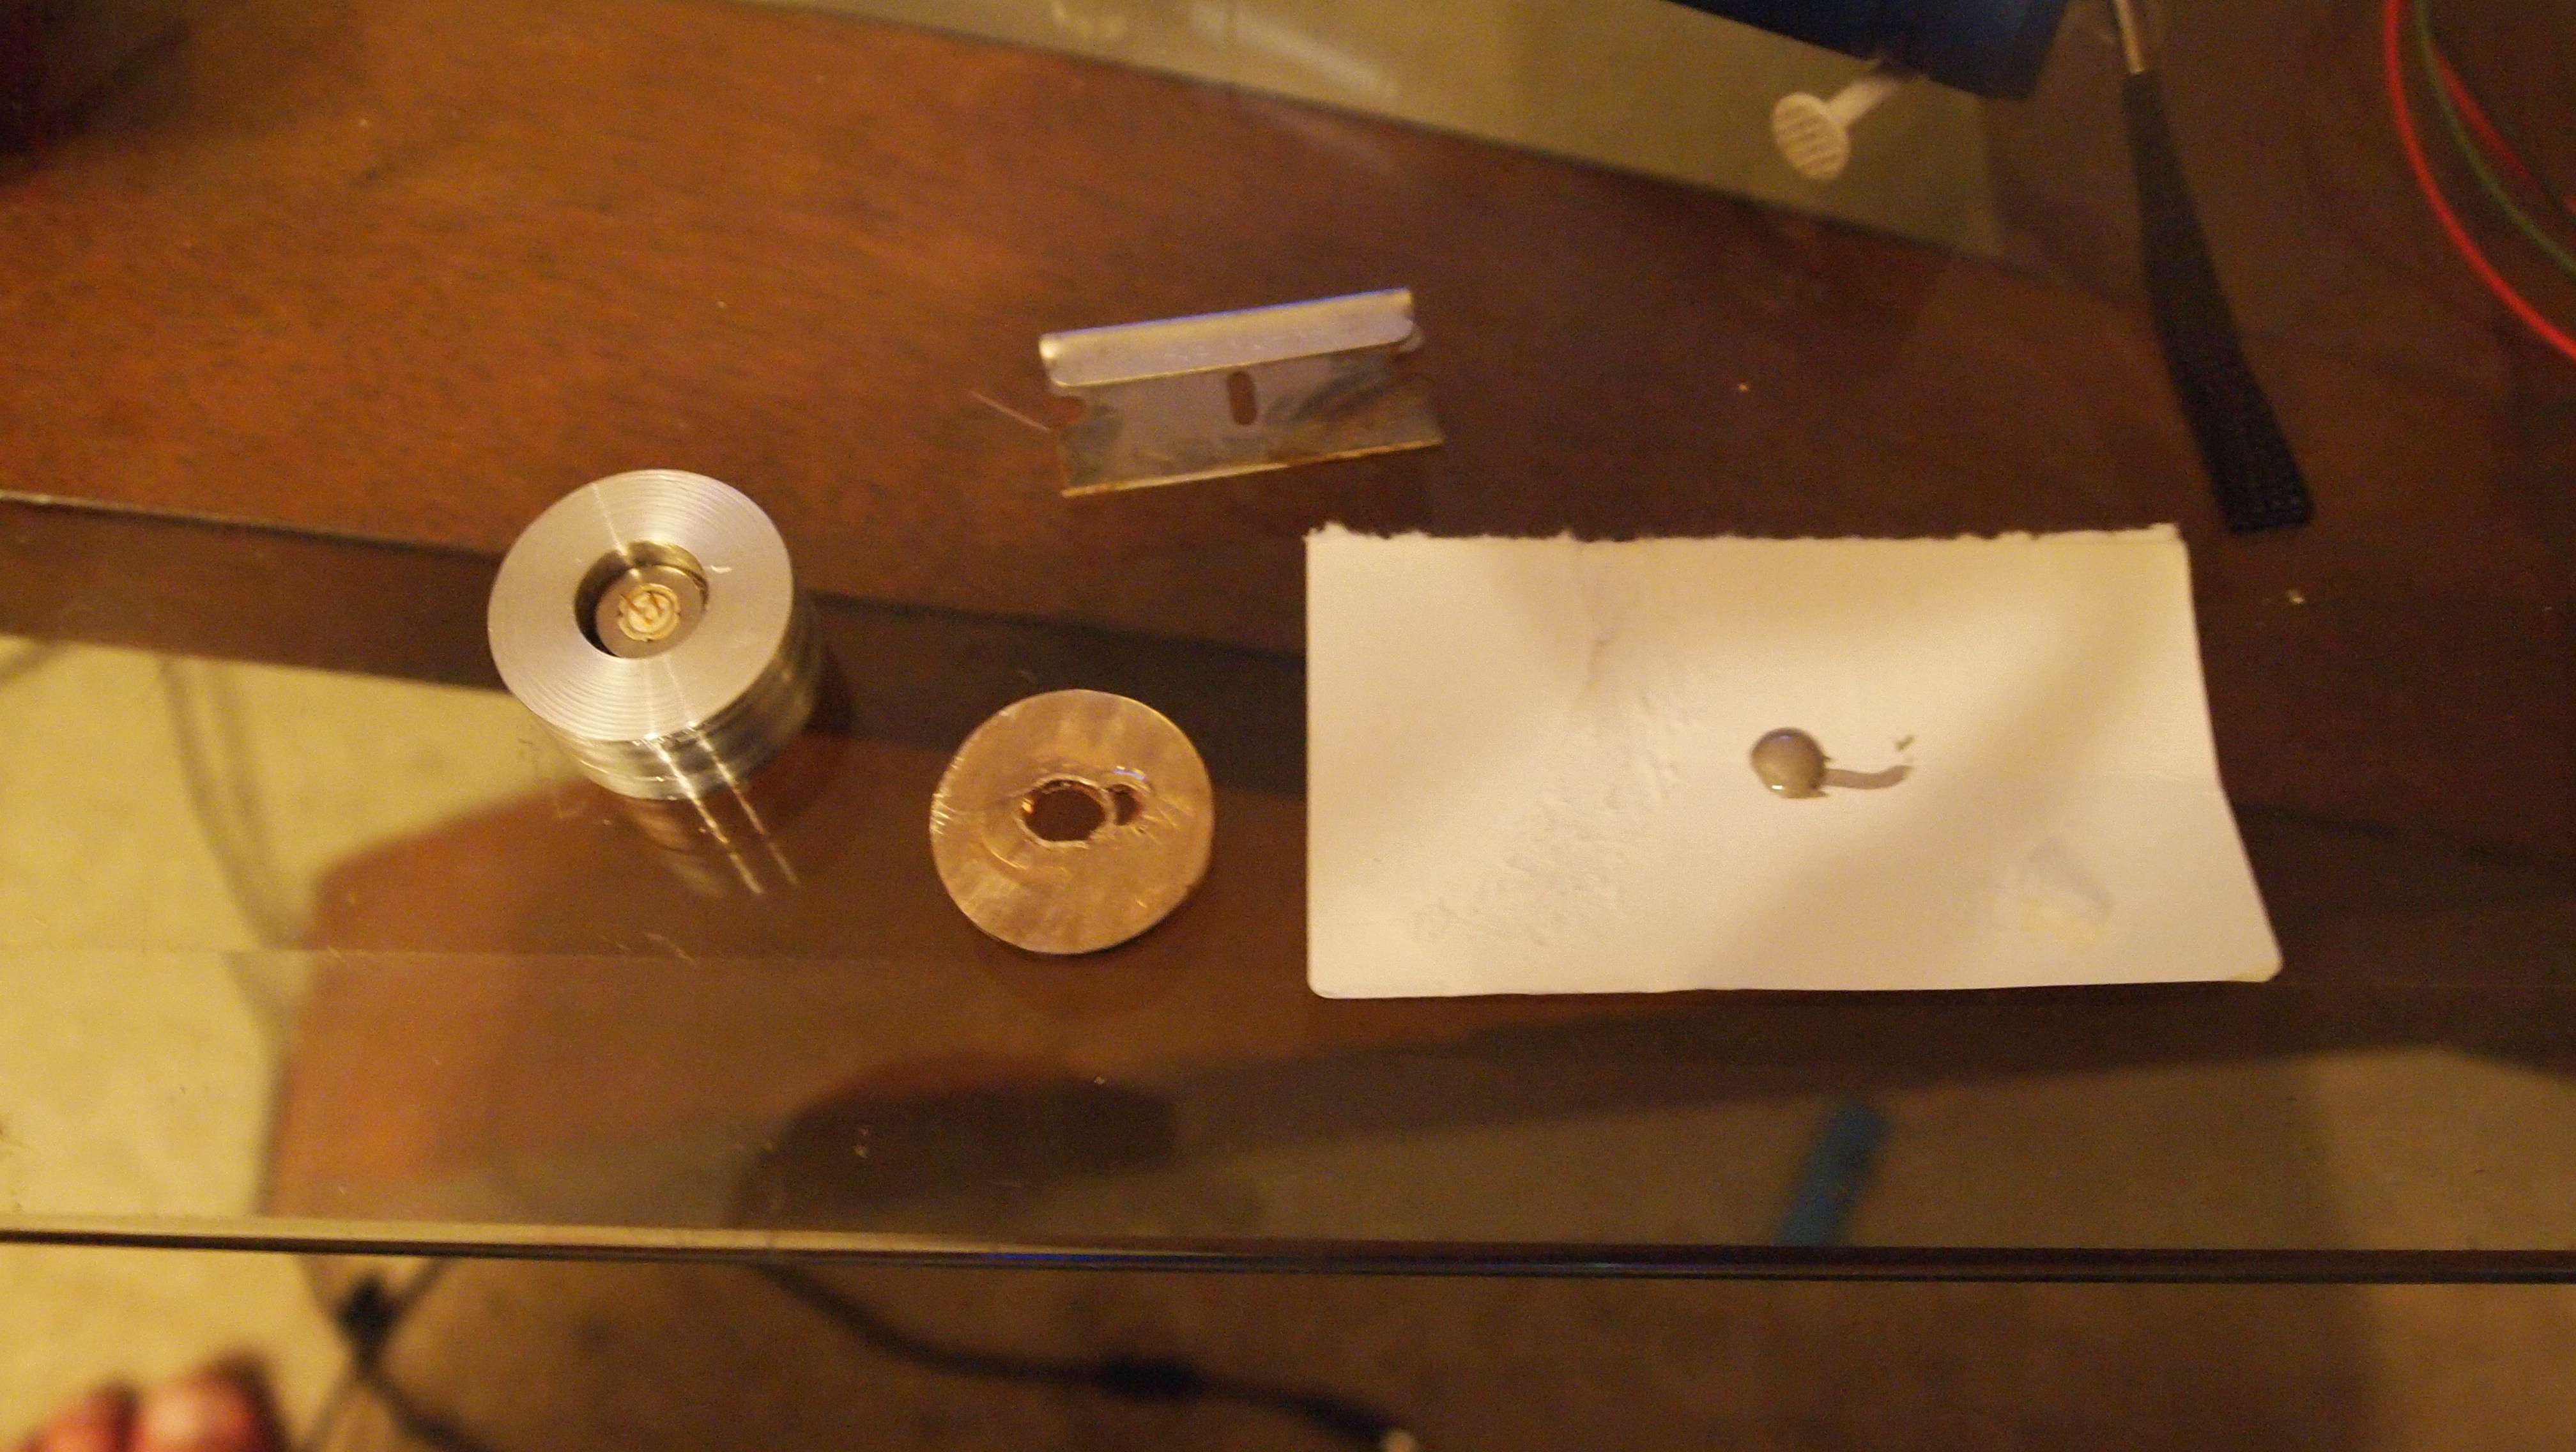
Put a thin coat on the area that the driver will be affixed to. Set the driver and add some alligator clips to hold it tight until the adhesive hardens.
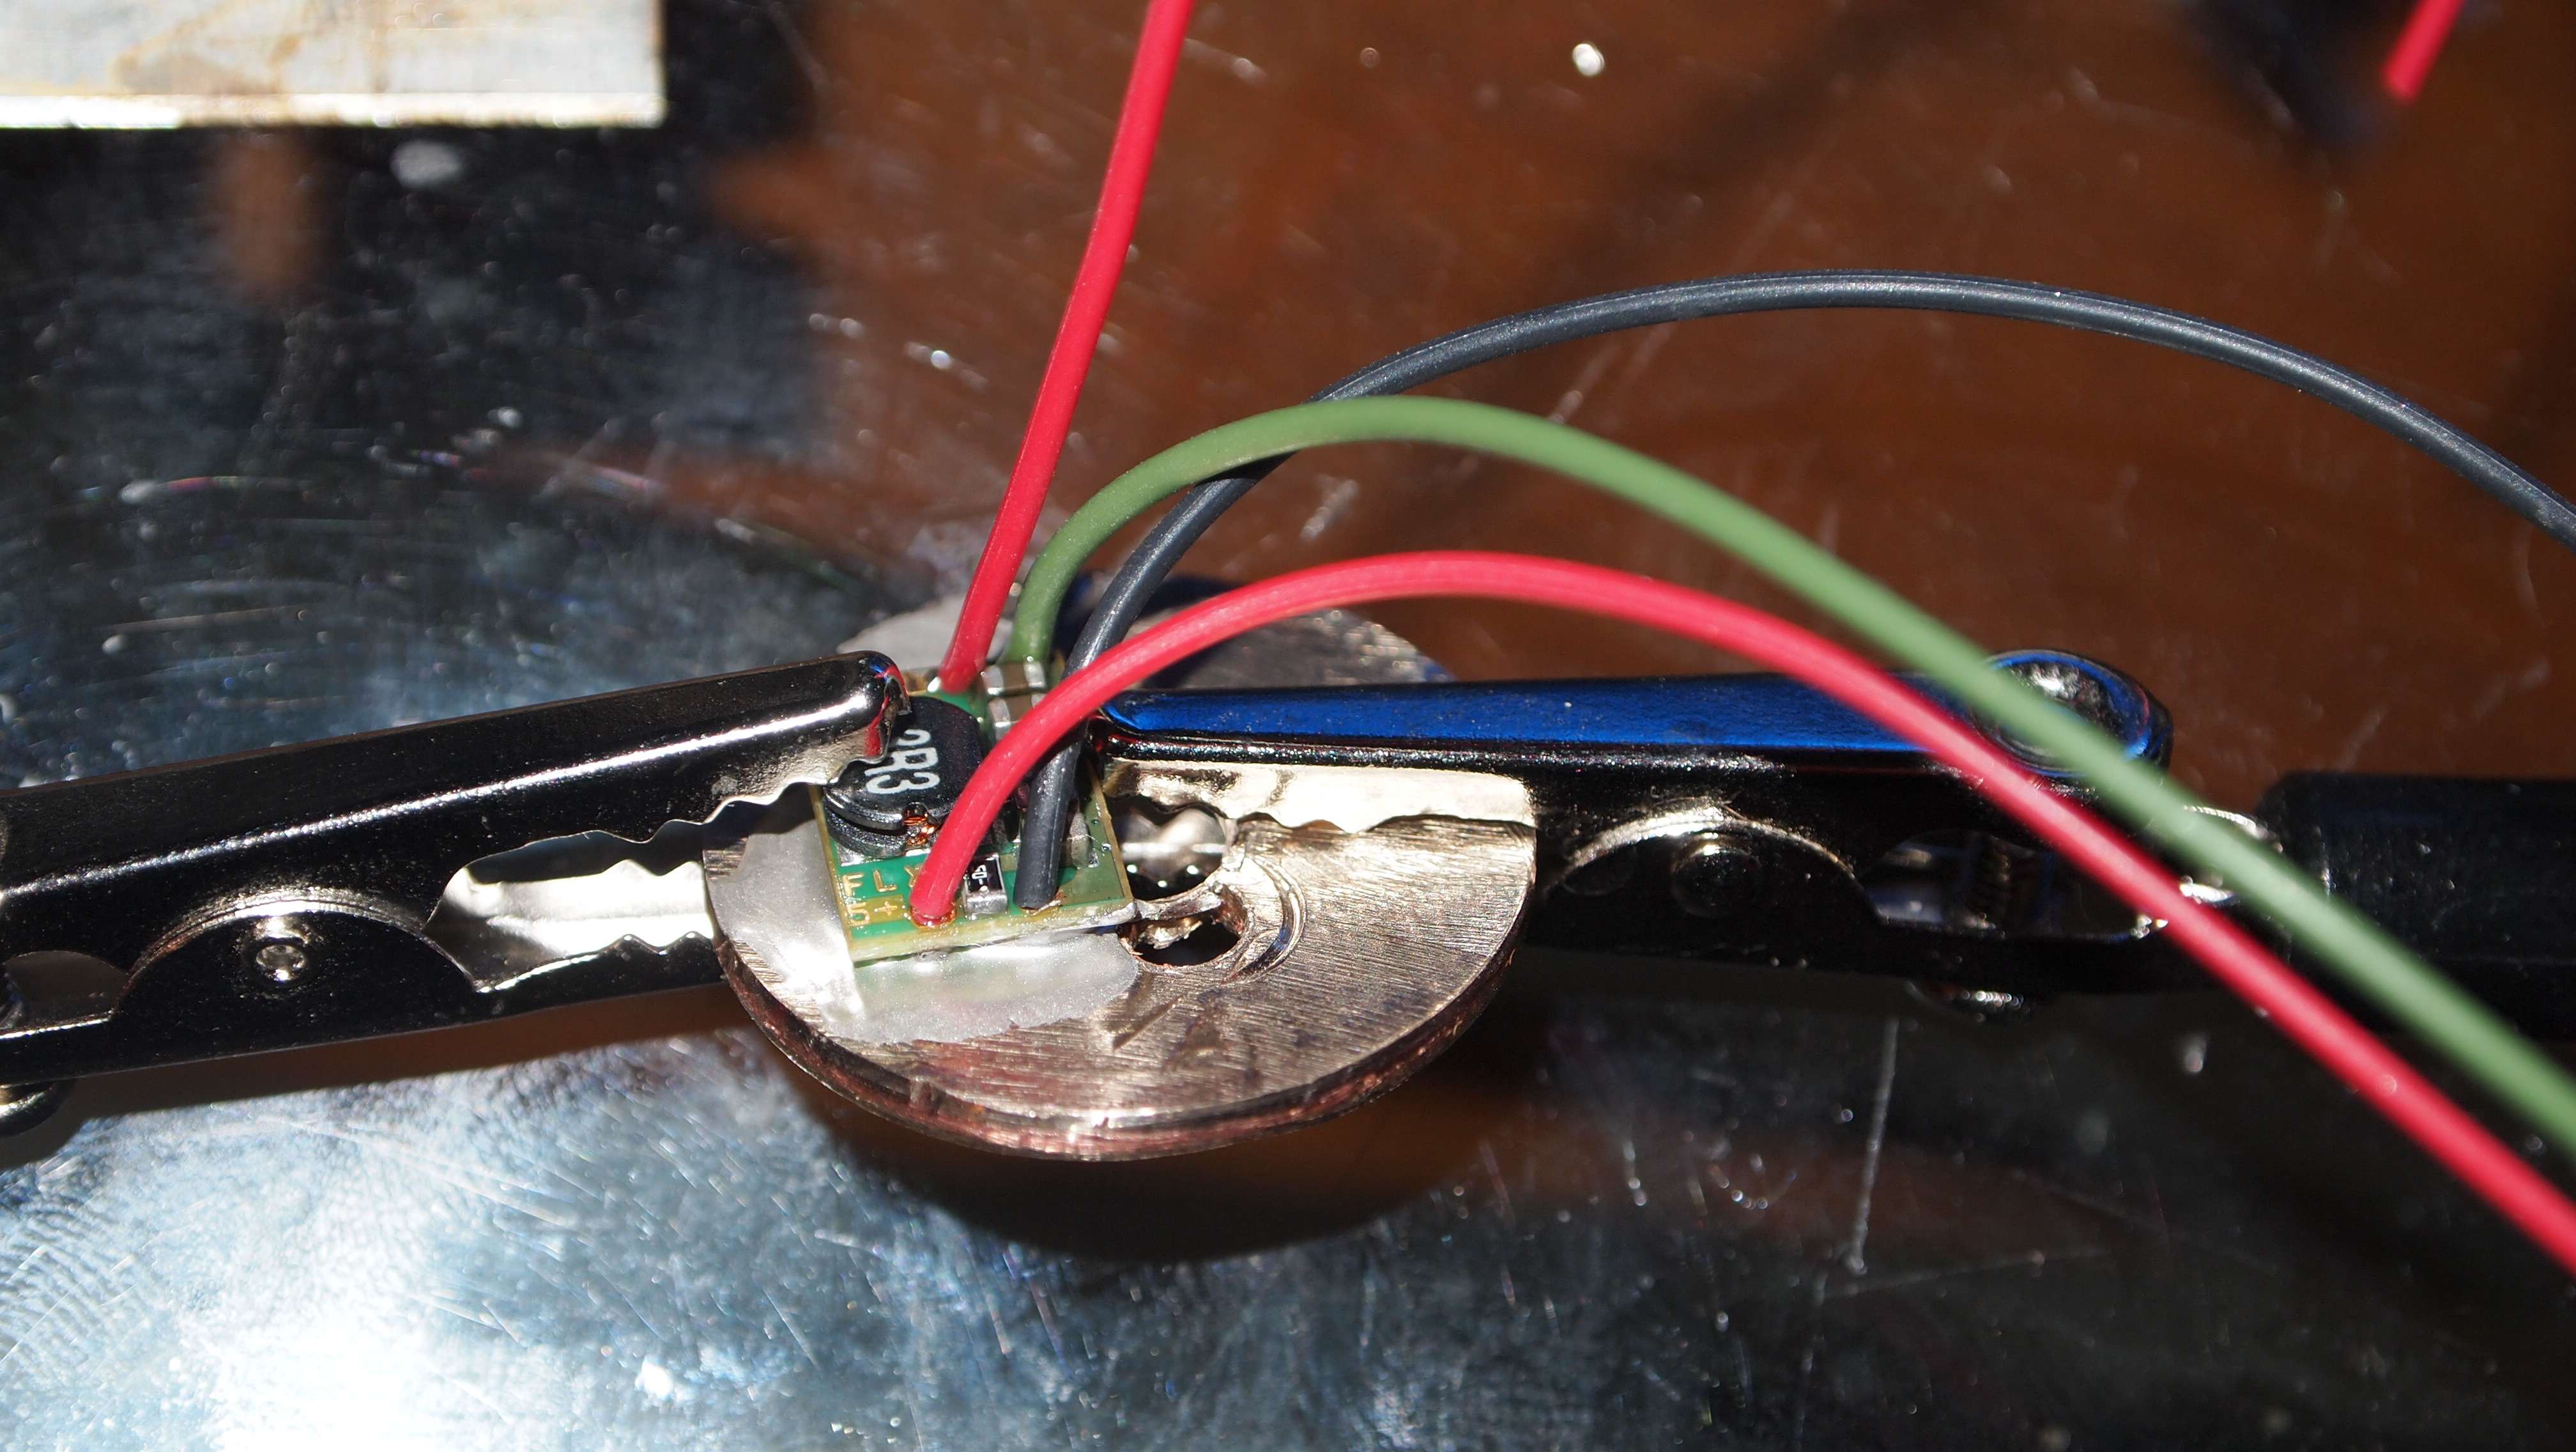
I gave it 20 minutes for the adhesive to harden then I removed the alligator clips and ran the diode wires through the hole.
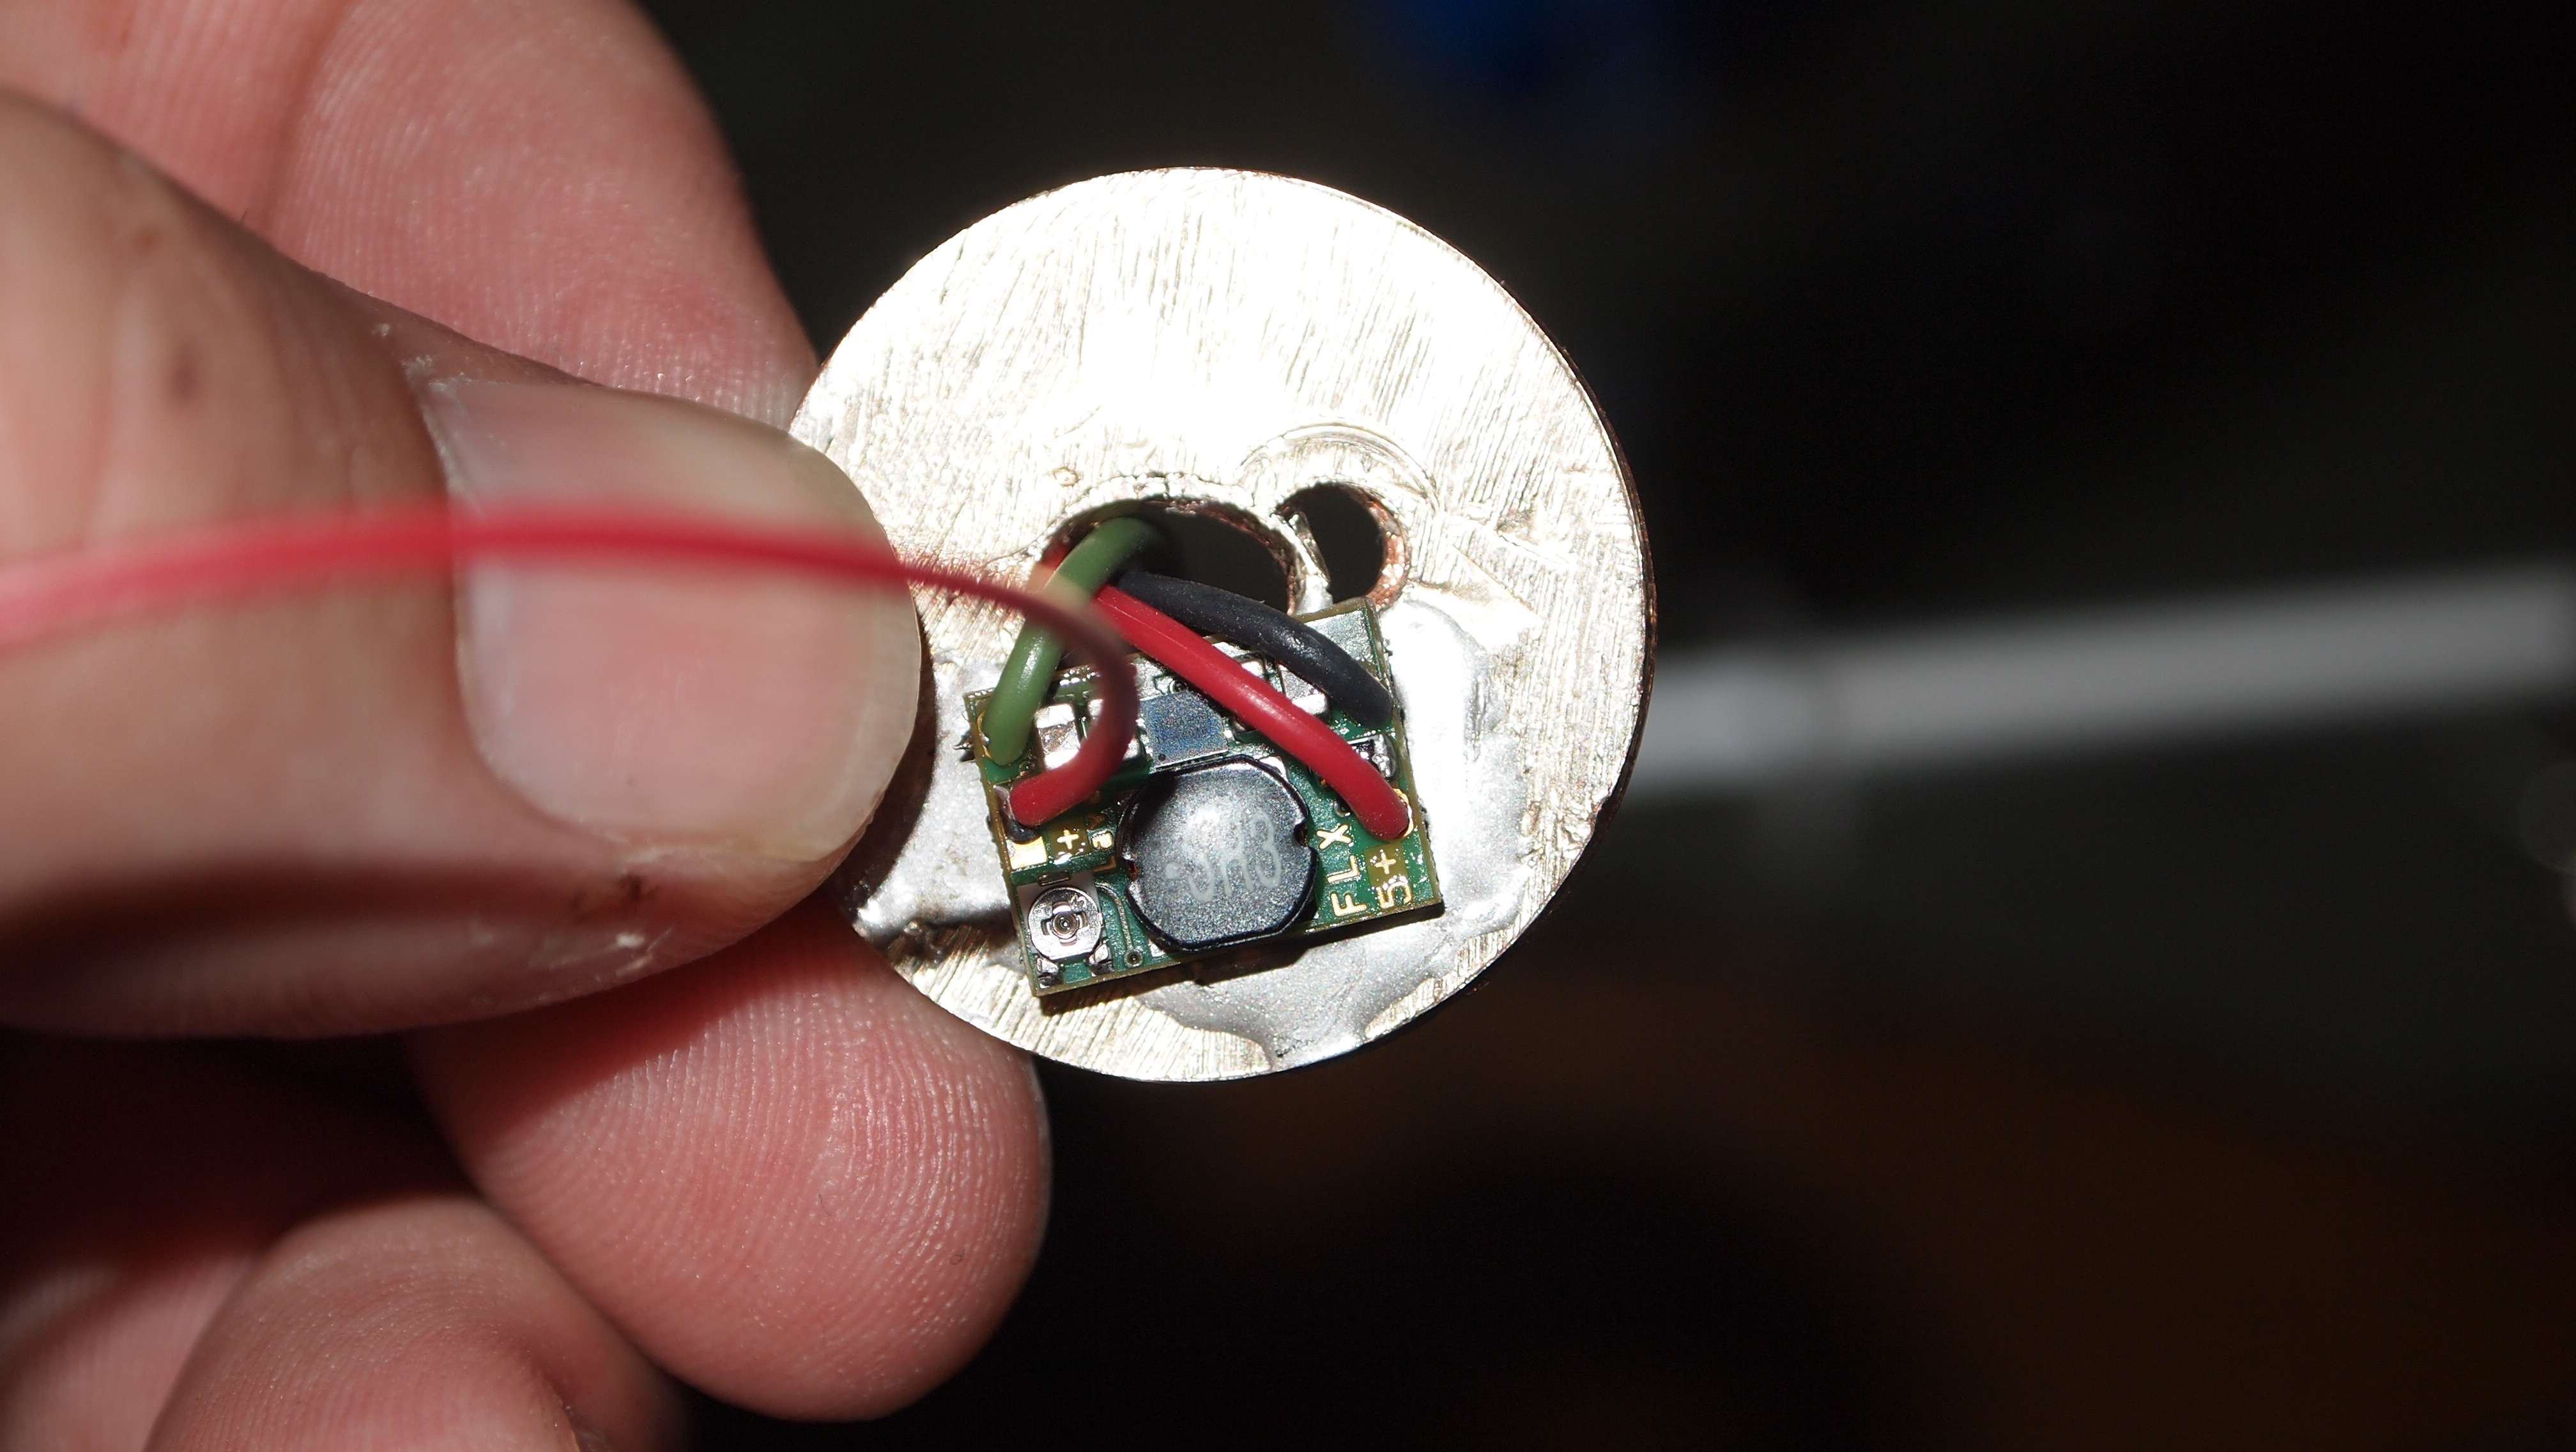
I clipped the wires shorter striped them and added some flux to the tips.
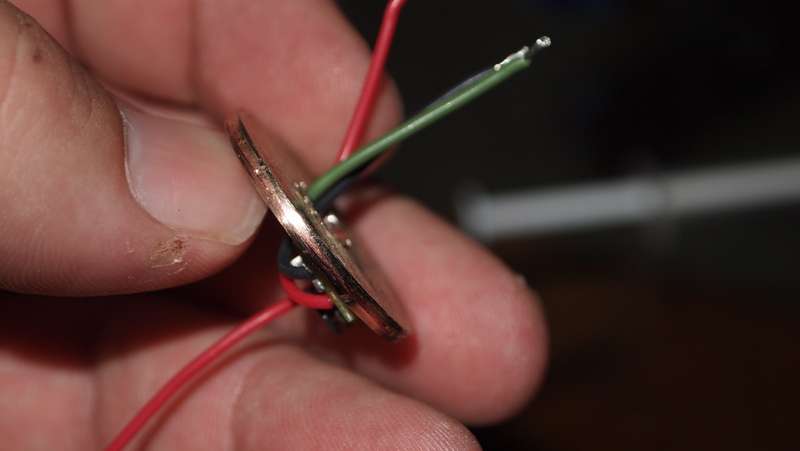
Soldered the diode using the case pin for an isolated negative and added shrink tubing.
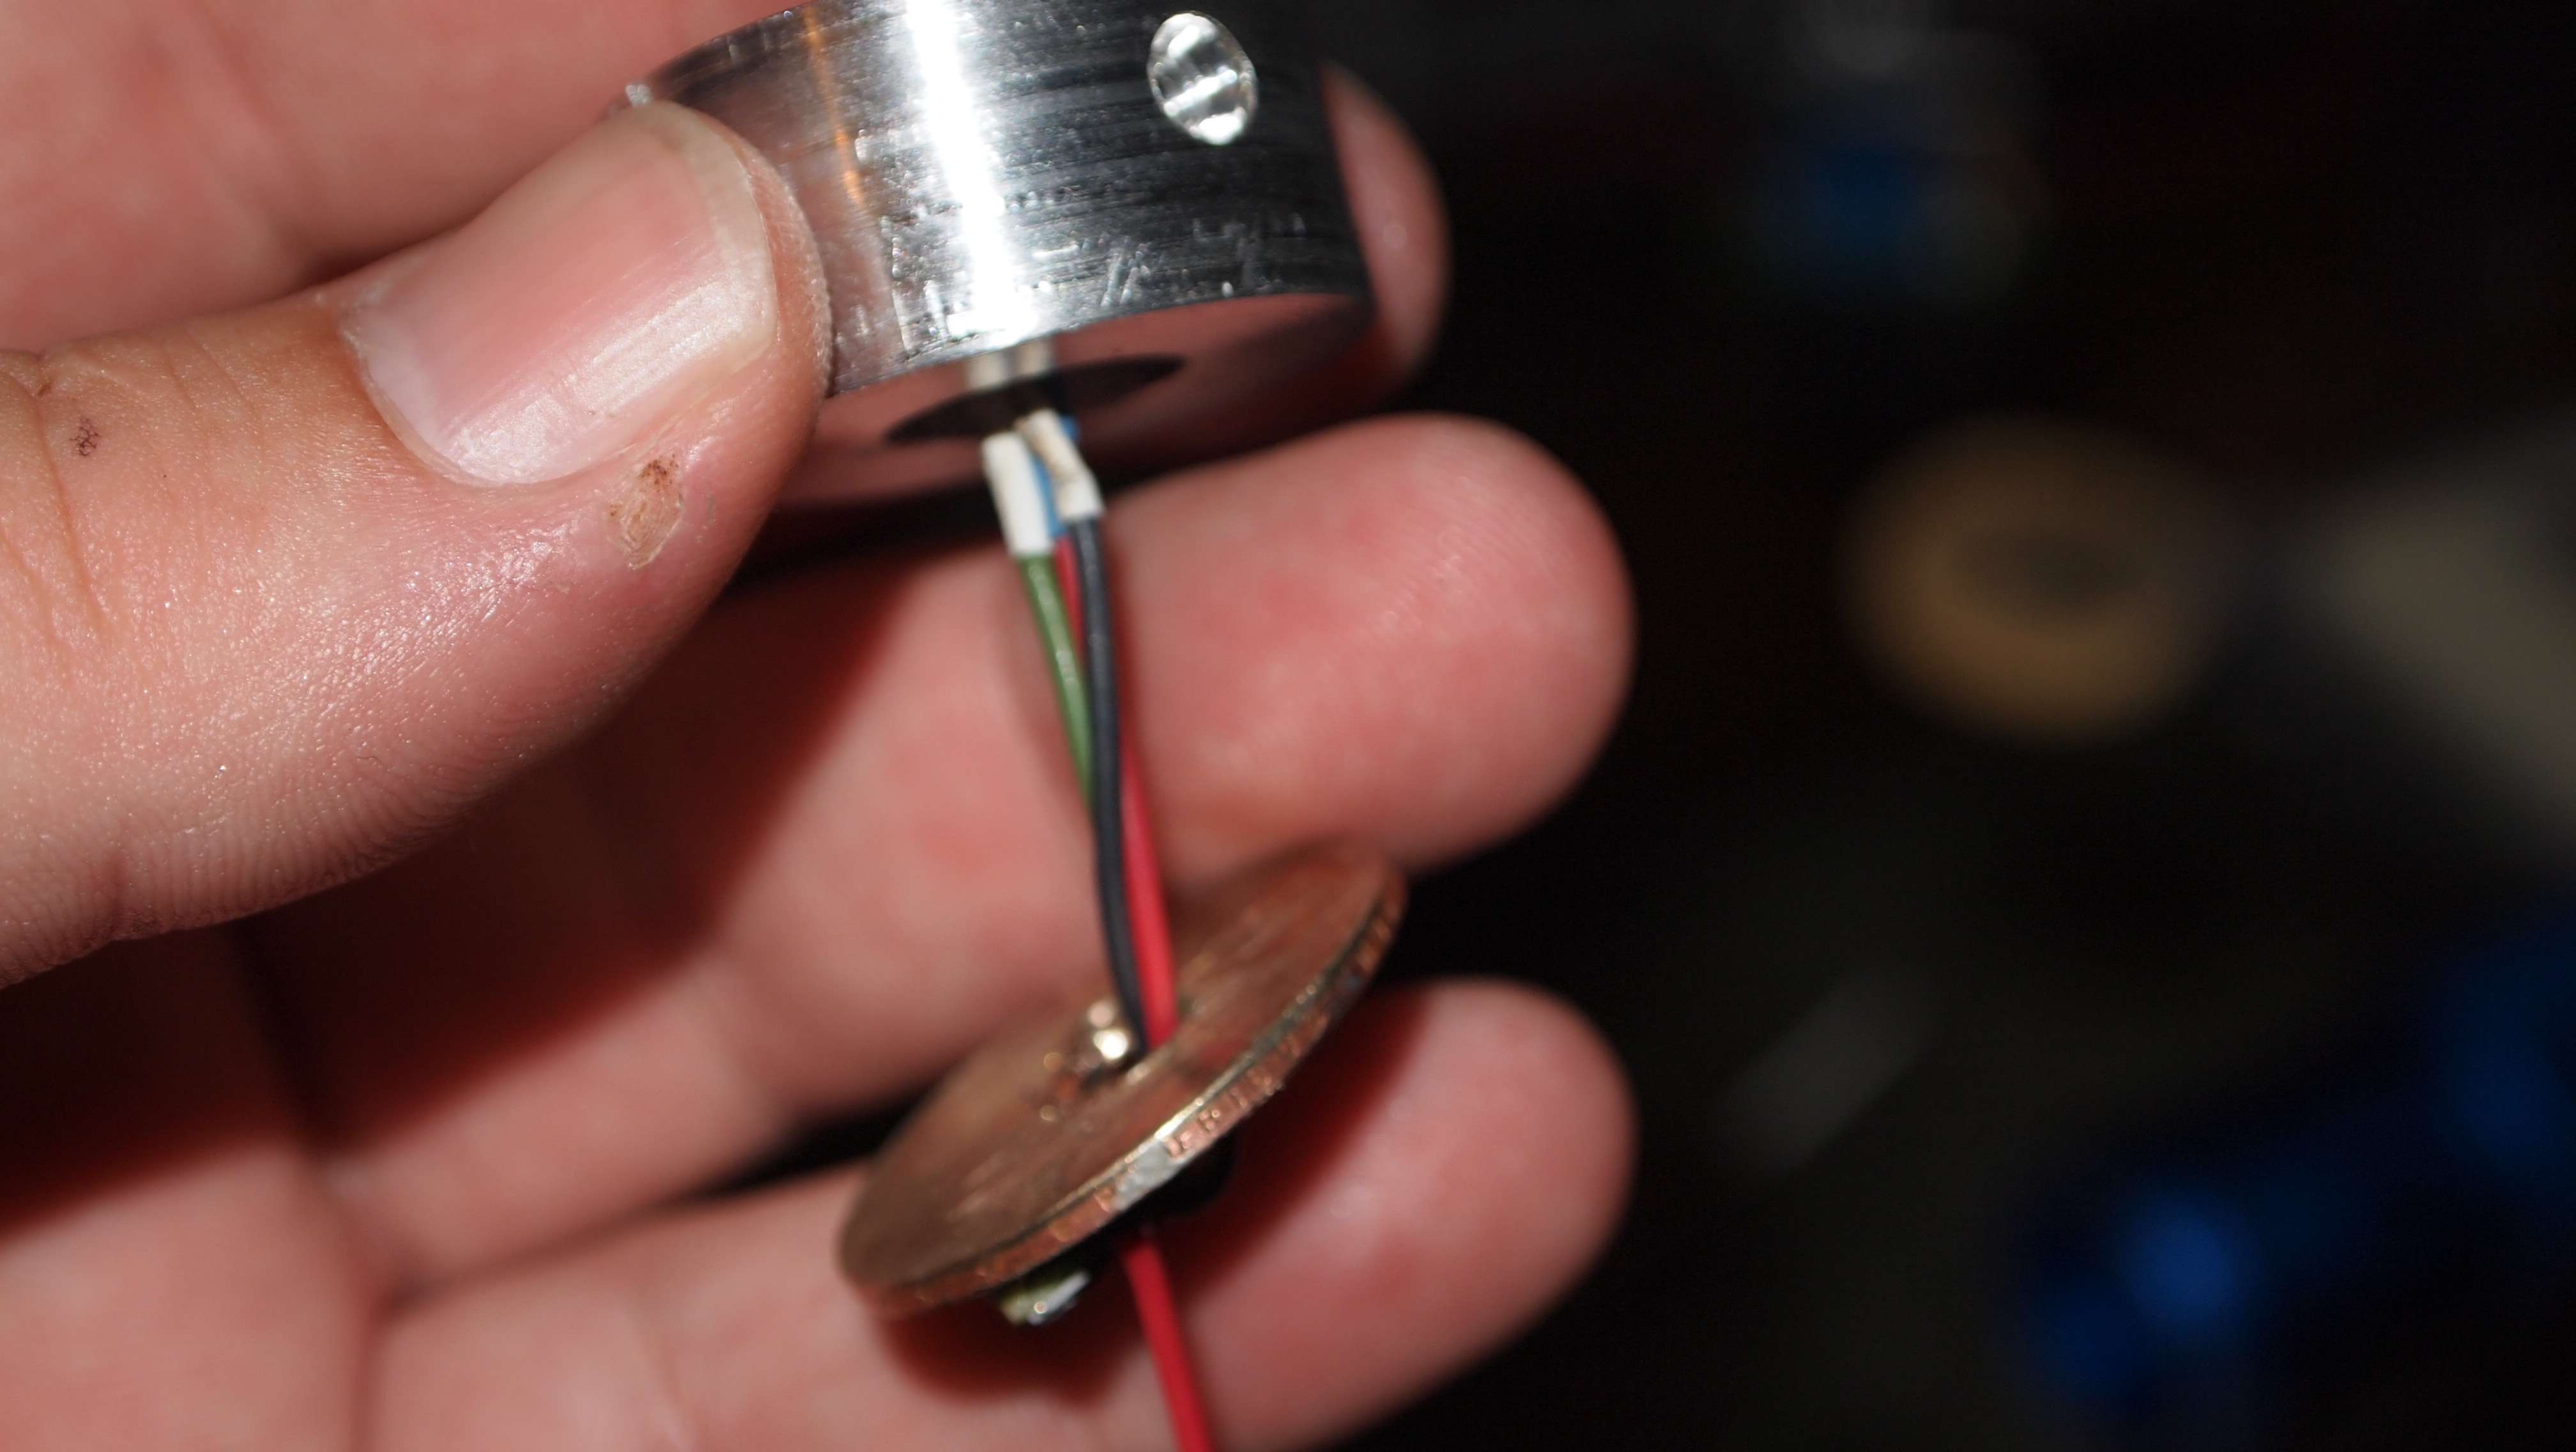
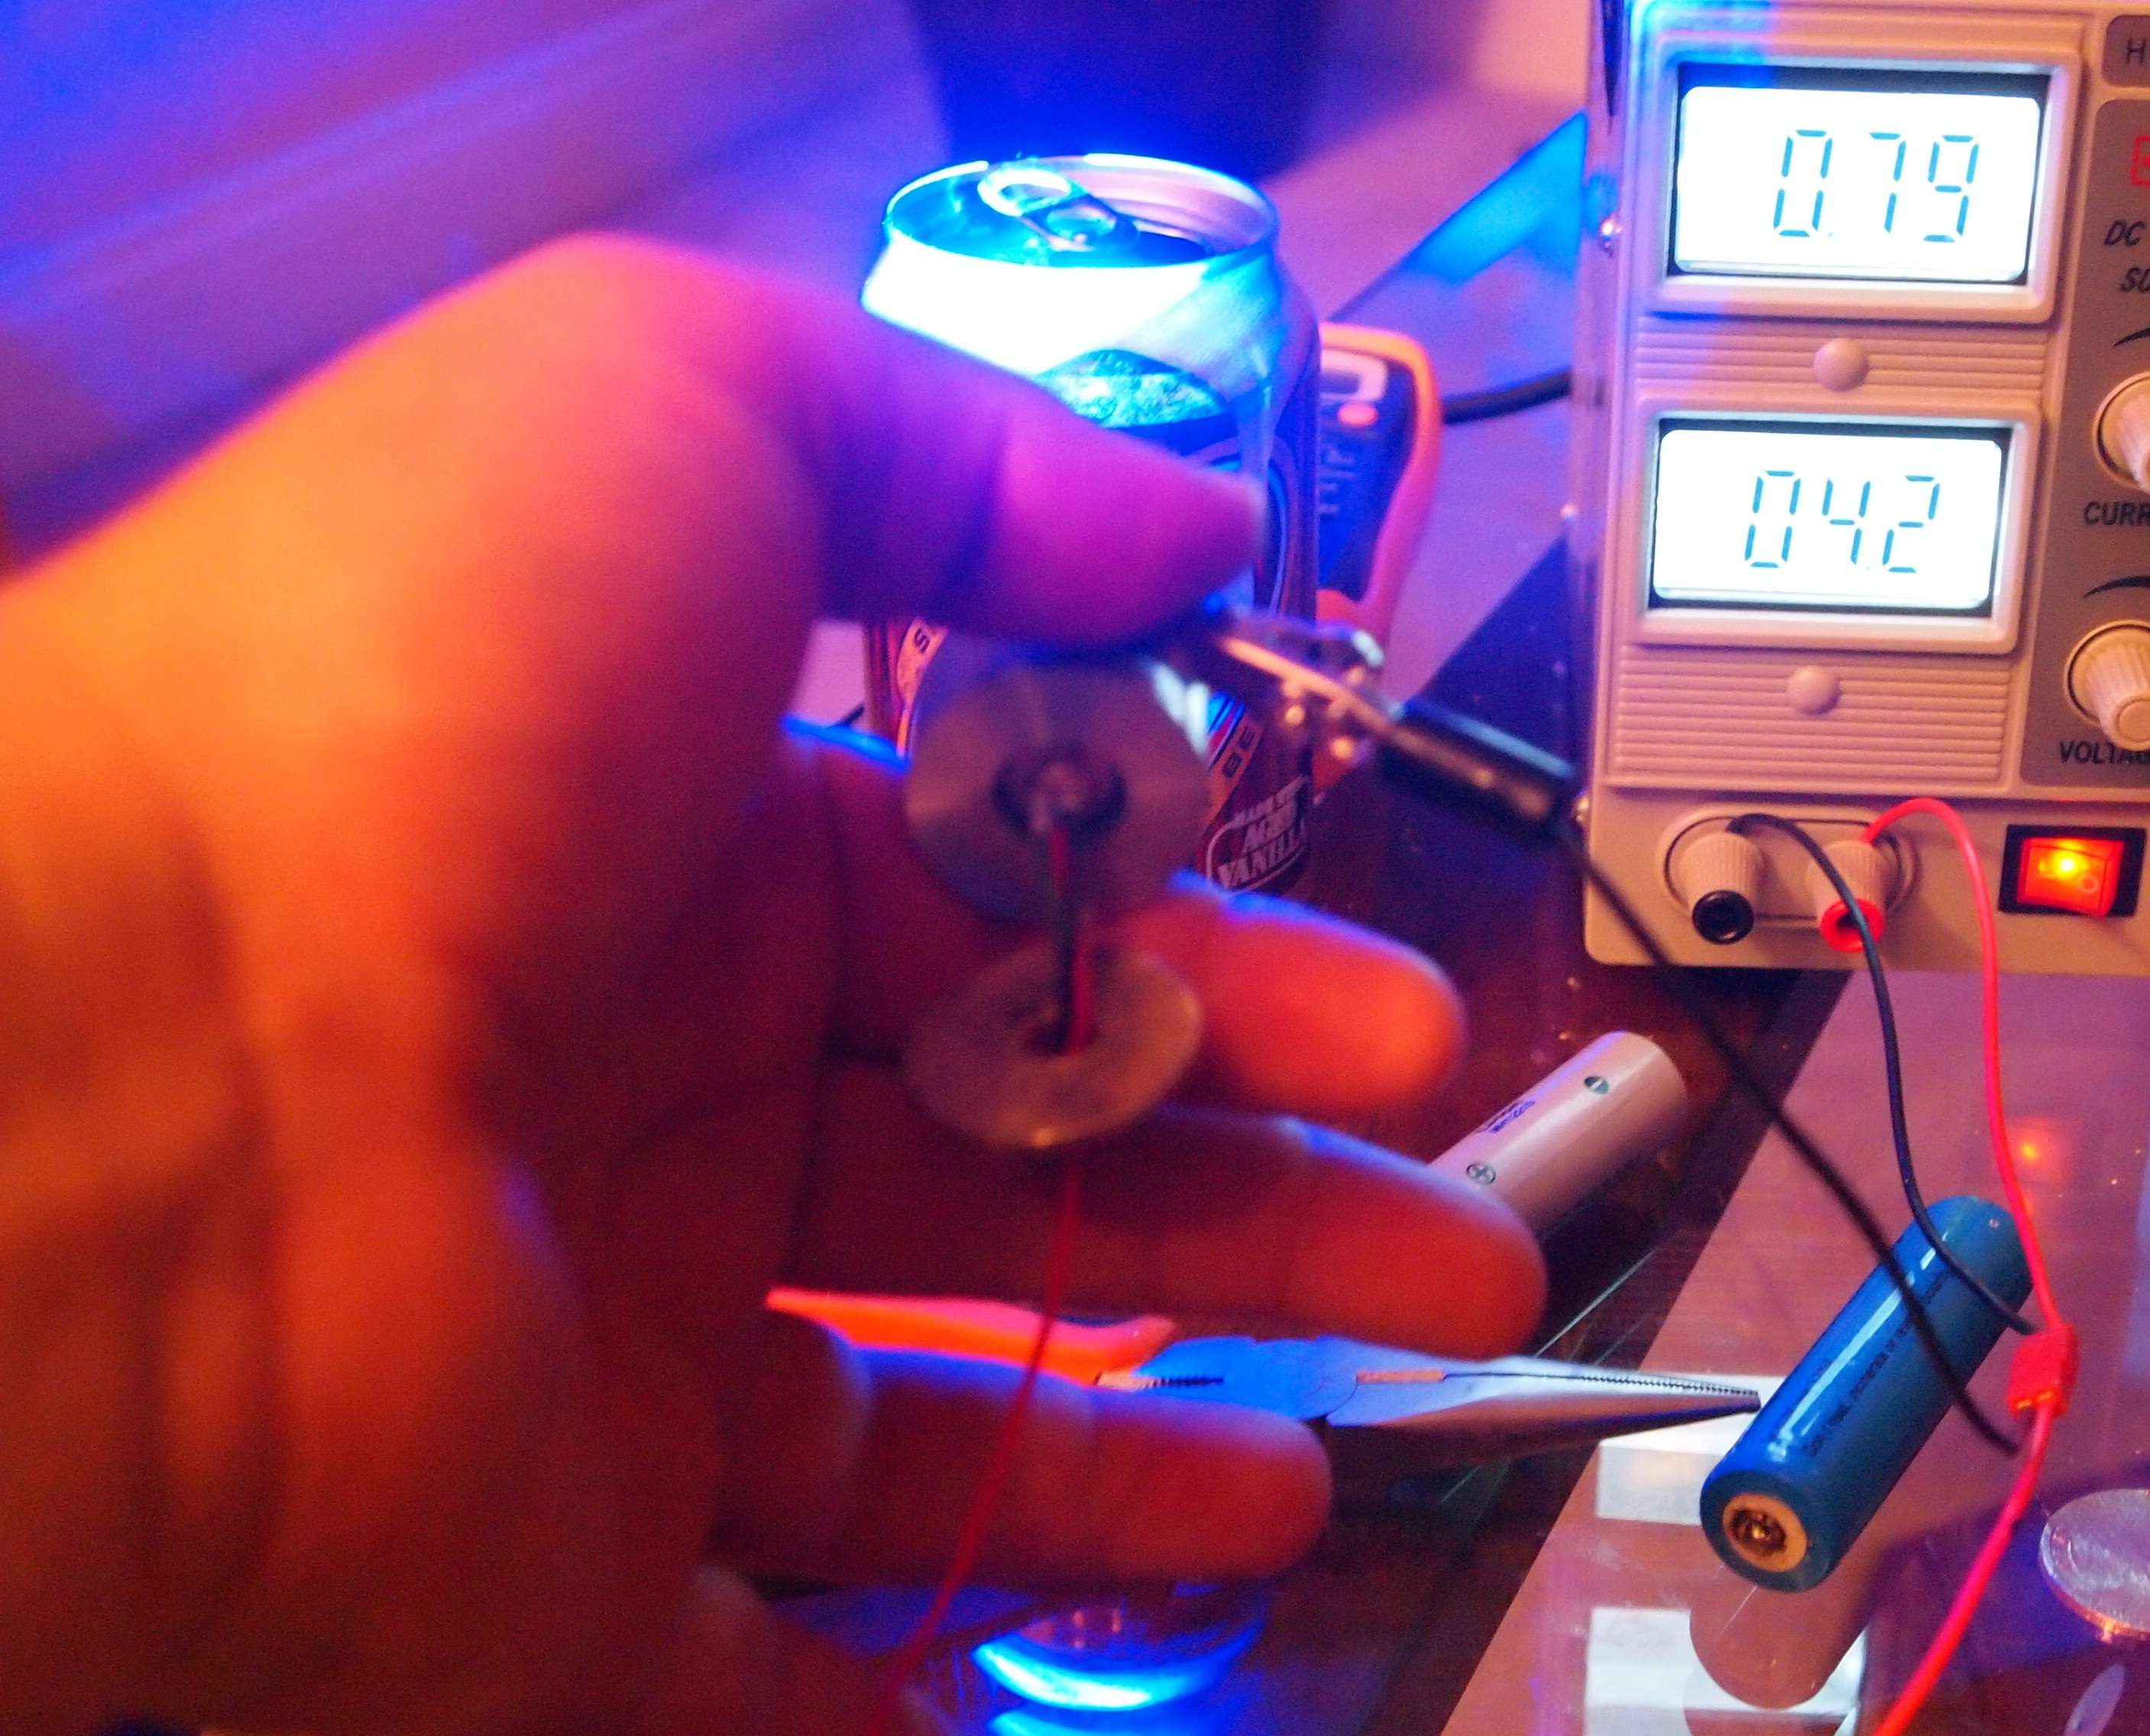
I then tested it at a low current to make sure all was well.
Next I set the coin against the heatsink as it will be in the host.
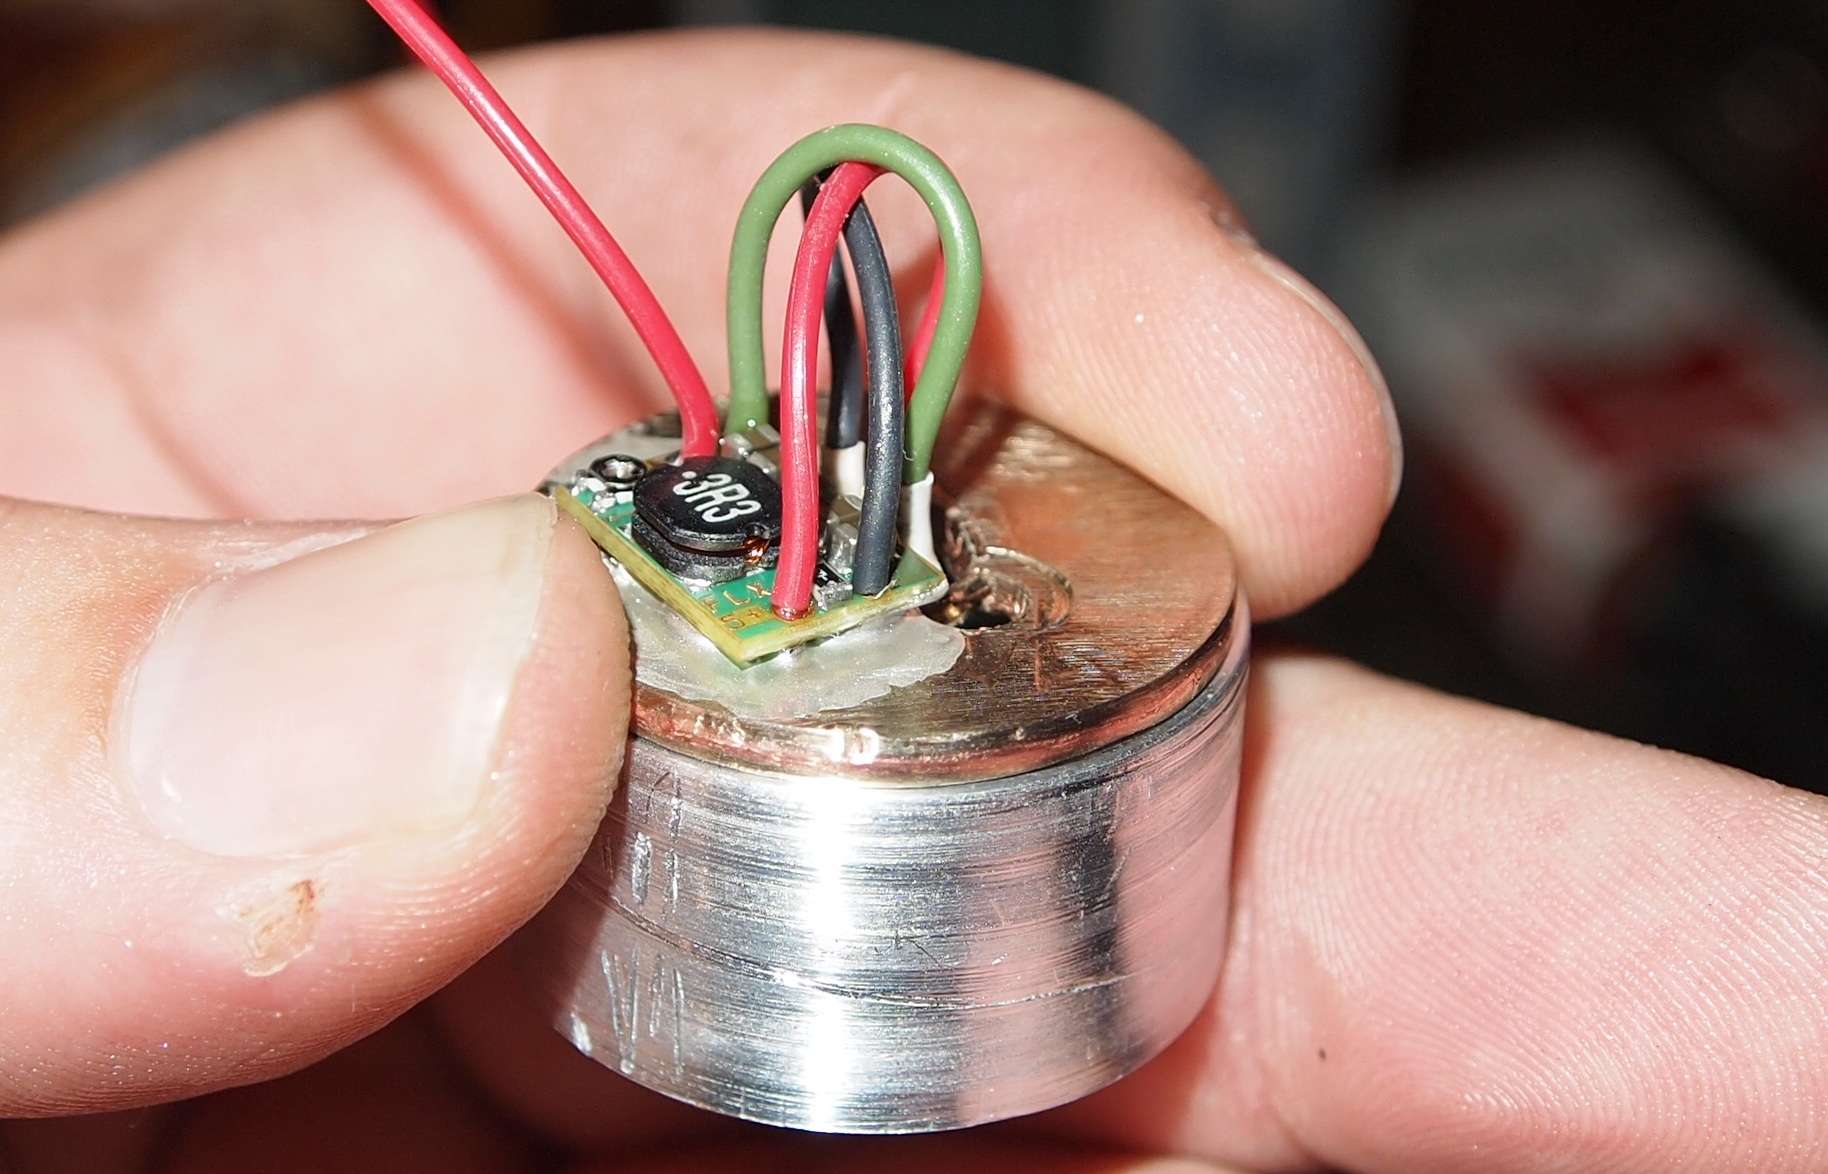
Made sure the wires would not bunch when pressed down.
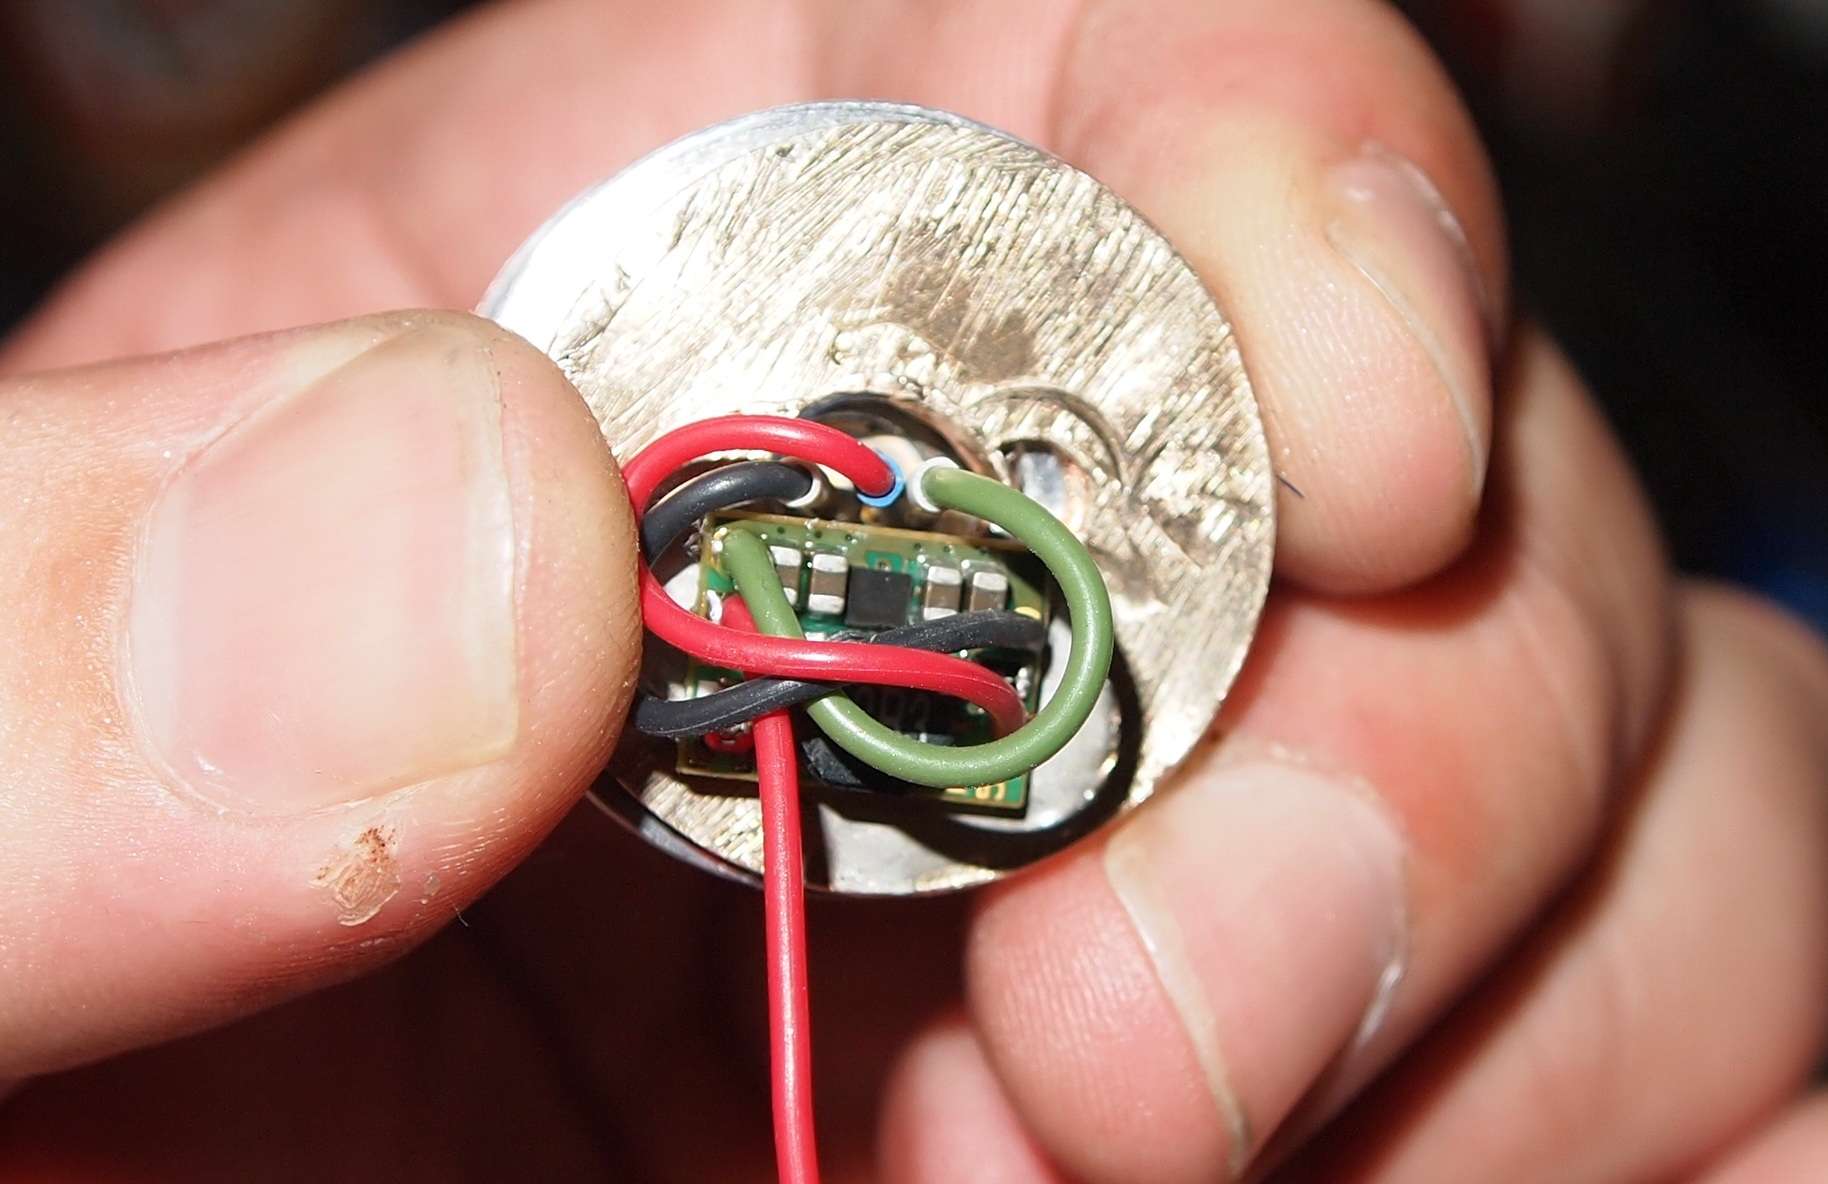
I used a little electrical tape to cover up all the corners of the driver. Then I got some more thermal adhesive. I smeared some on the coin and pressed it up against the heatskin.
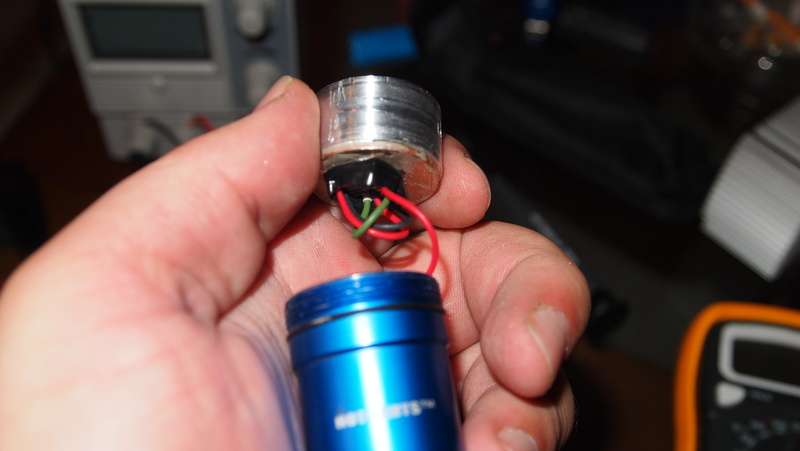
You can see the heatsink sits on the coin and the coin sits on the lip of the host.
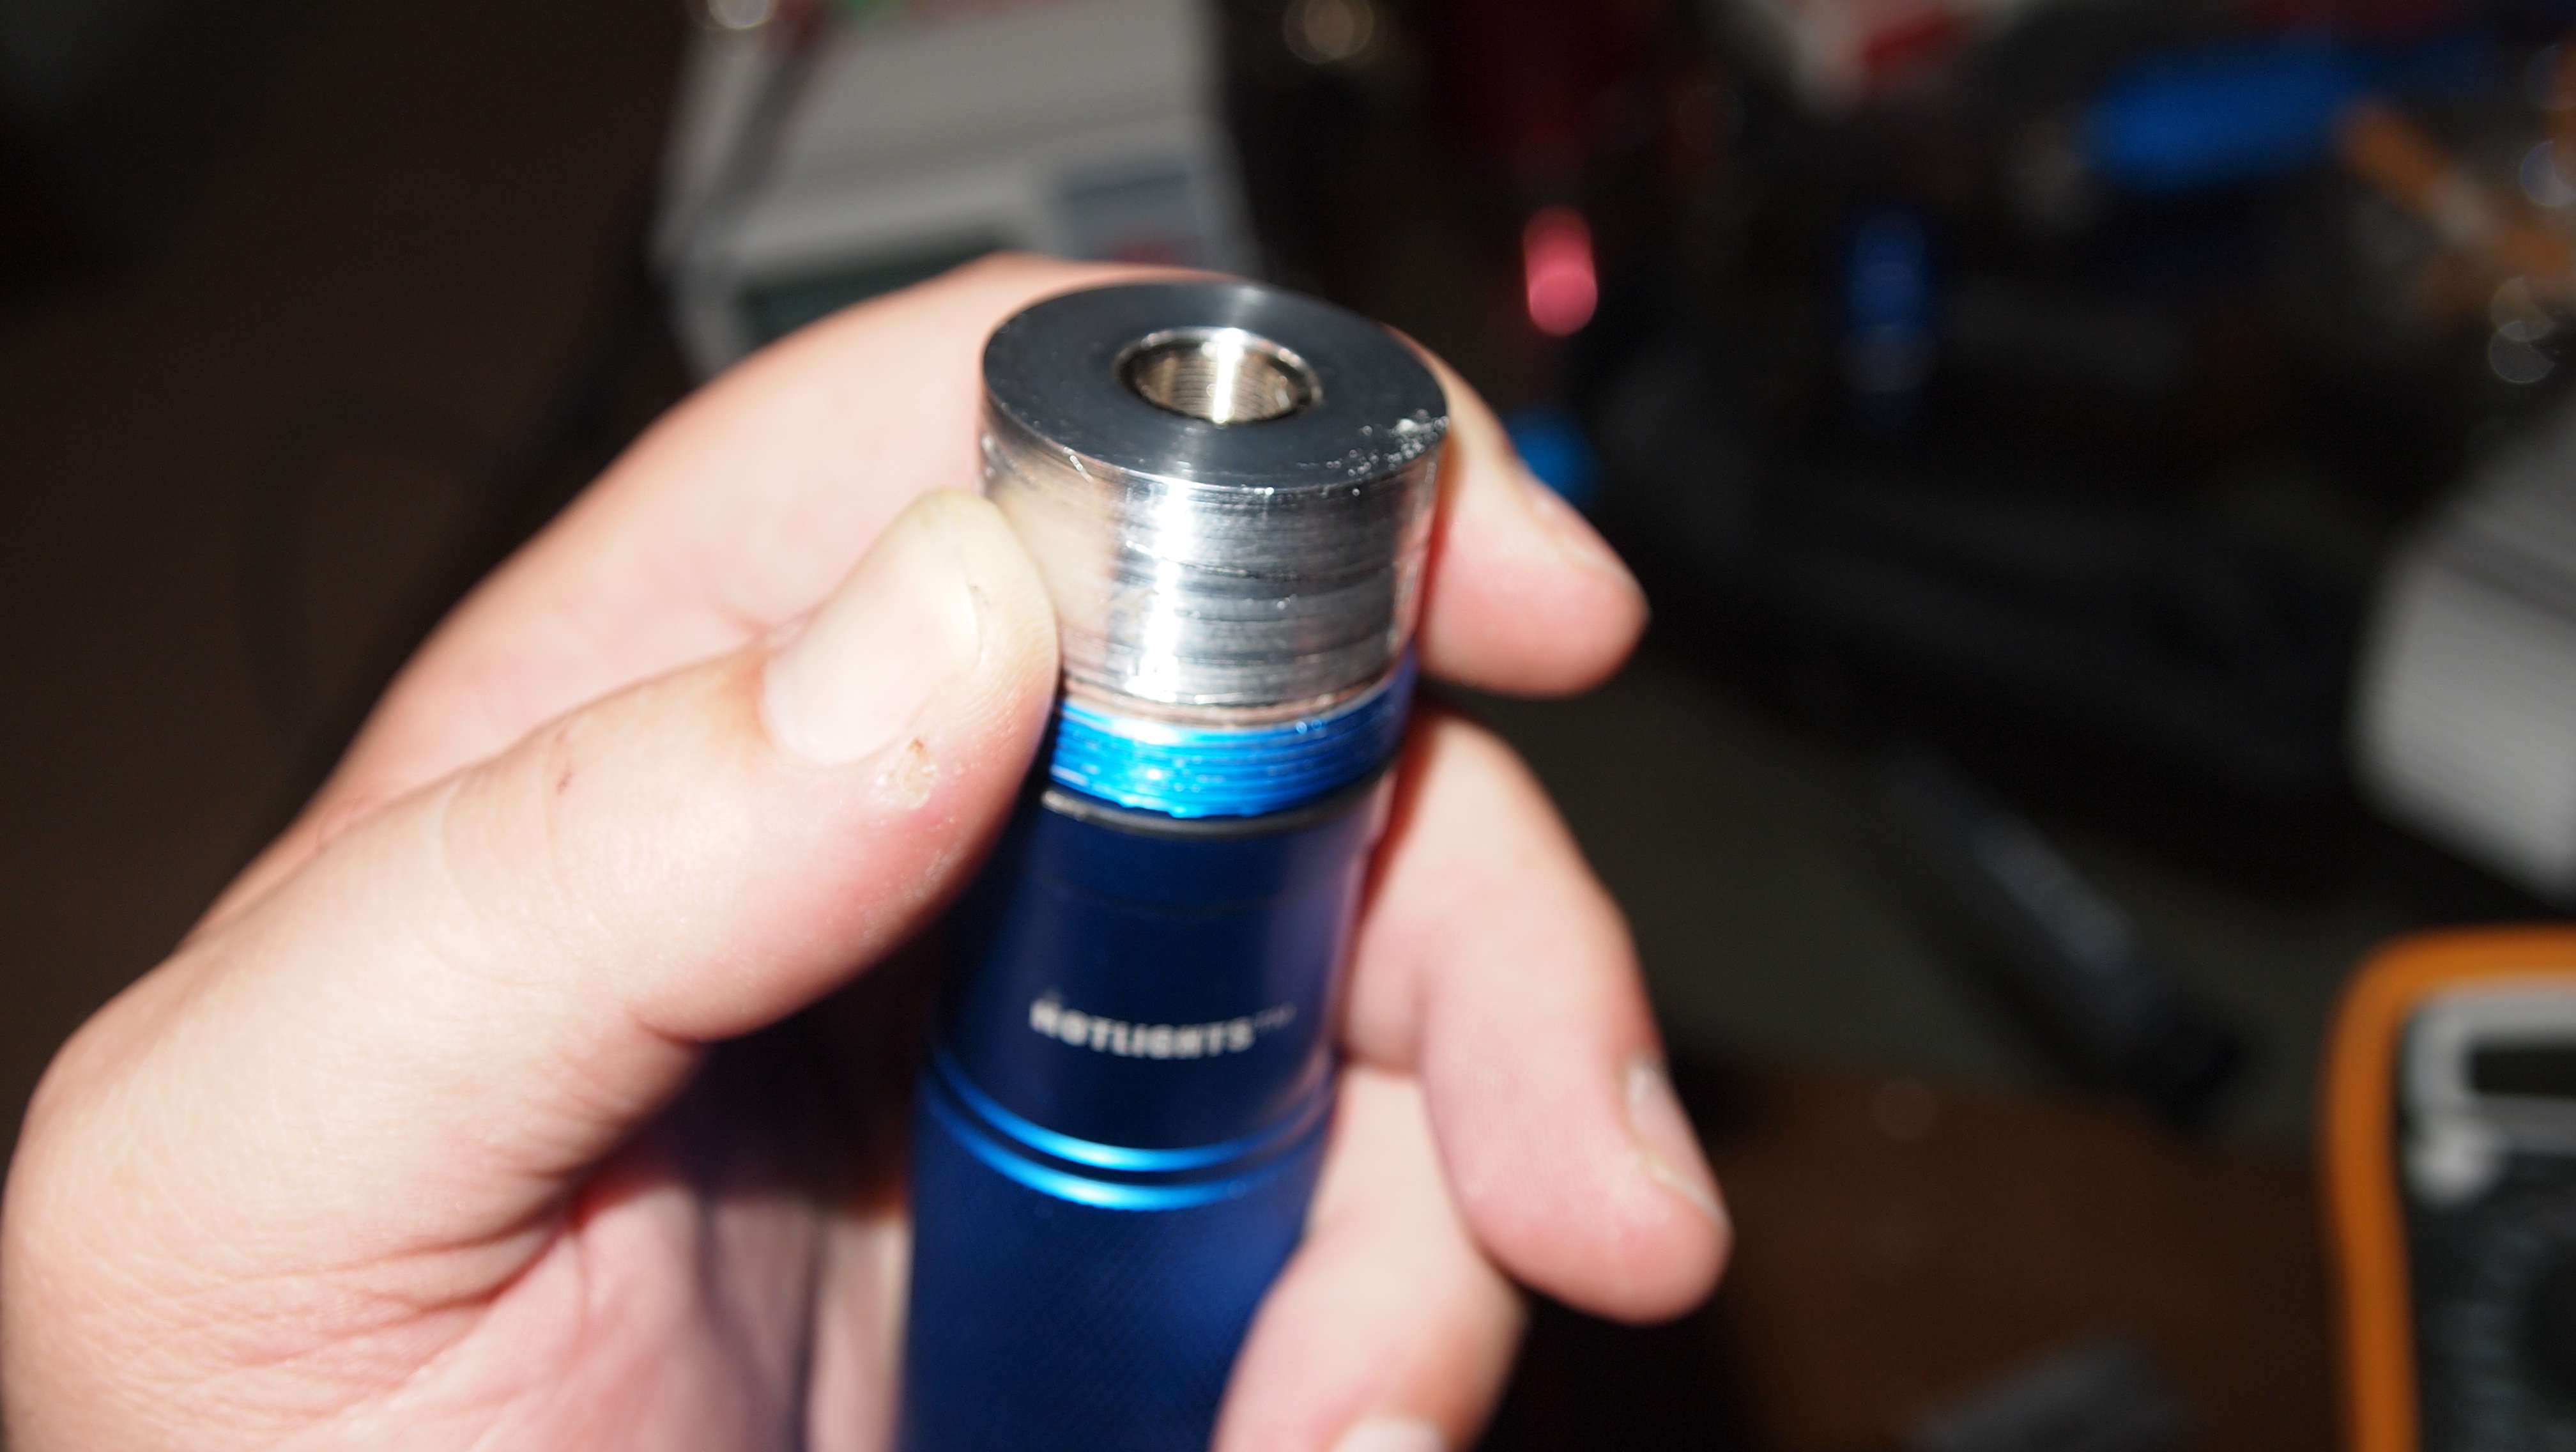
I used the great amount of pressure that the head can exert down sandwiching the heatsink, coin and the host body together while the adhesive hardens.
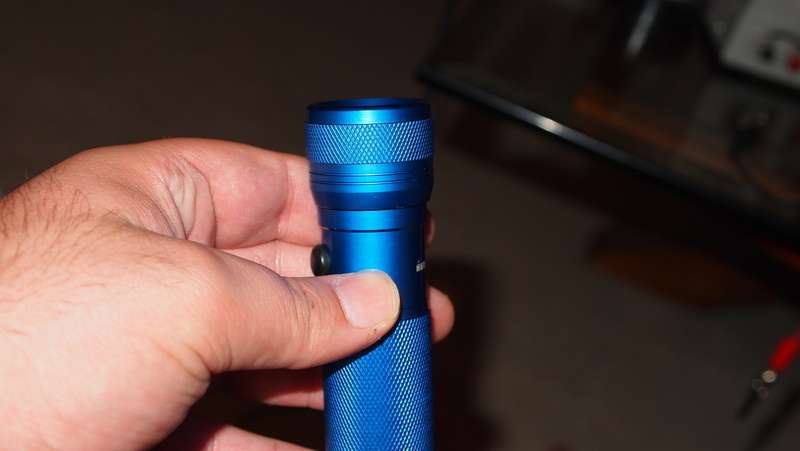
After 20 minutes I opened it back up and the coin was very well bonded to the heatsink. So I soldered the positive wire to the contact pad in the host.
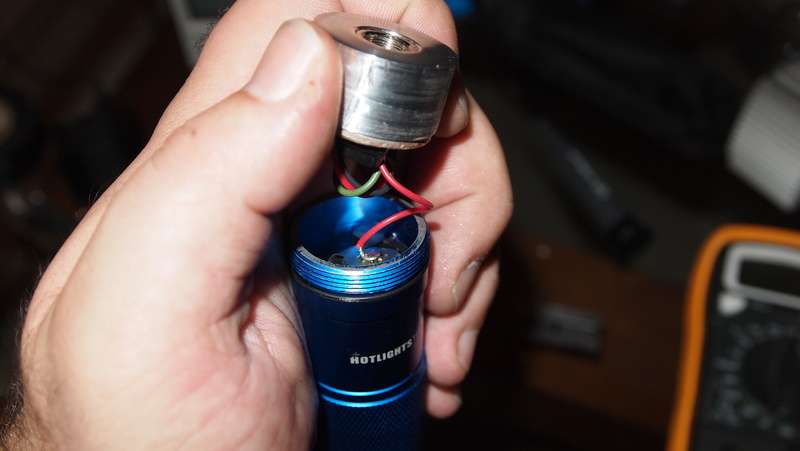
Then I put some electrical tape over the positive contact in the pill just to keep everything isolated.
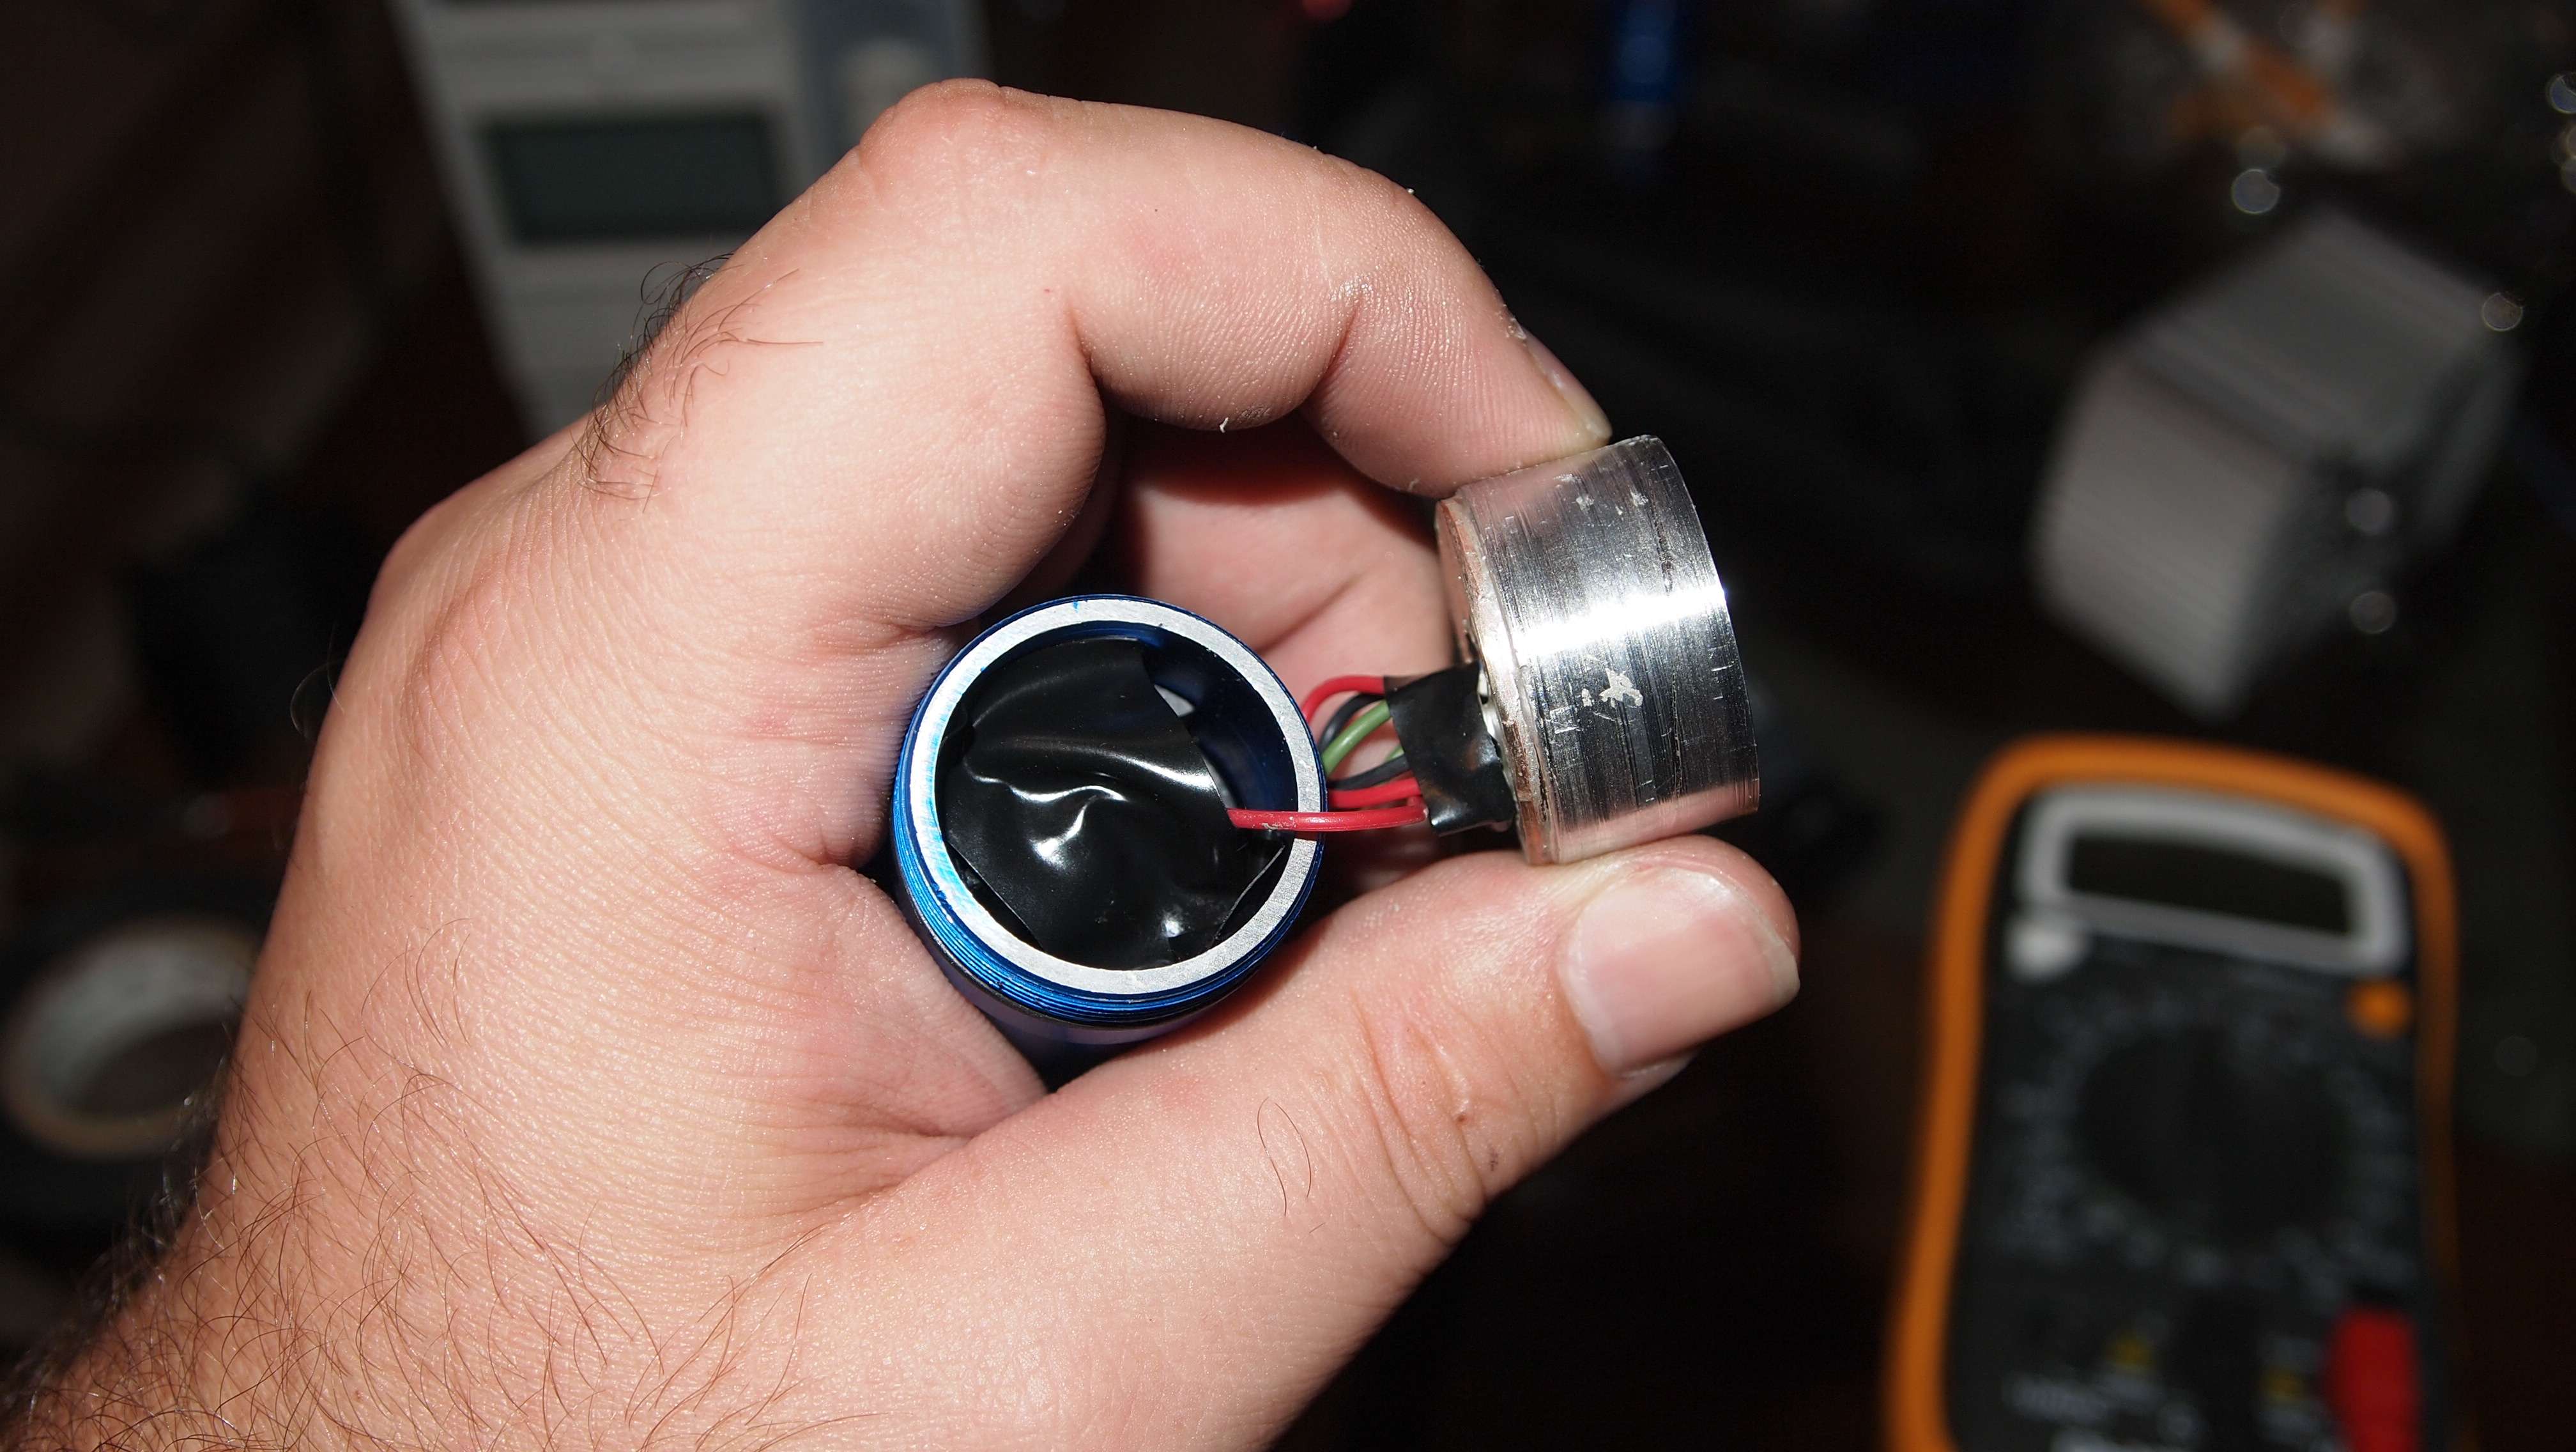
I then screwed the head back on. Threw in the battery and I was ready to go.
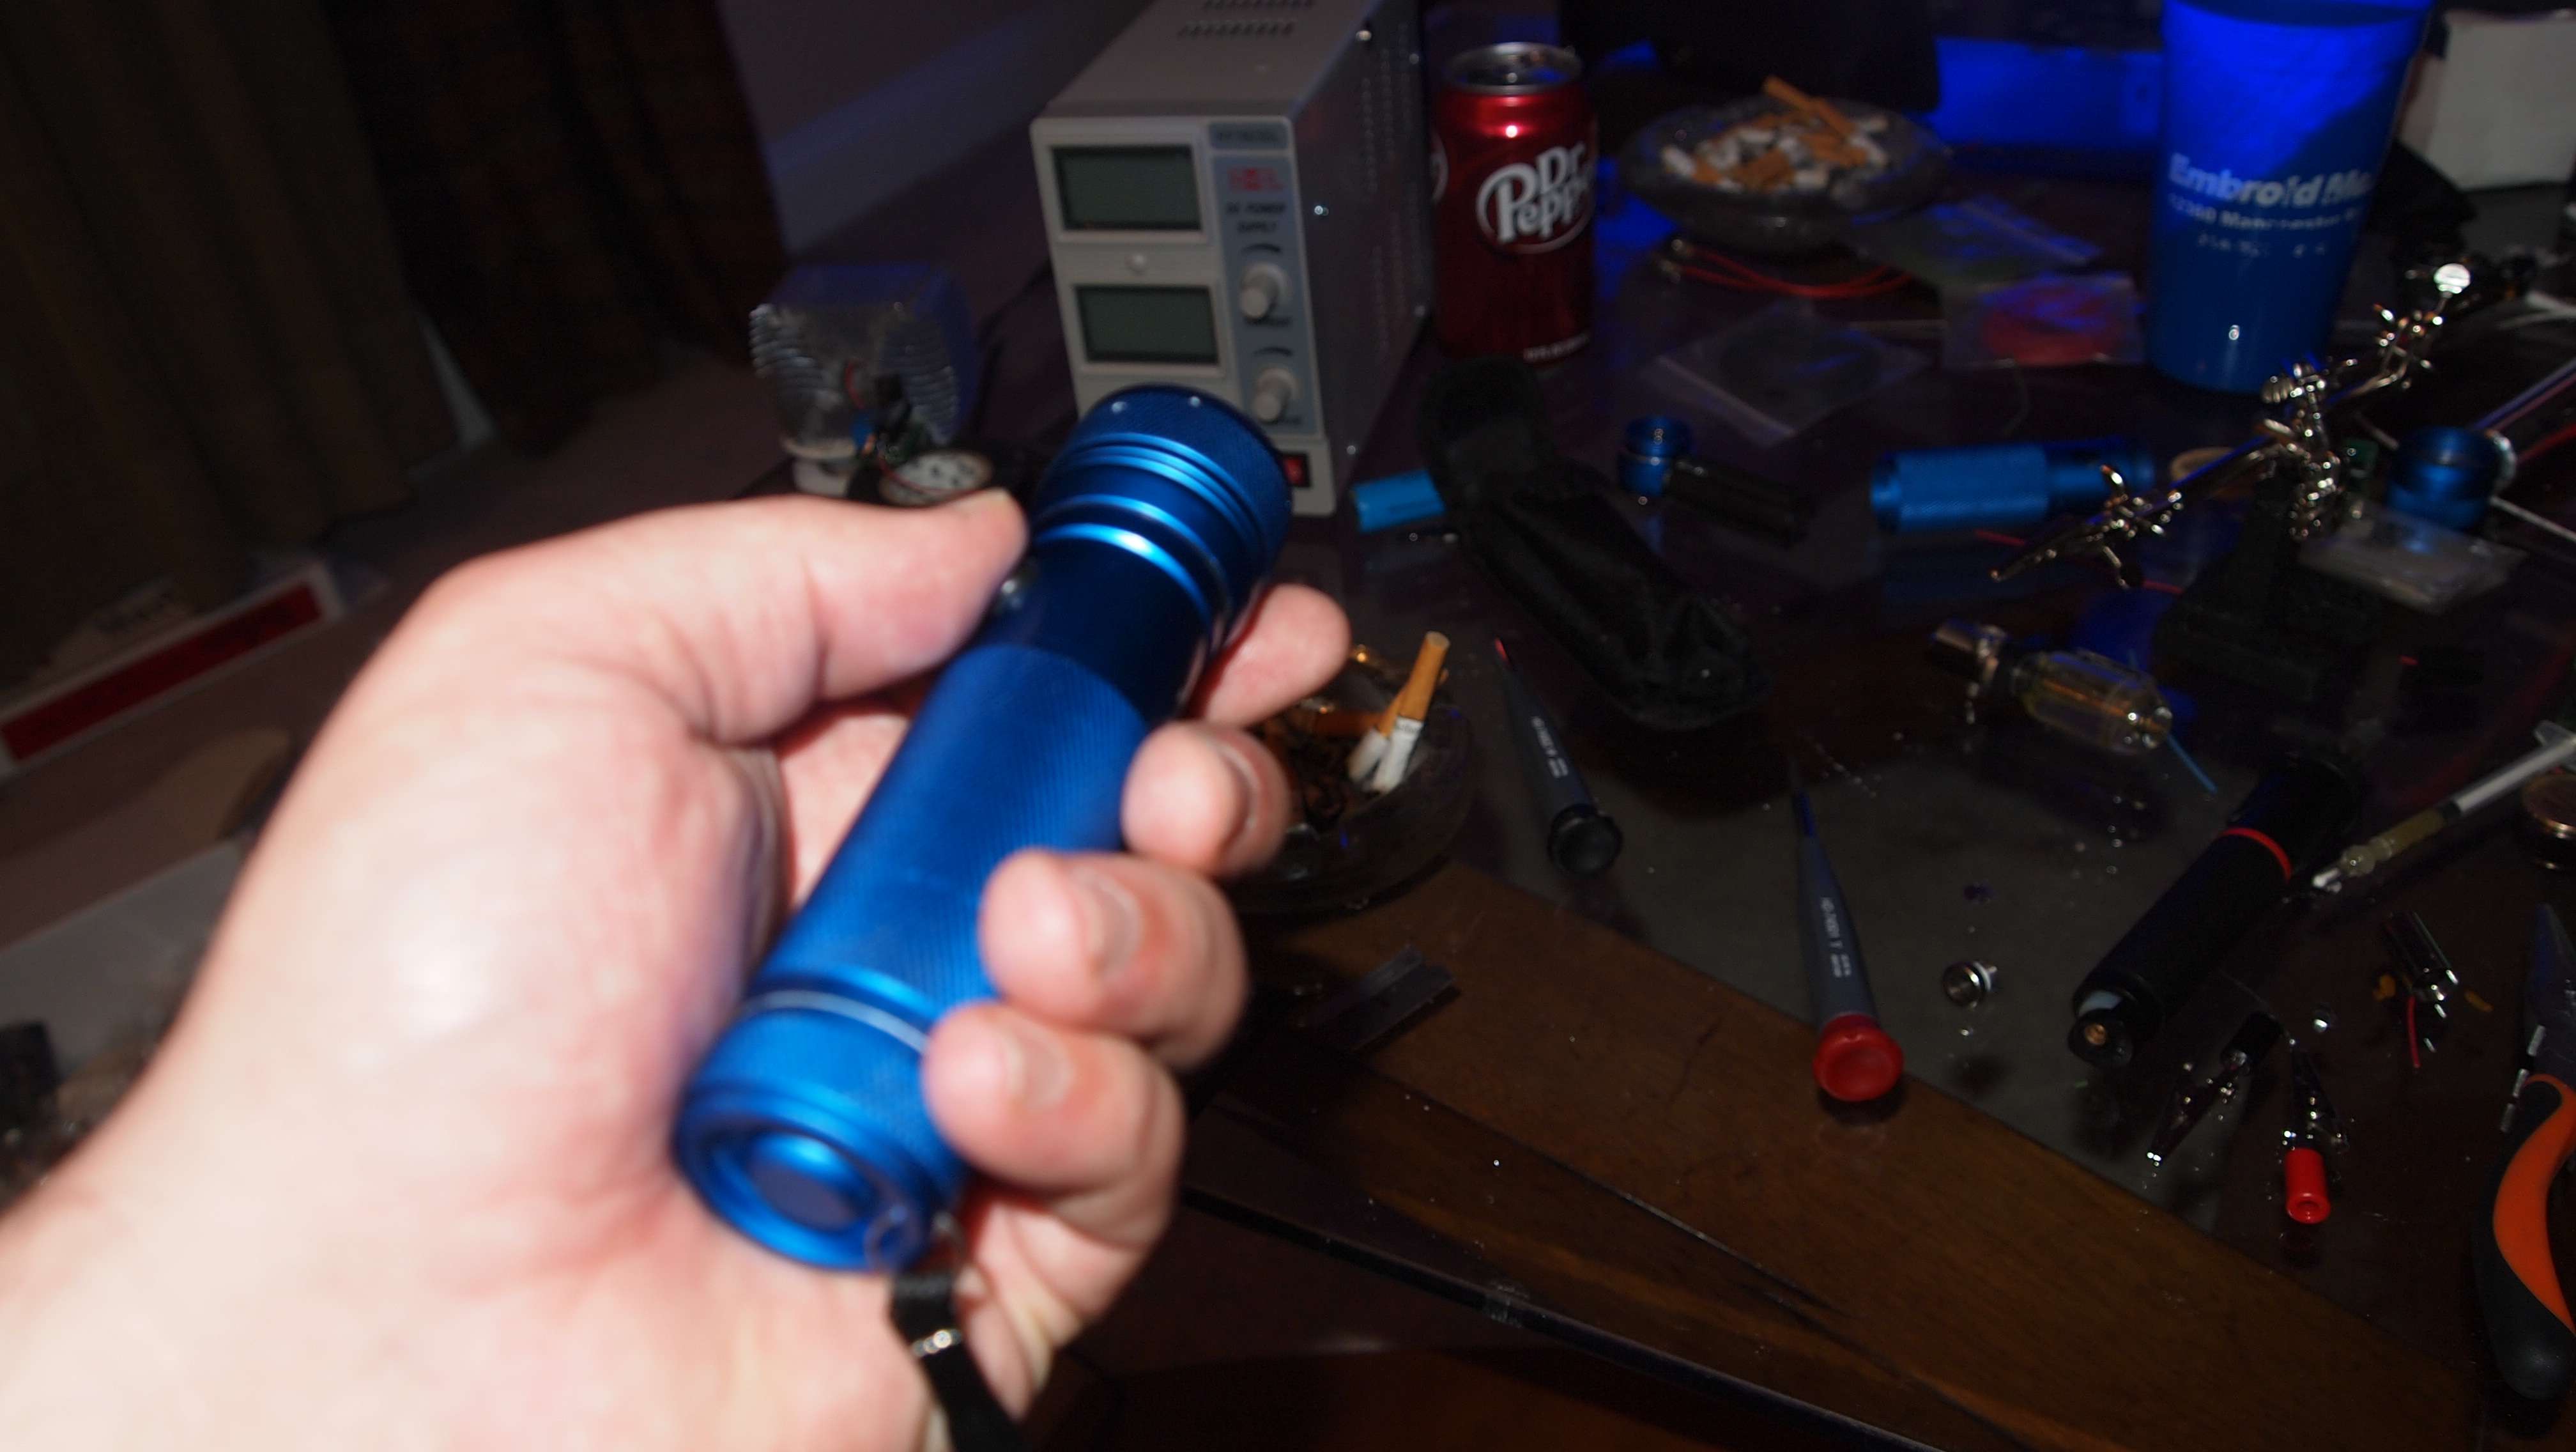
There you have it. Really was an easy build. Now I have a laser with a continuous duty cycle for the driver running @1.5A putting out 1.6W.:eg:
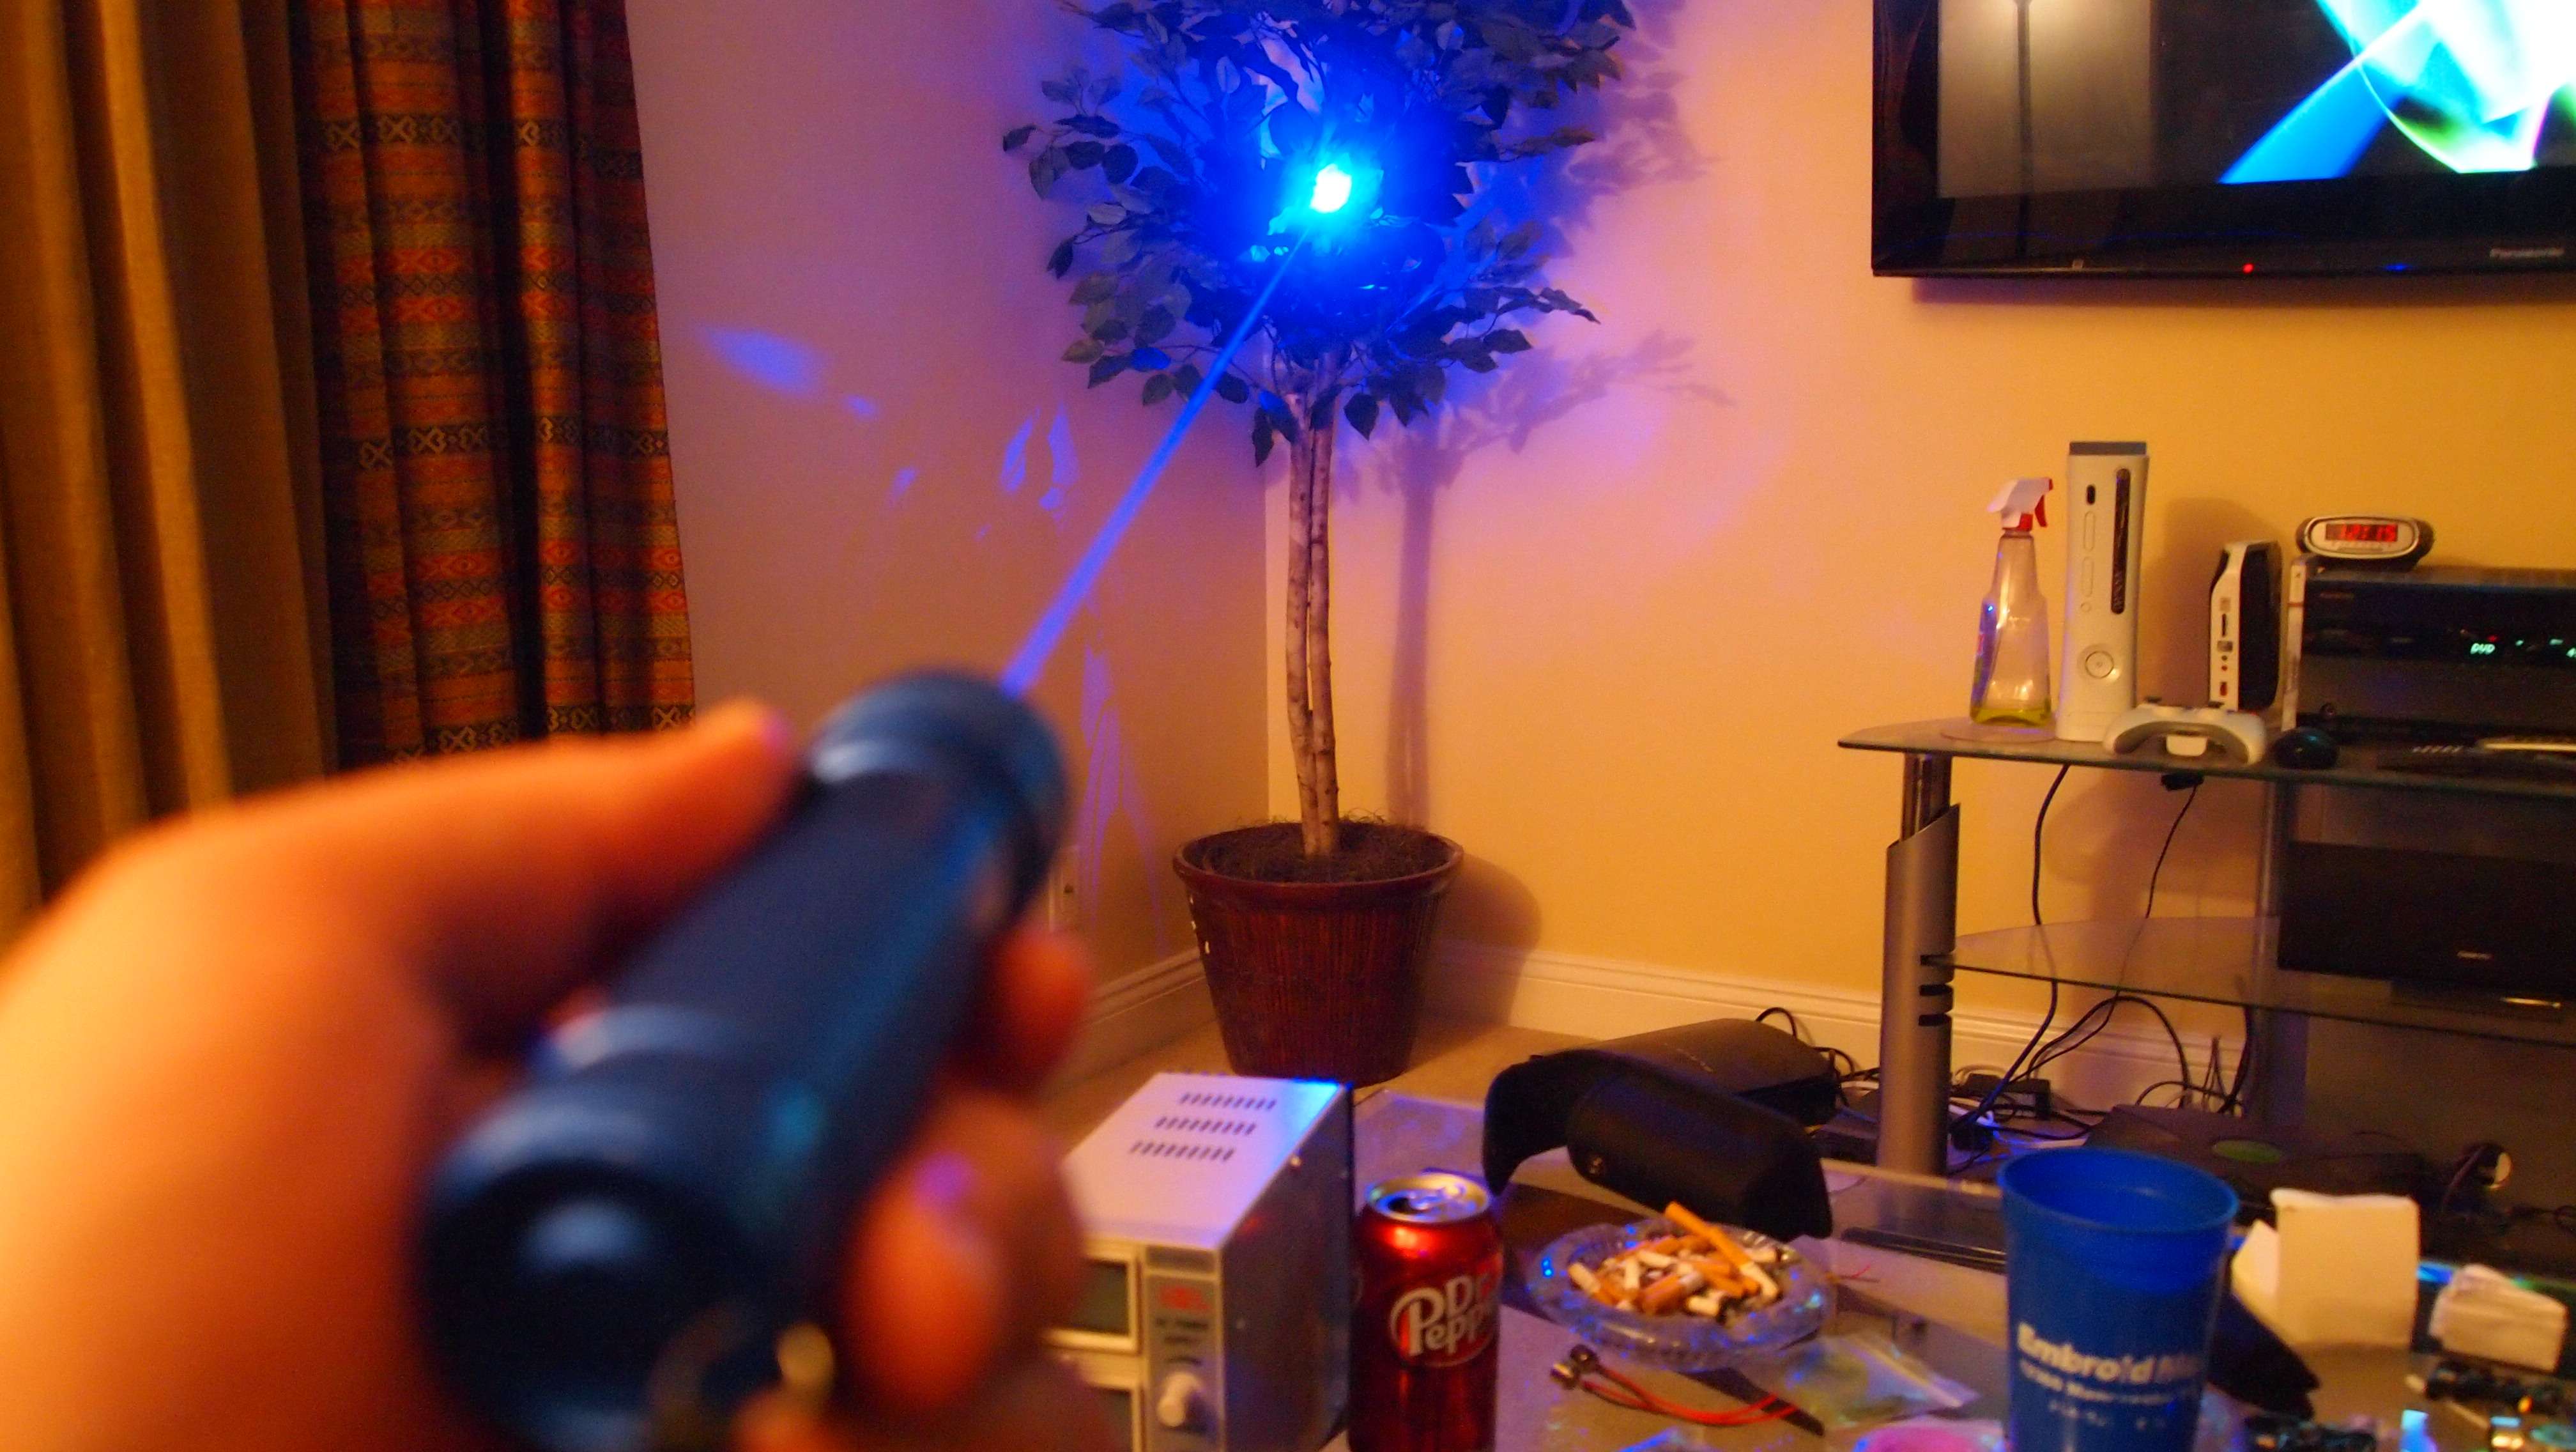
Here is the fun part take it out and get some beamshots.
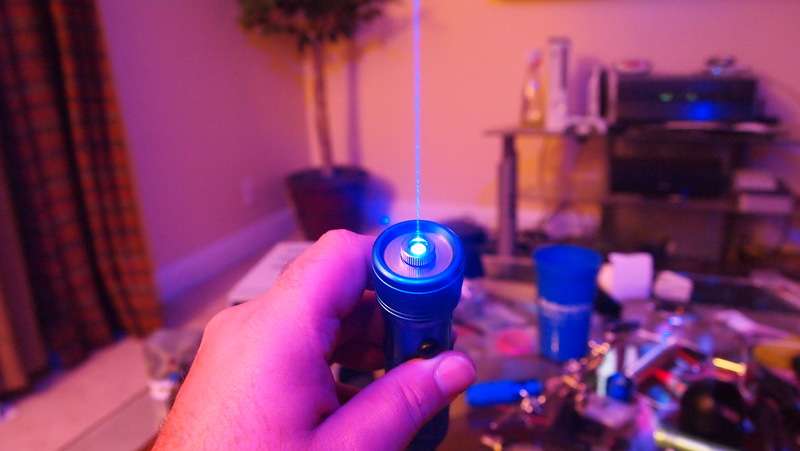
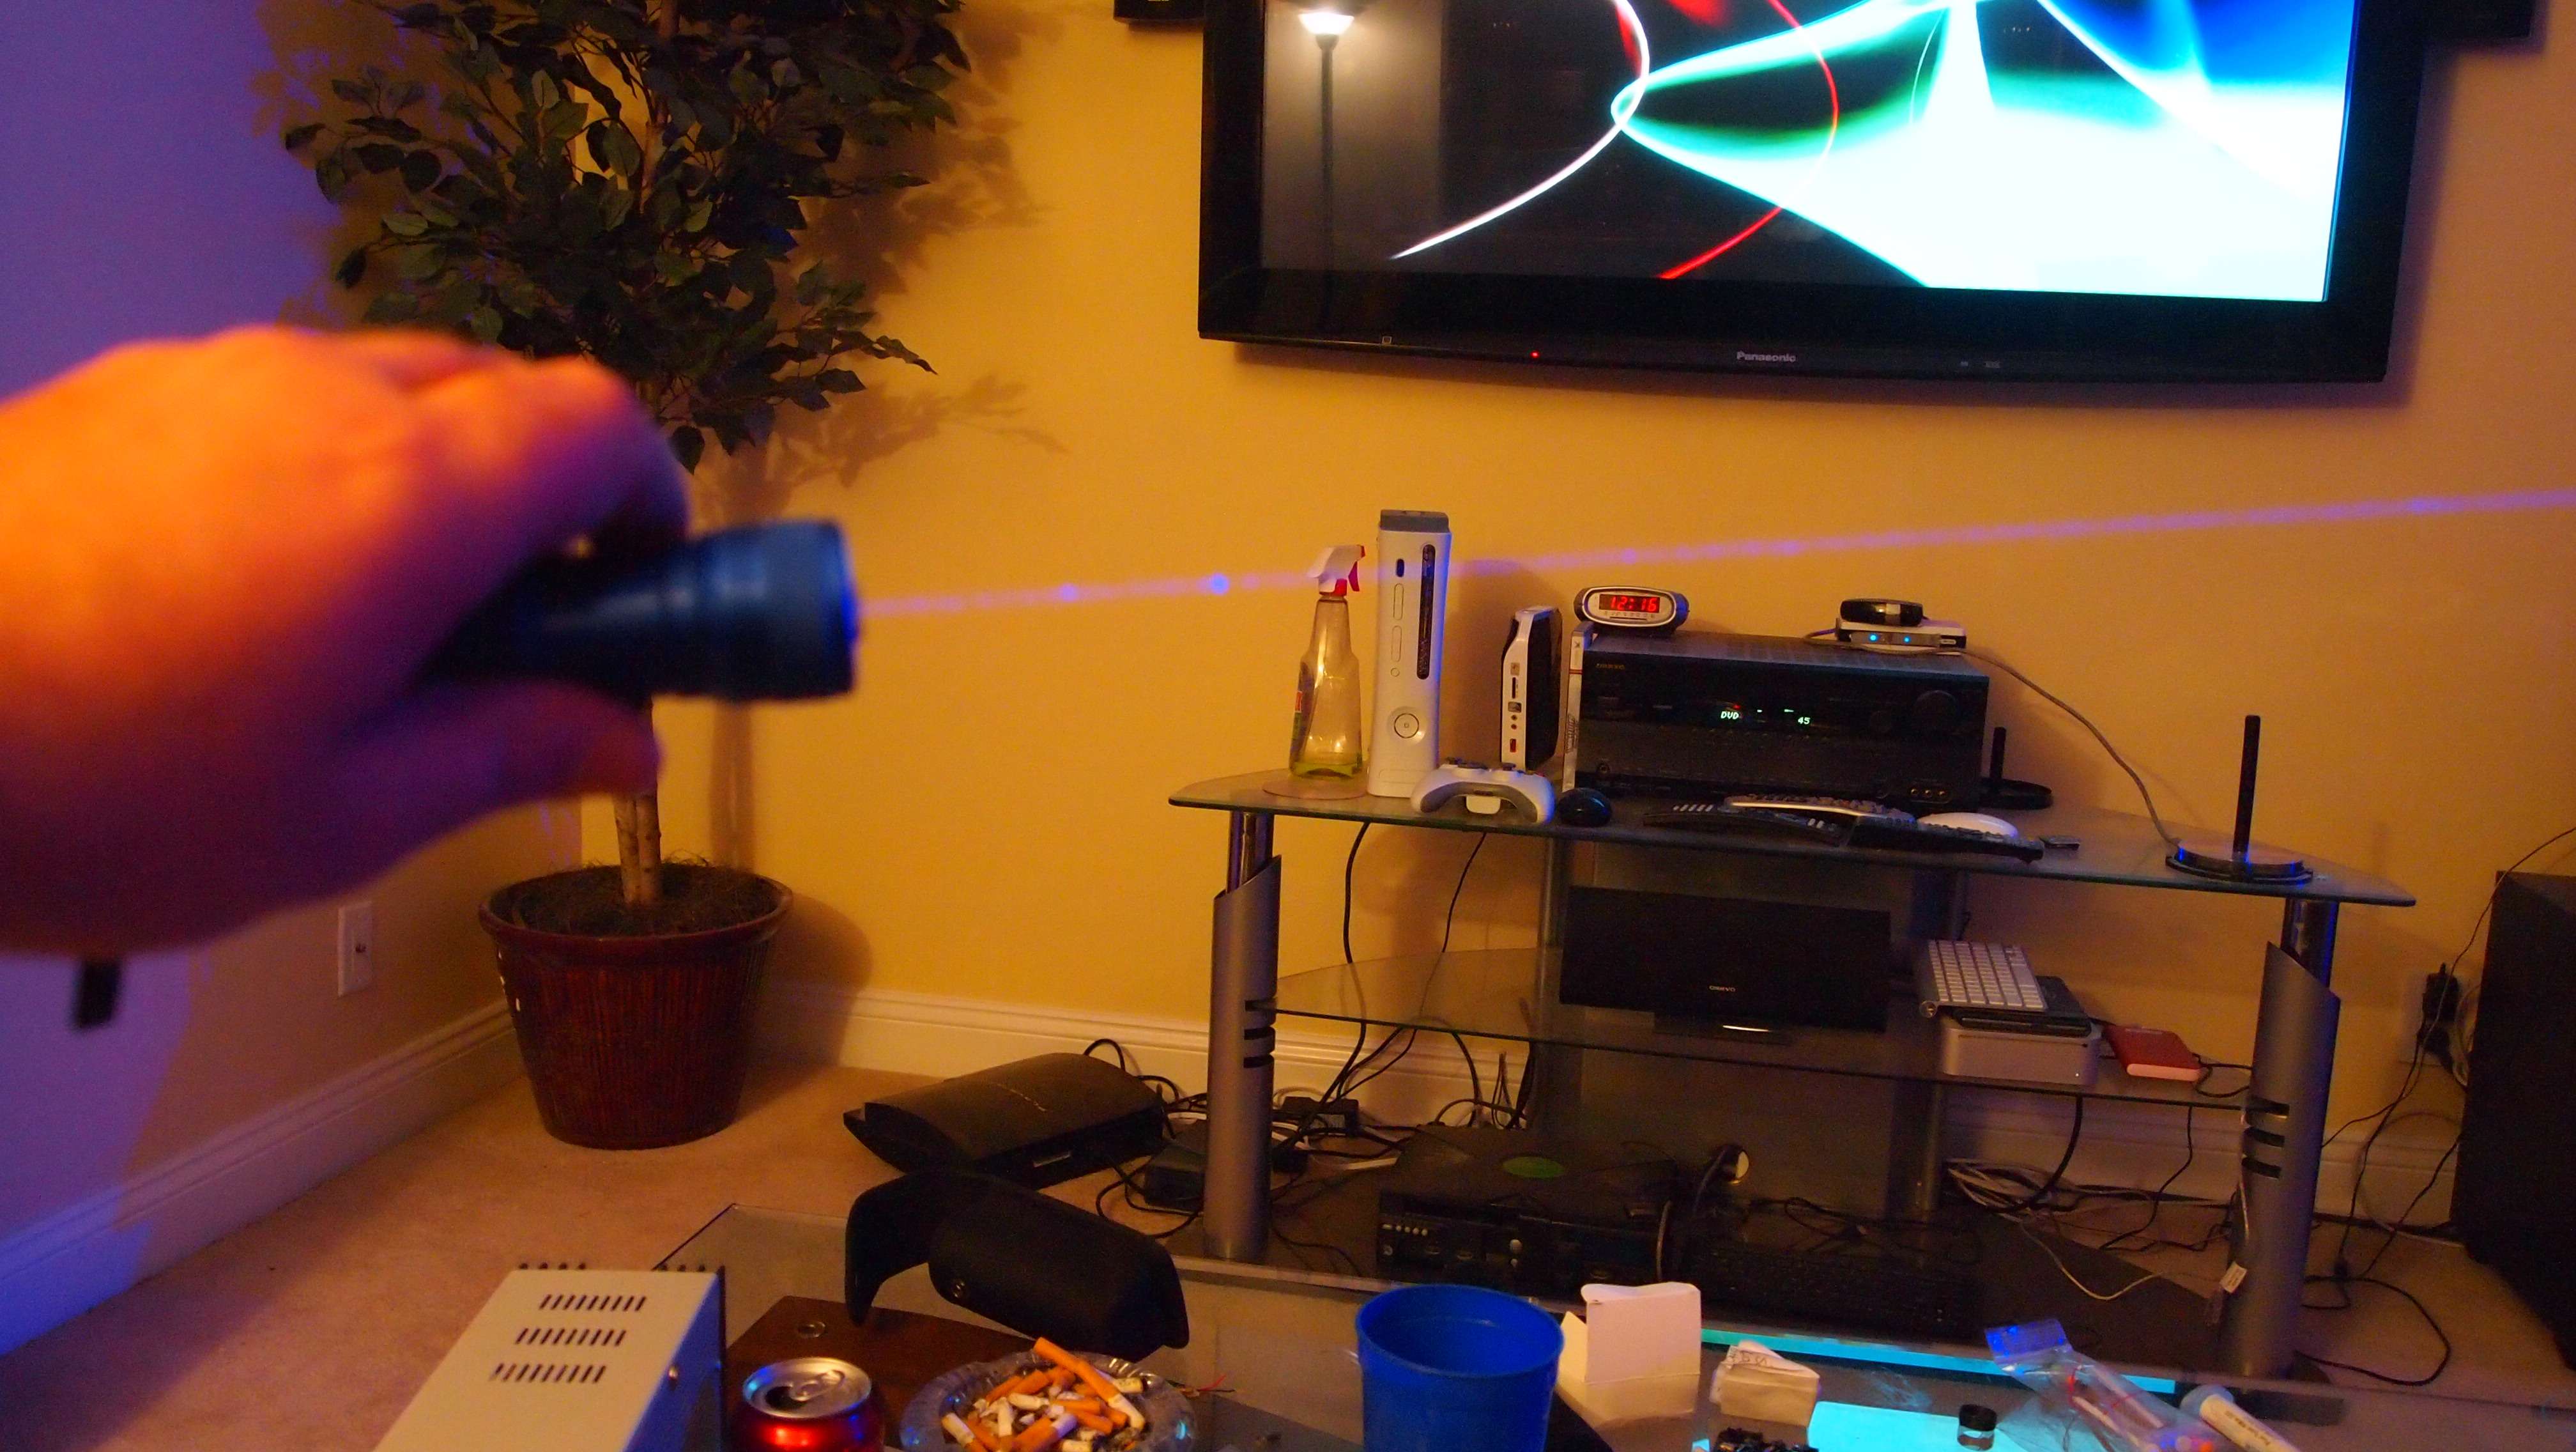
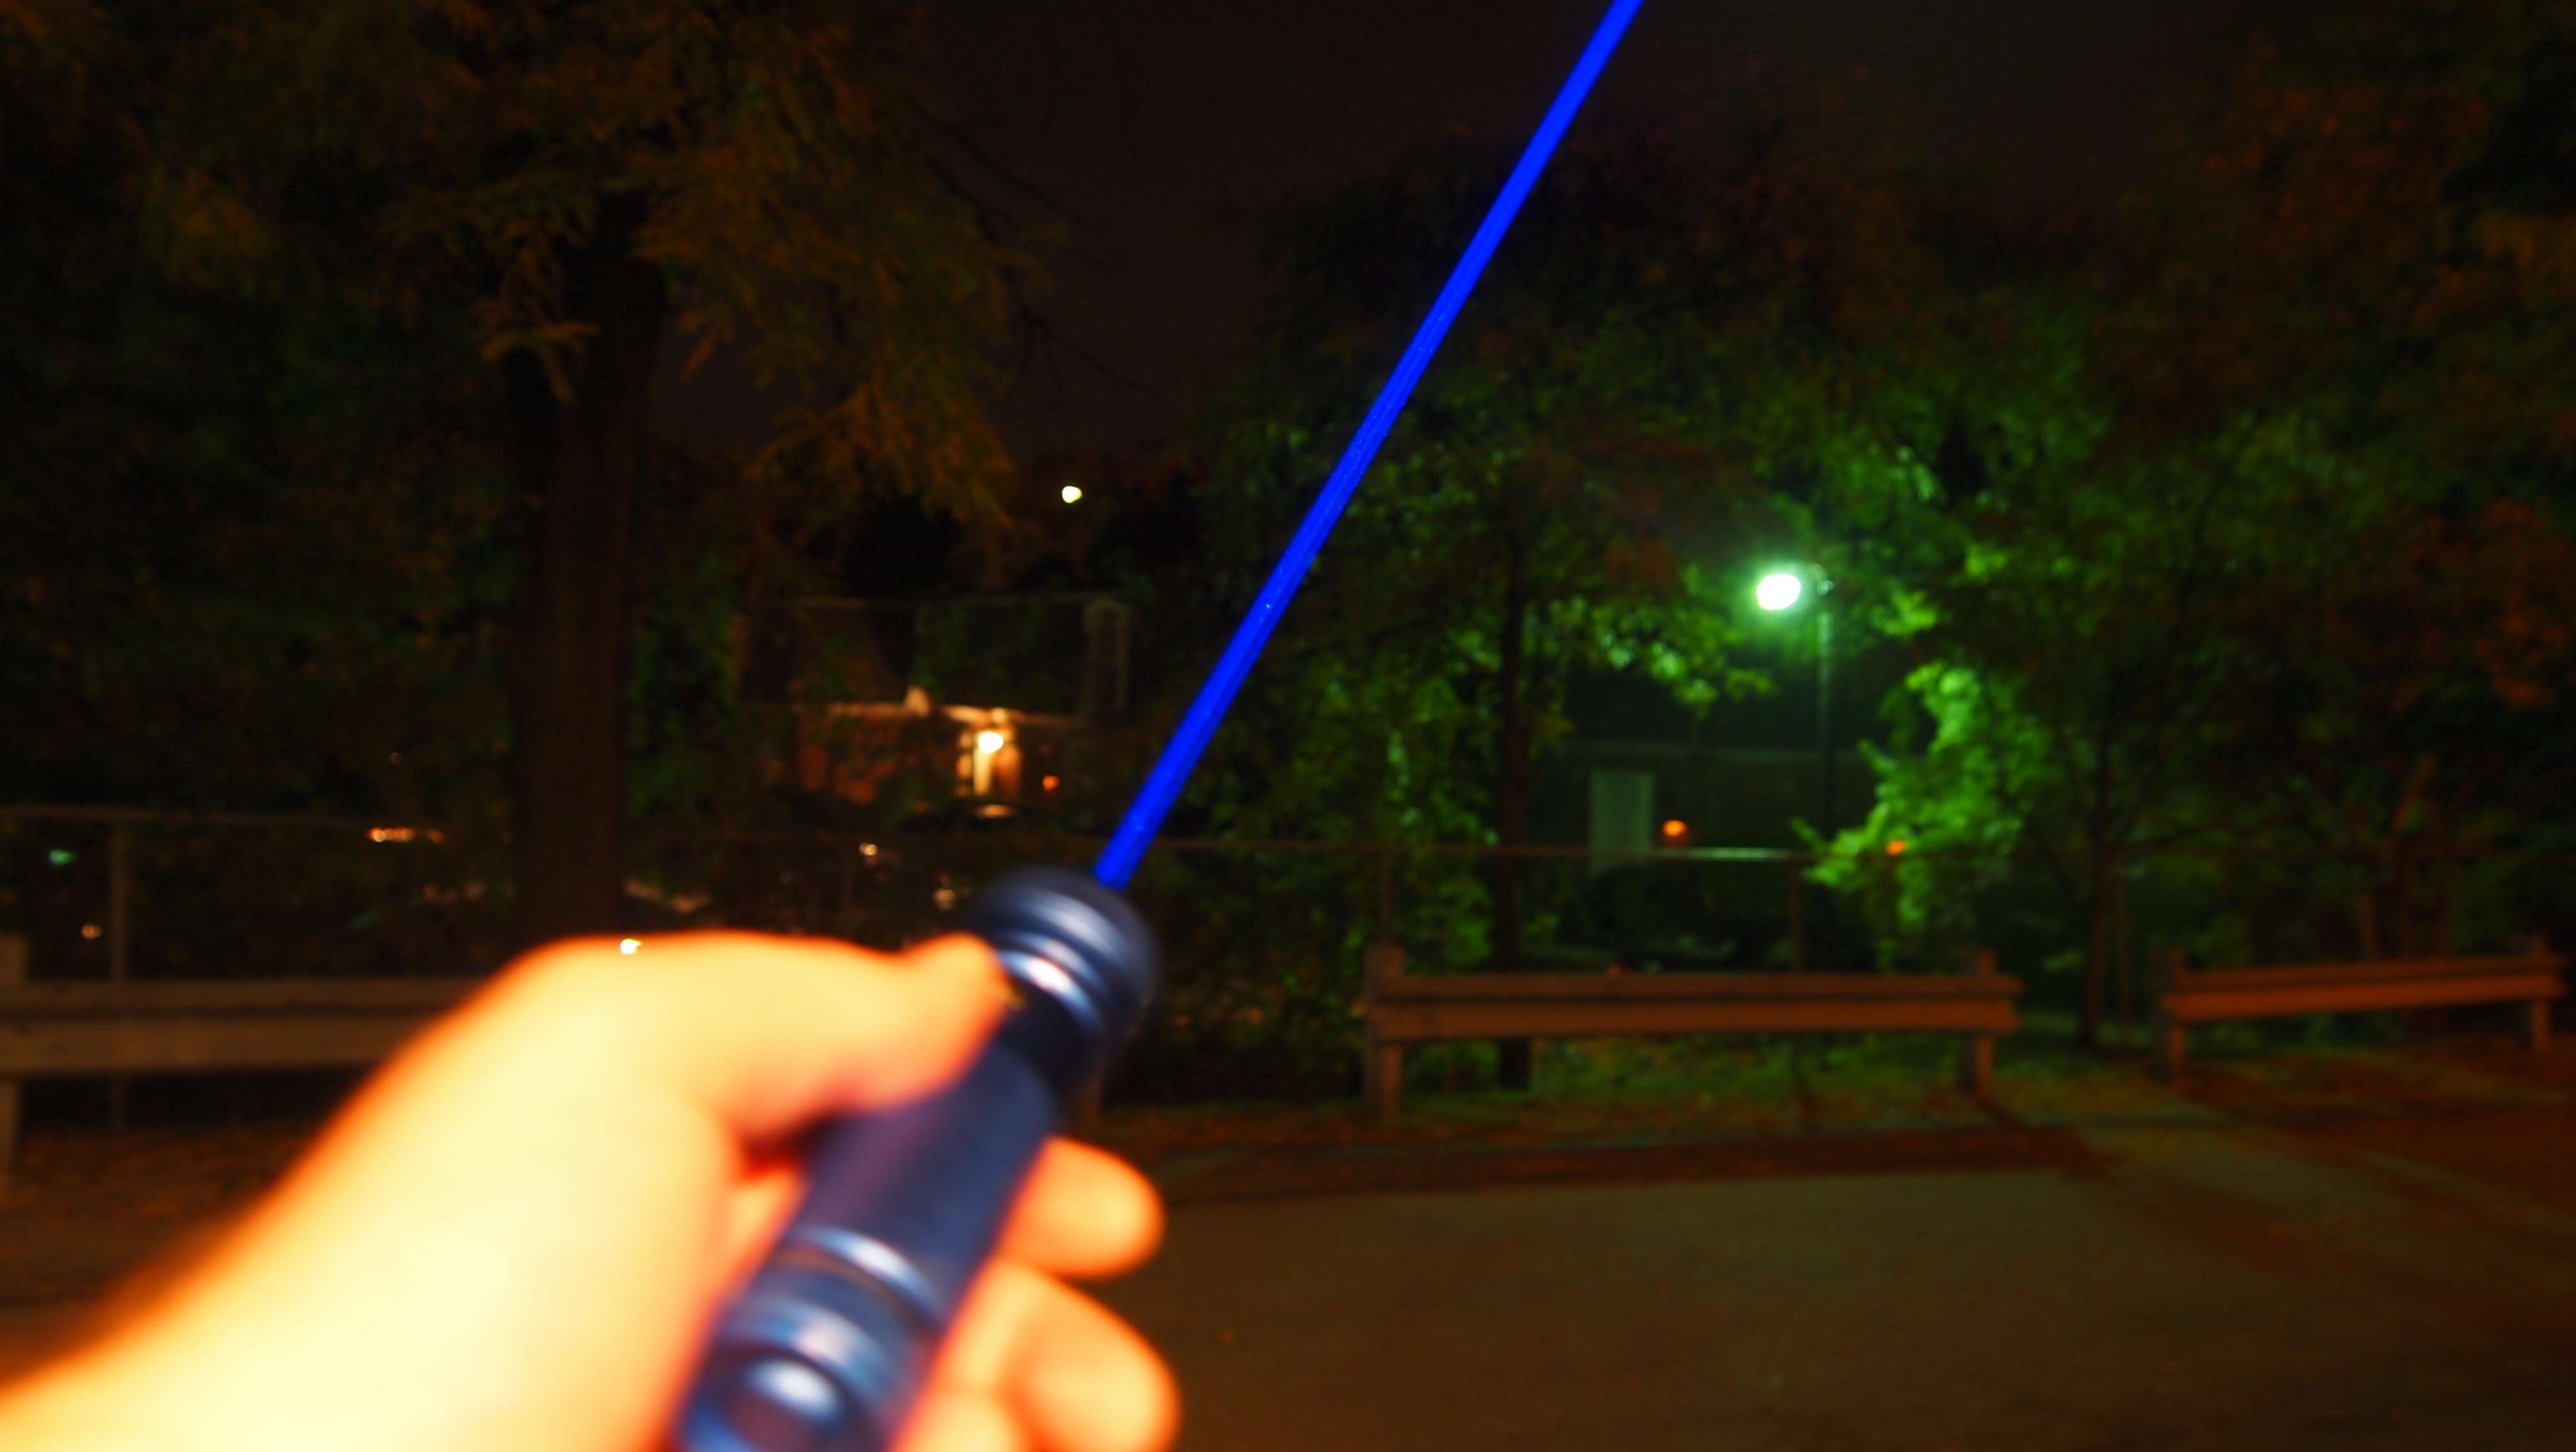
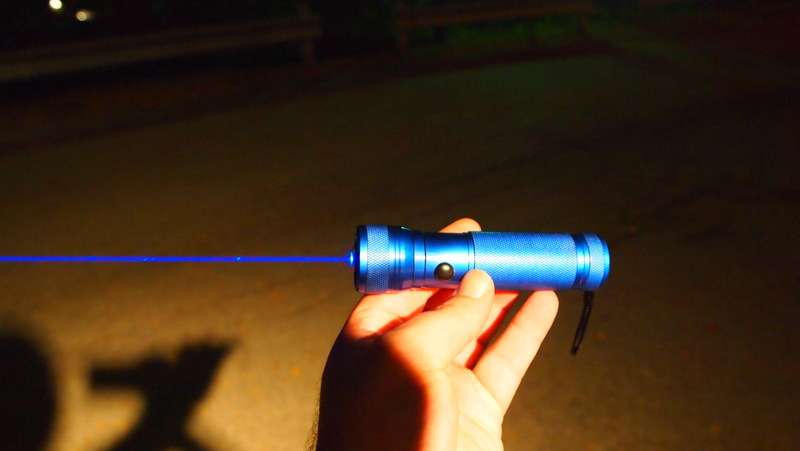
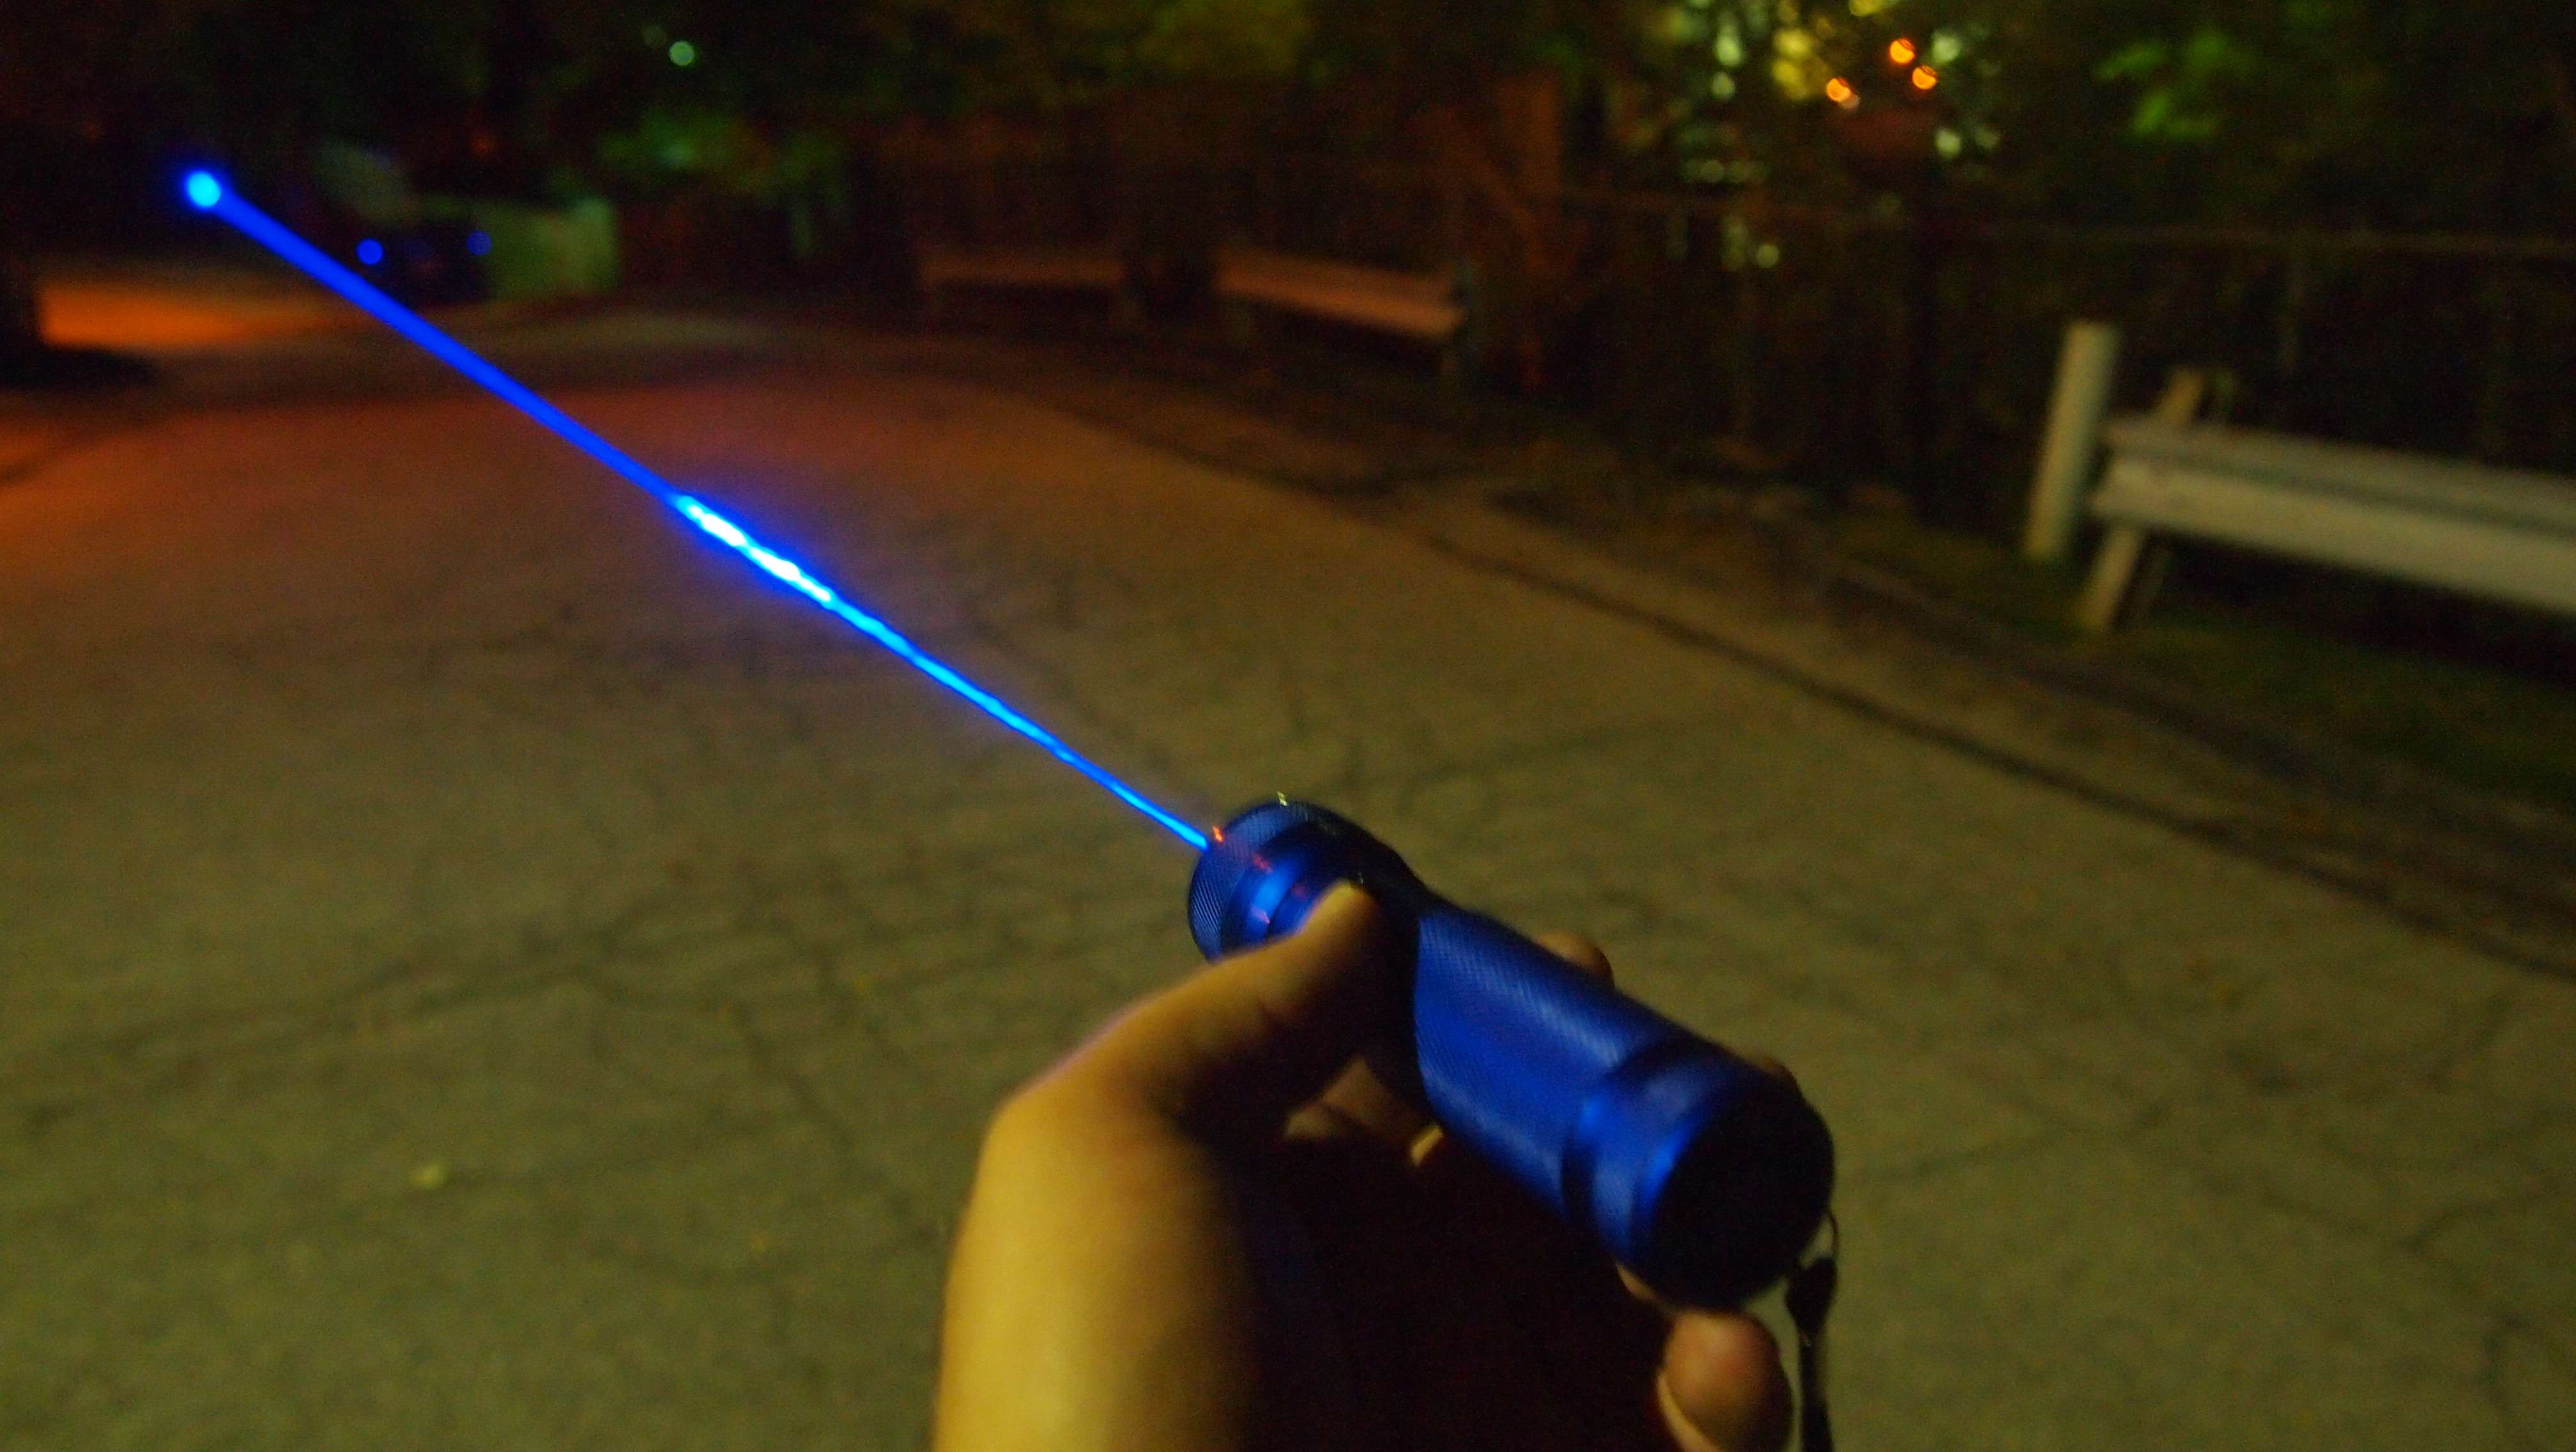
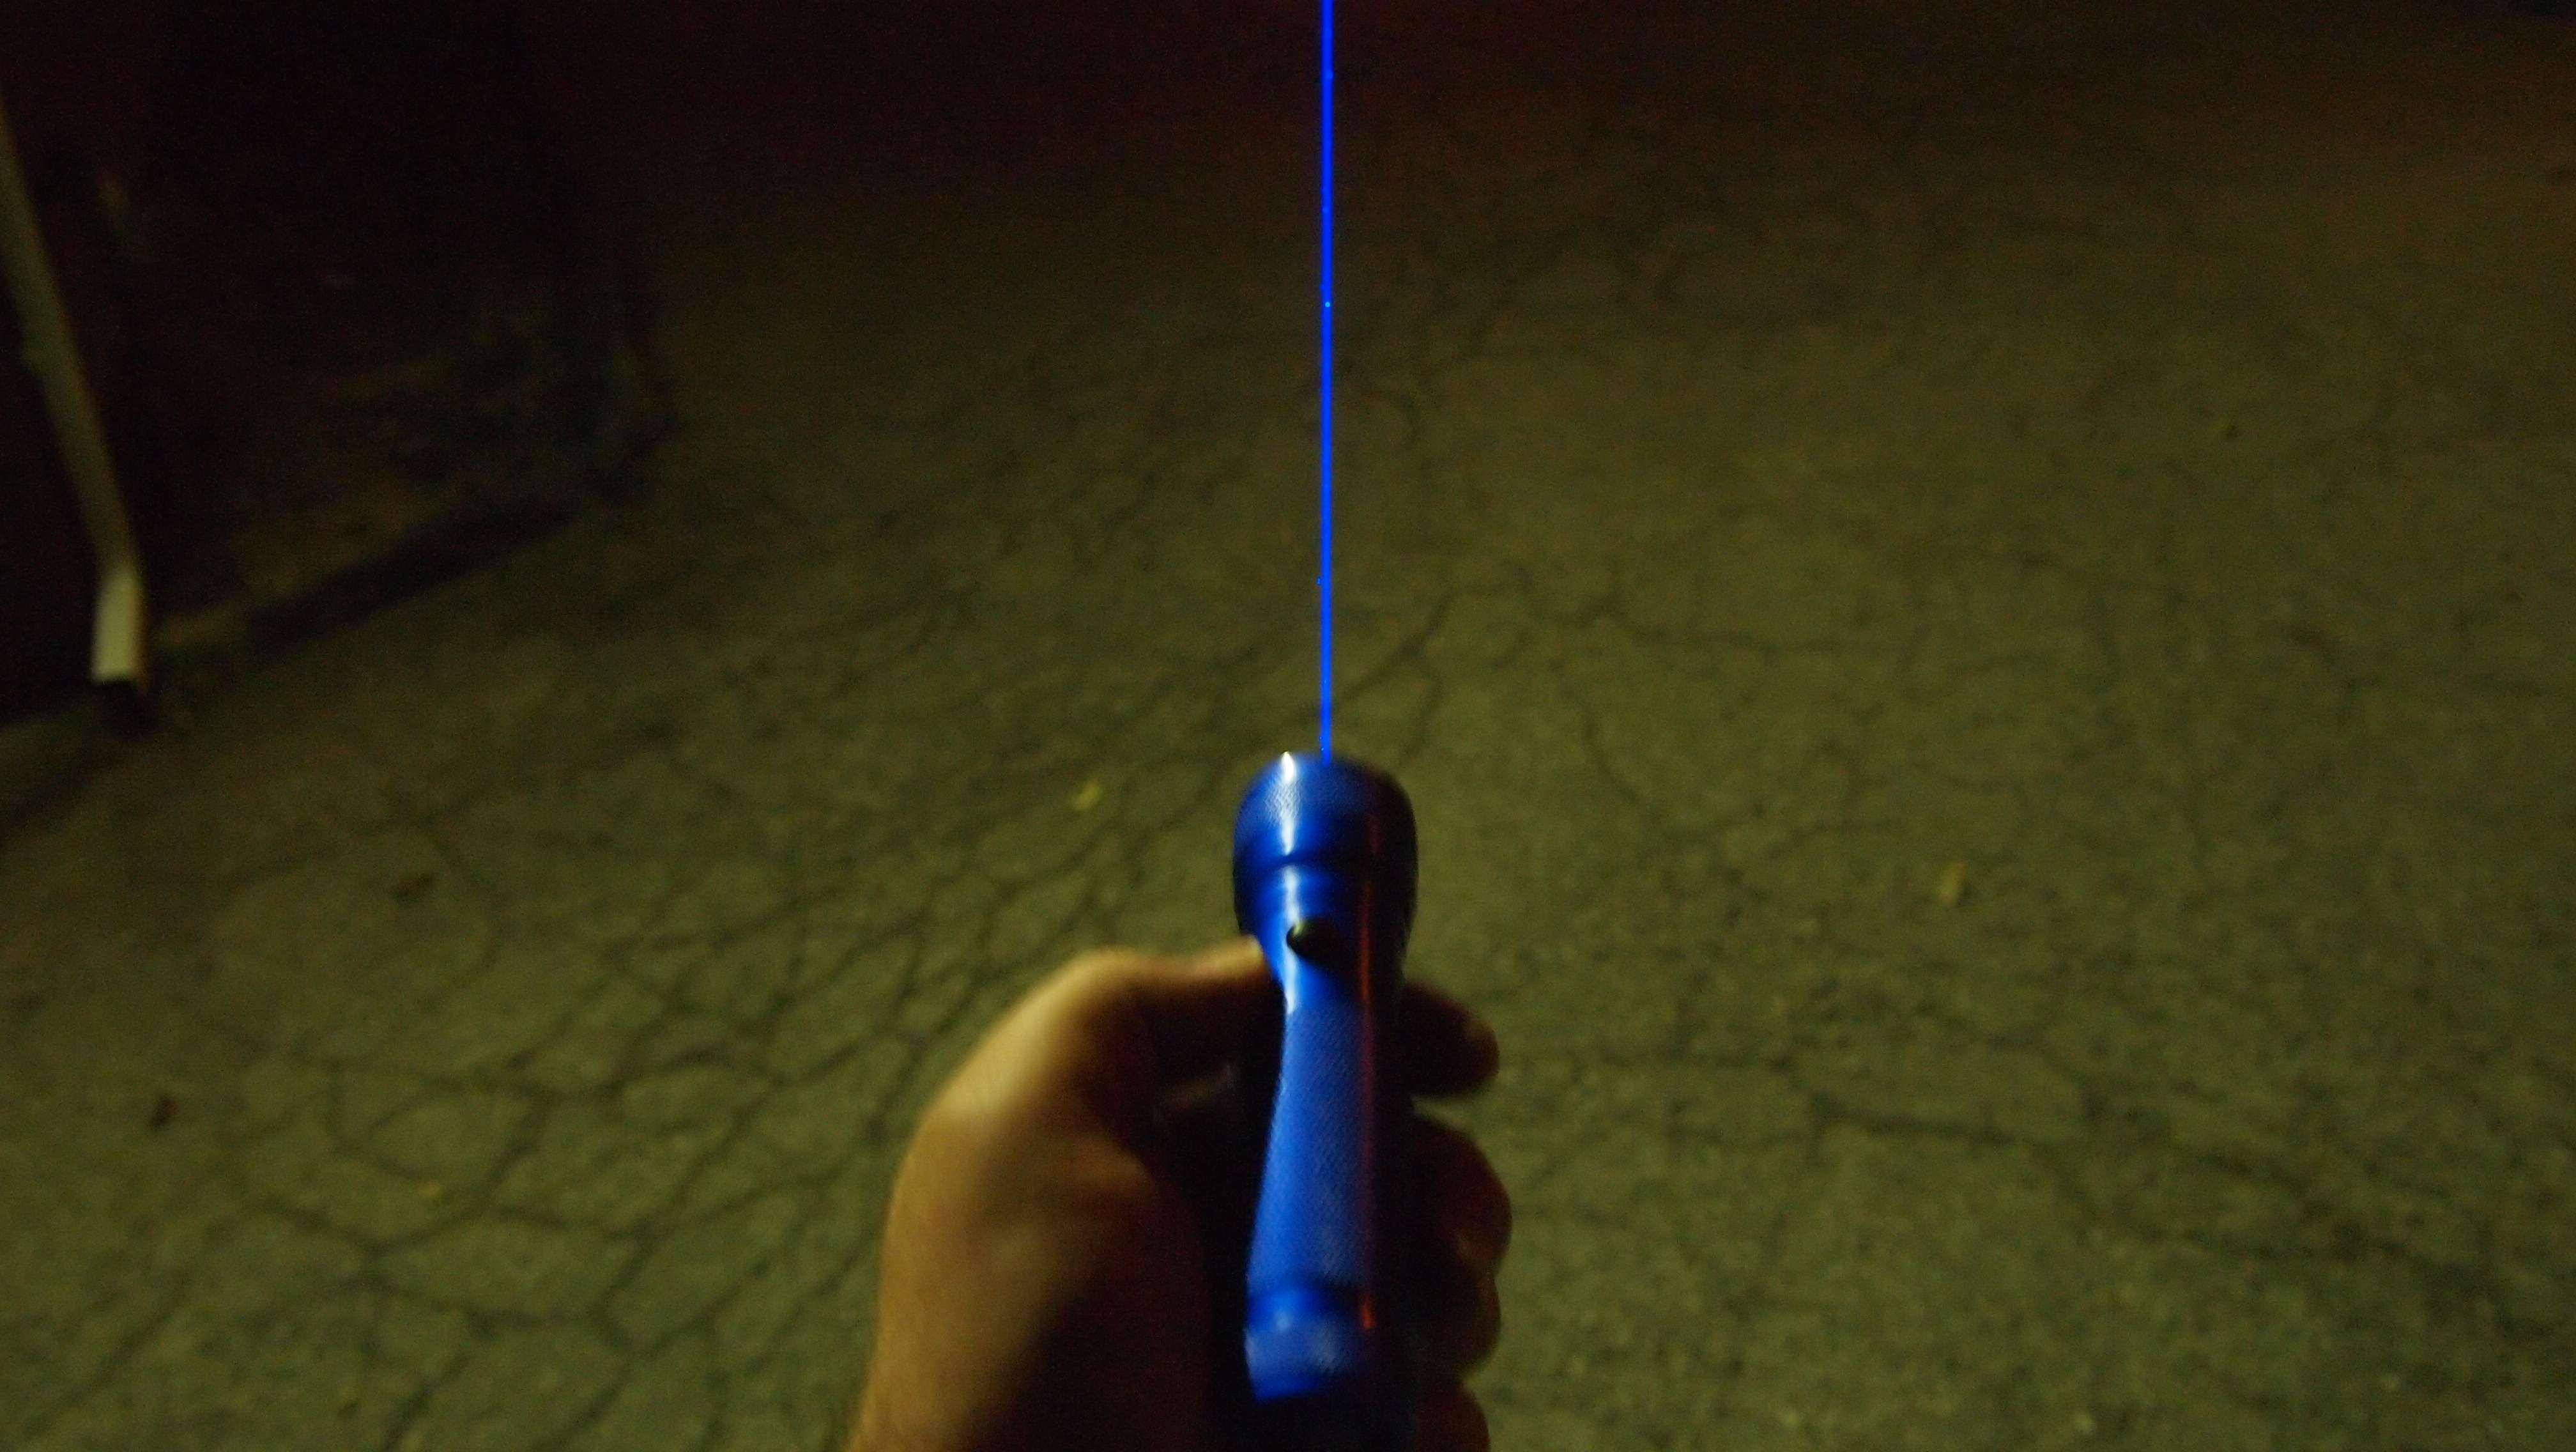
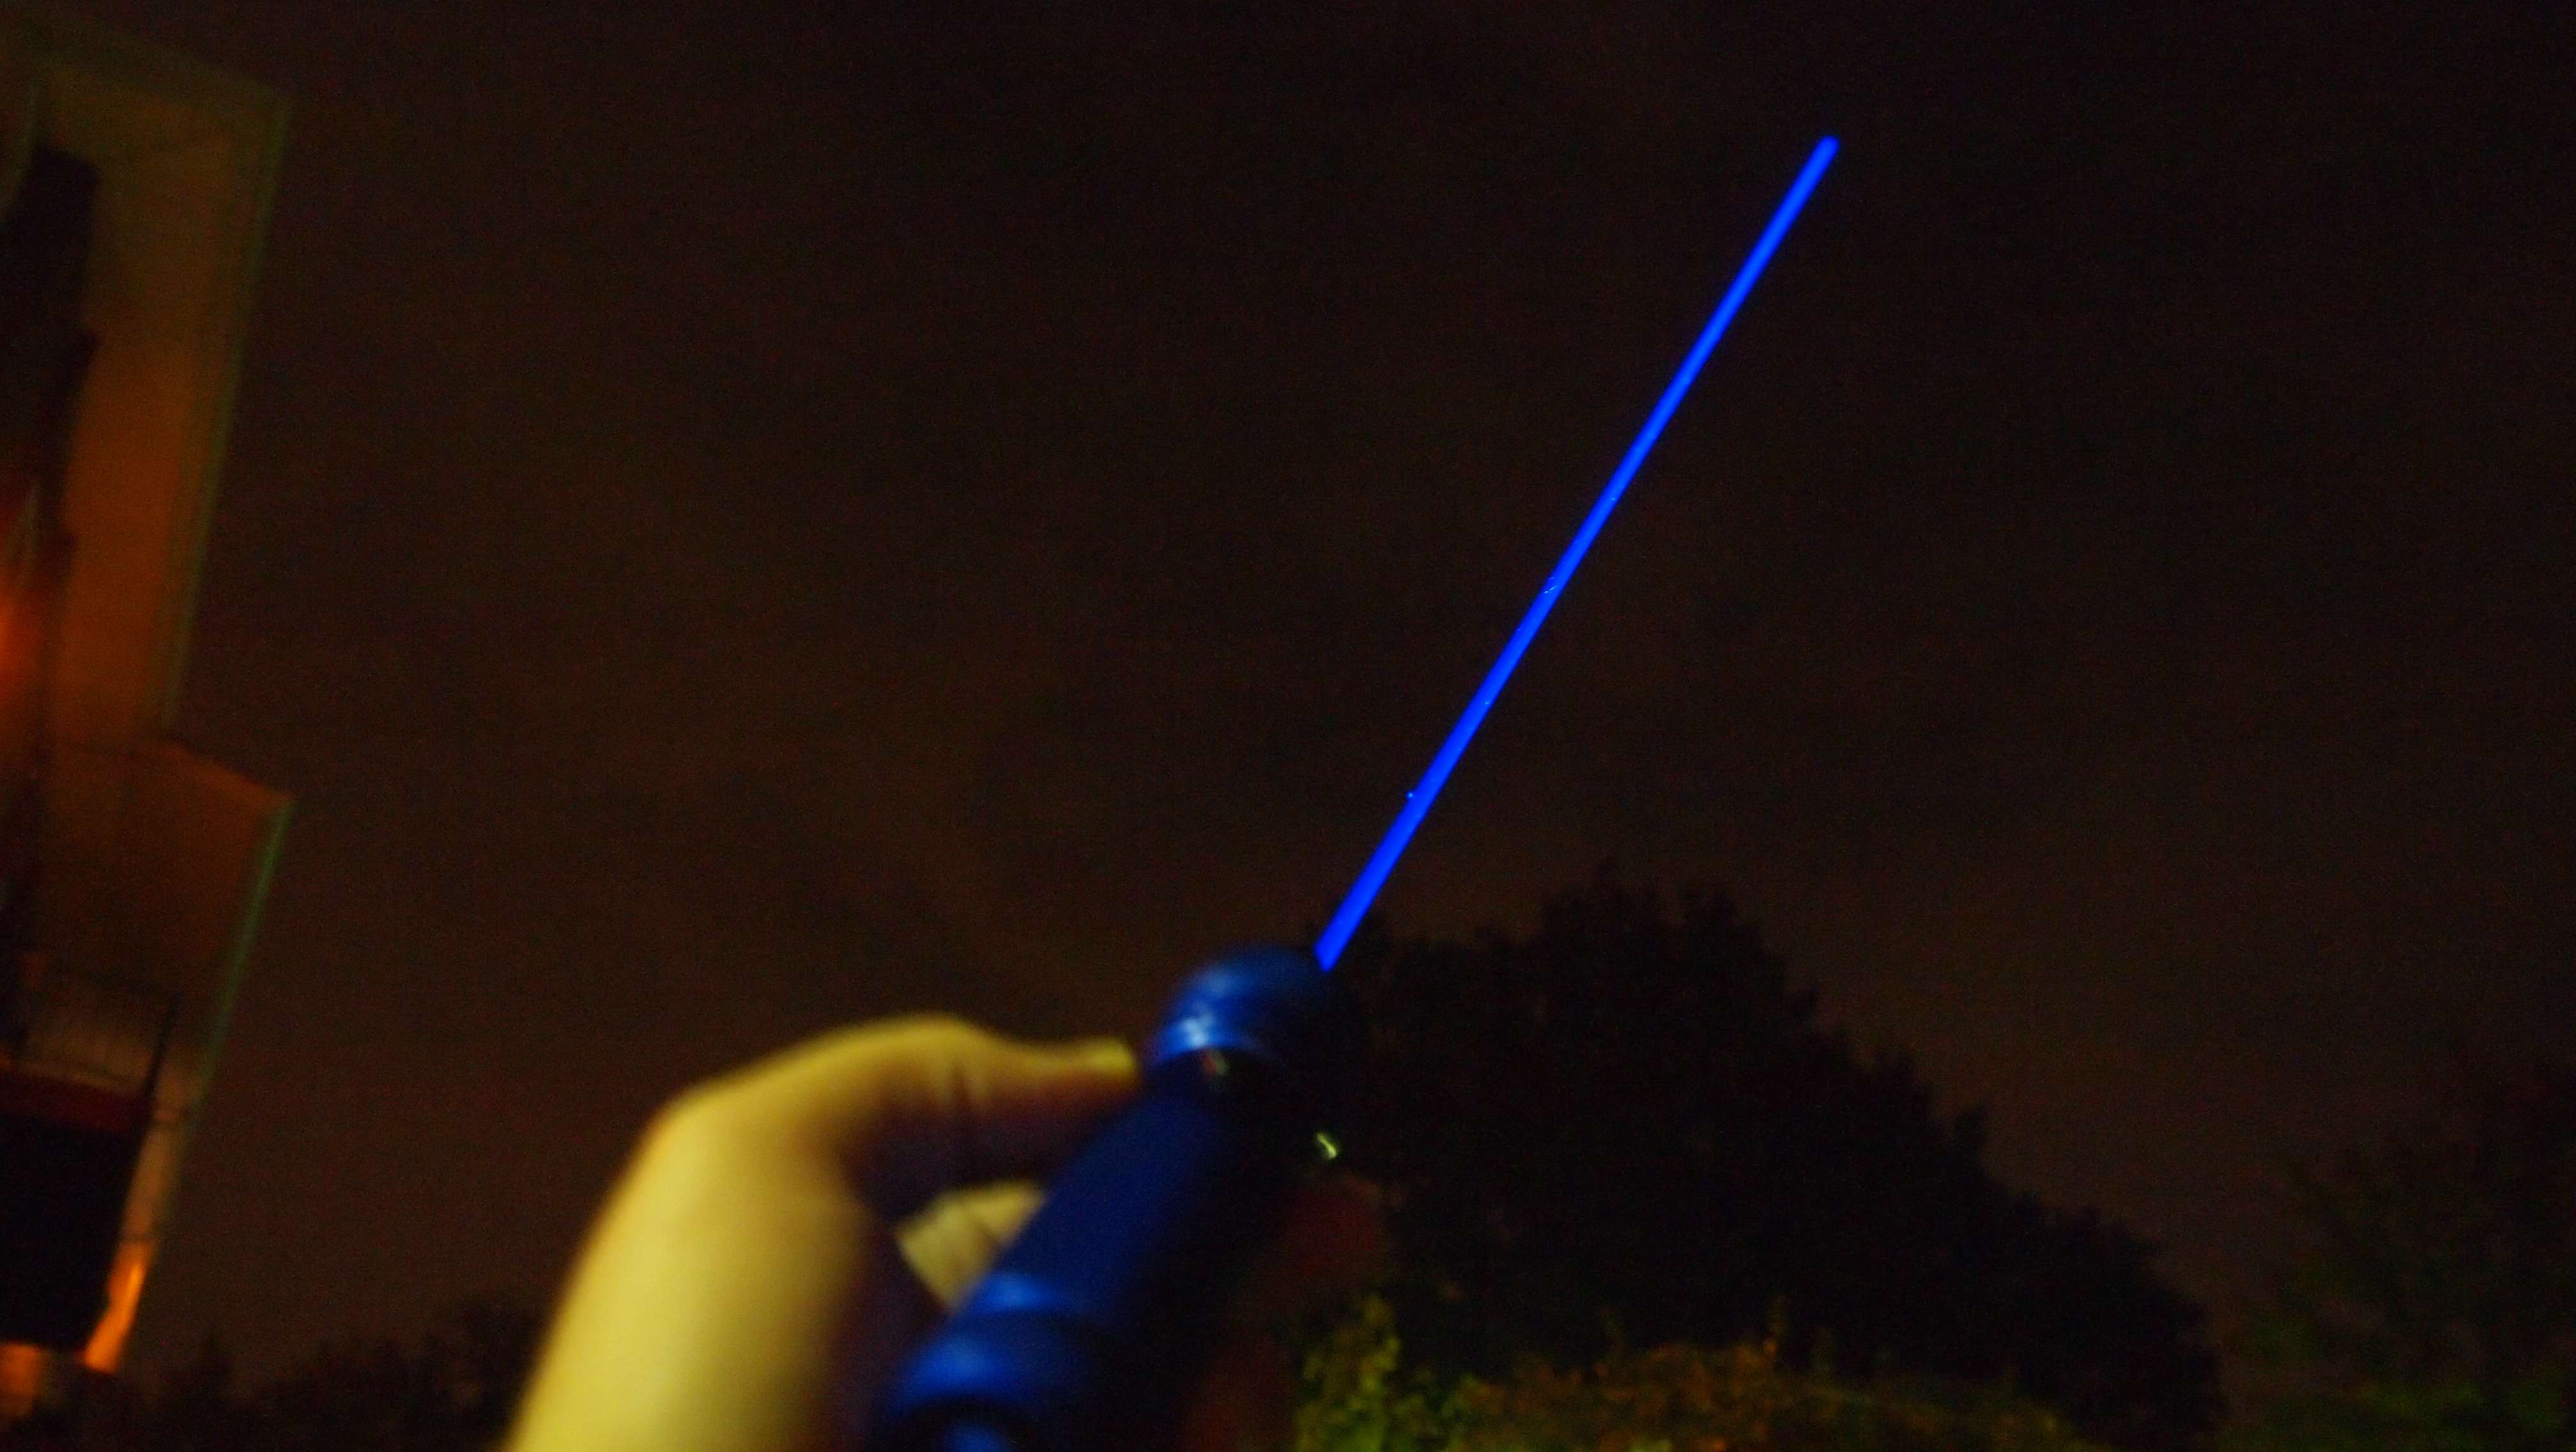
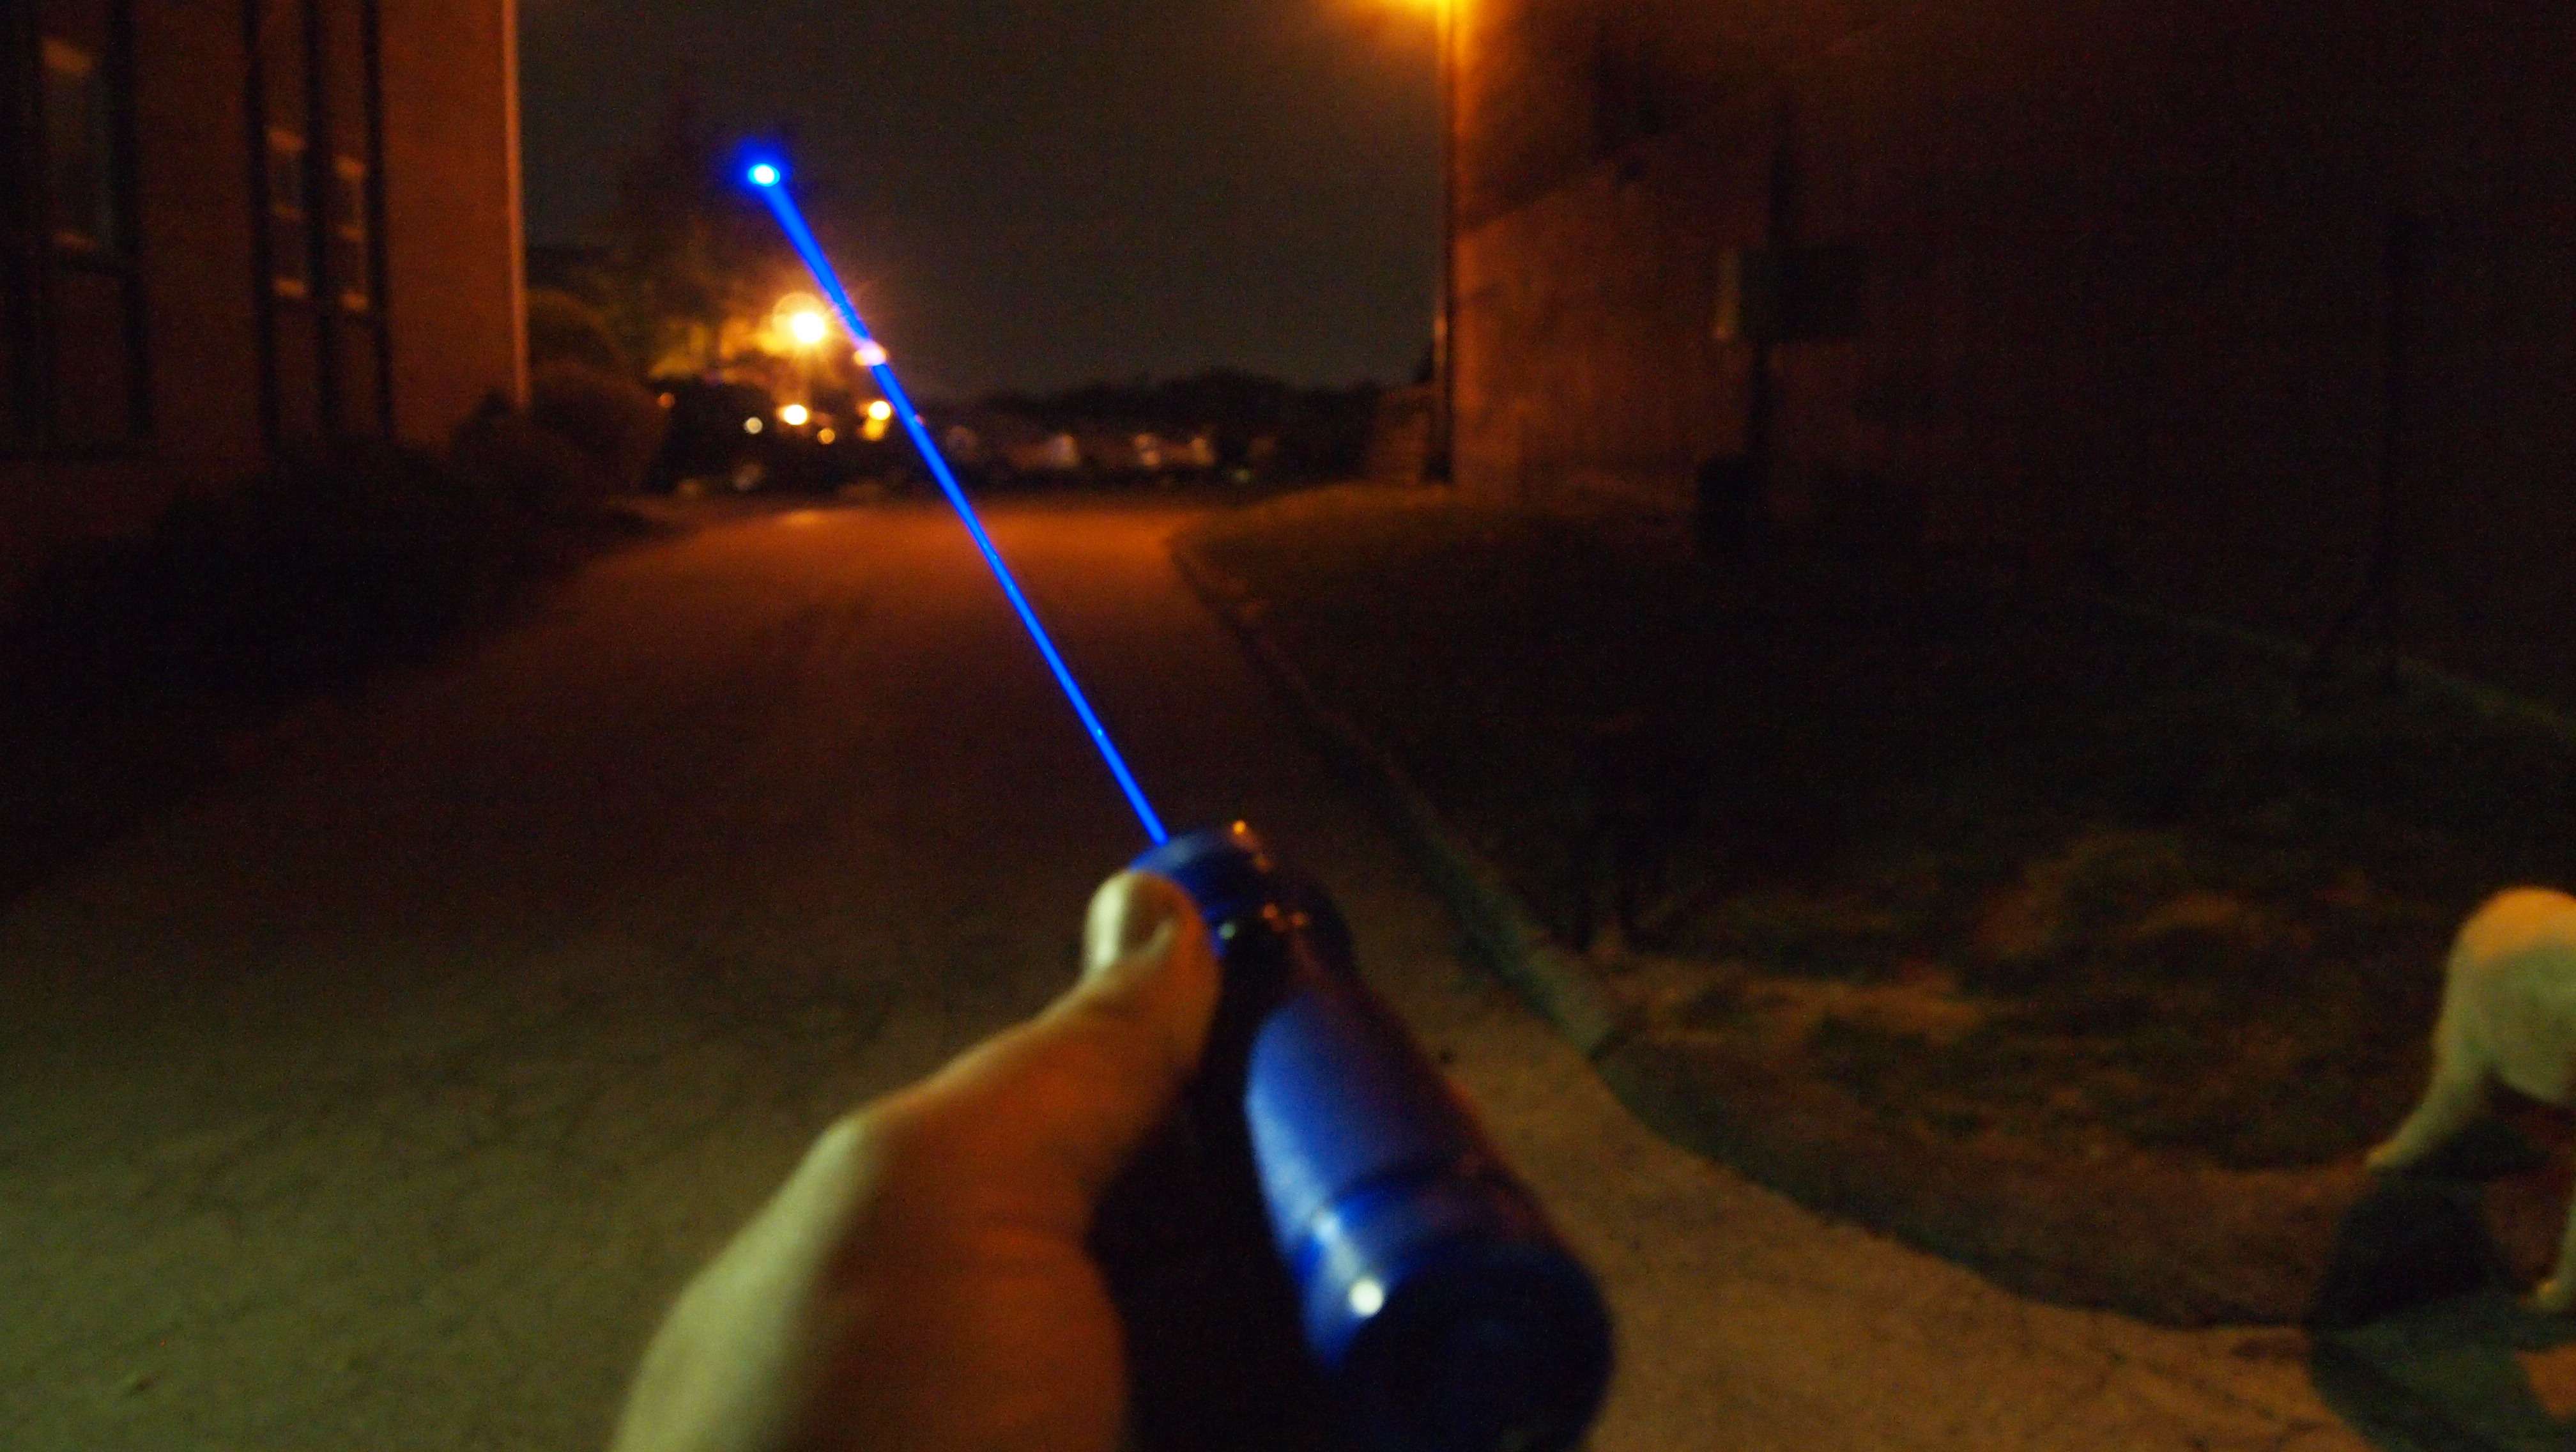
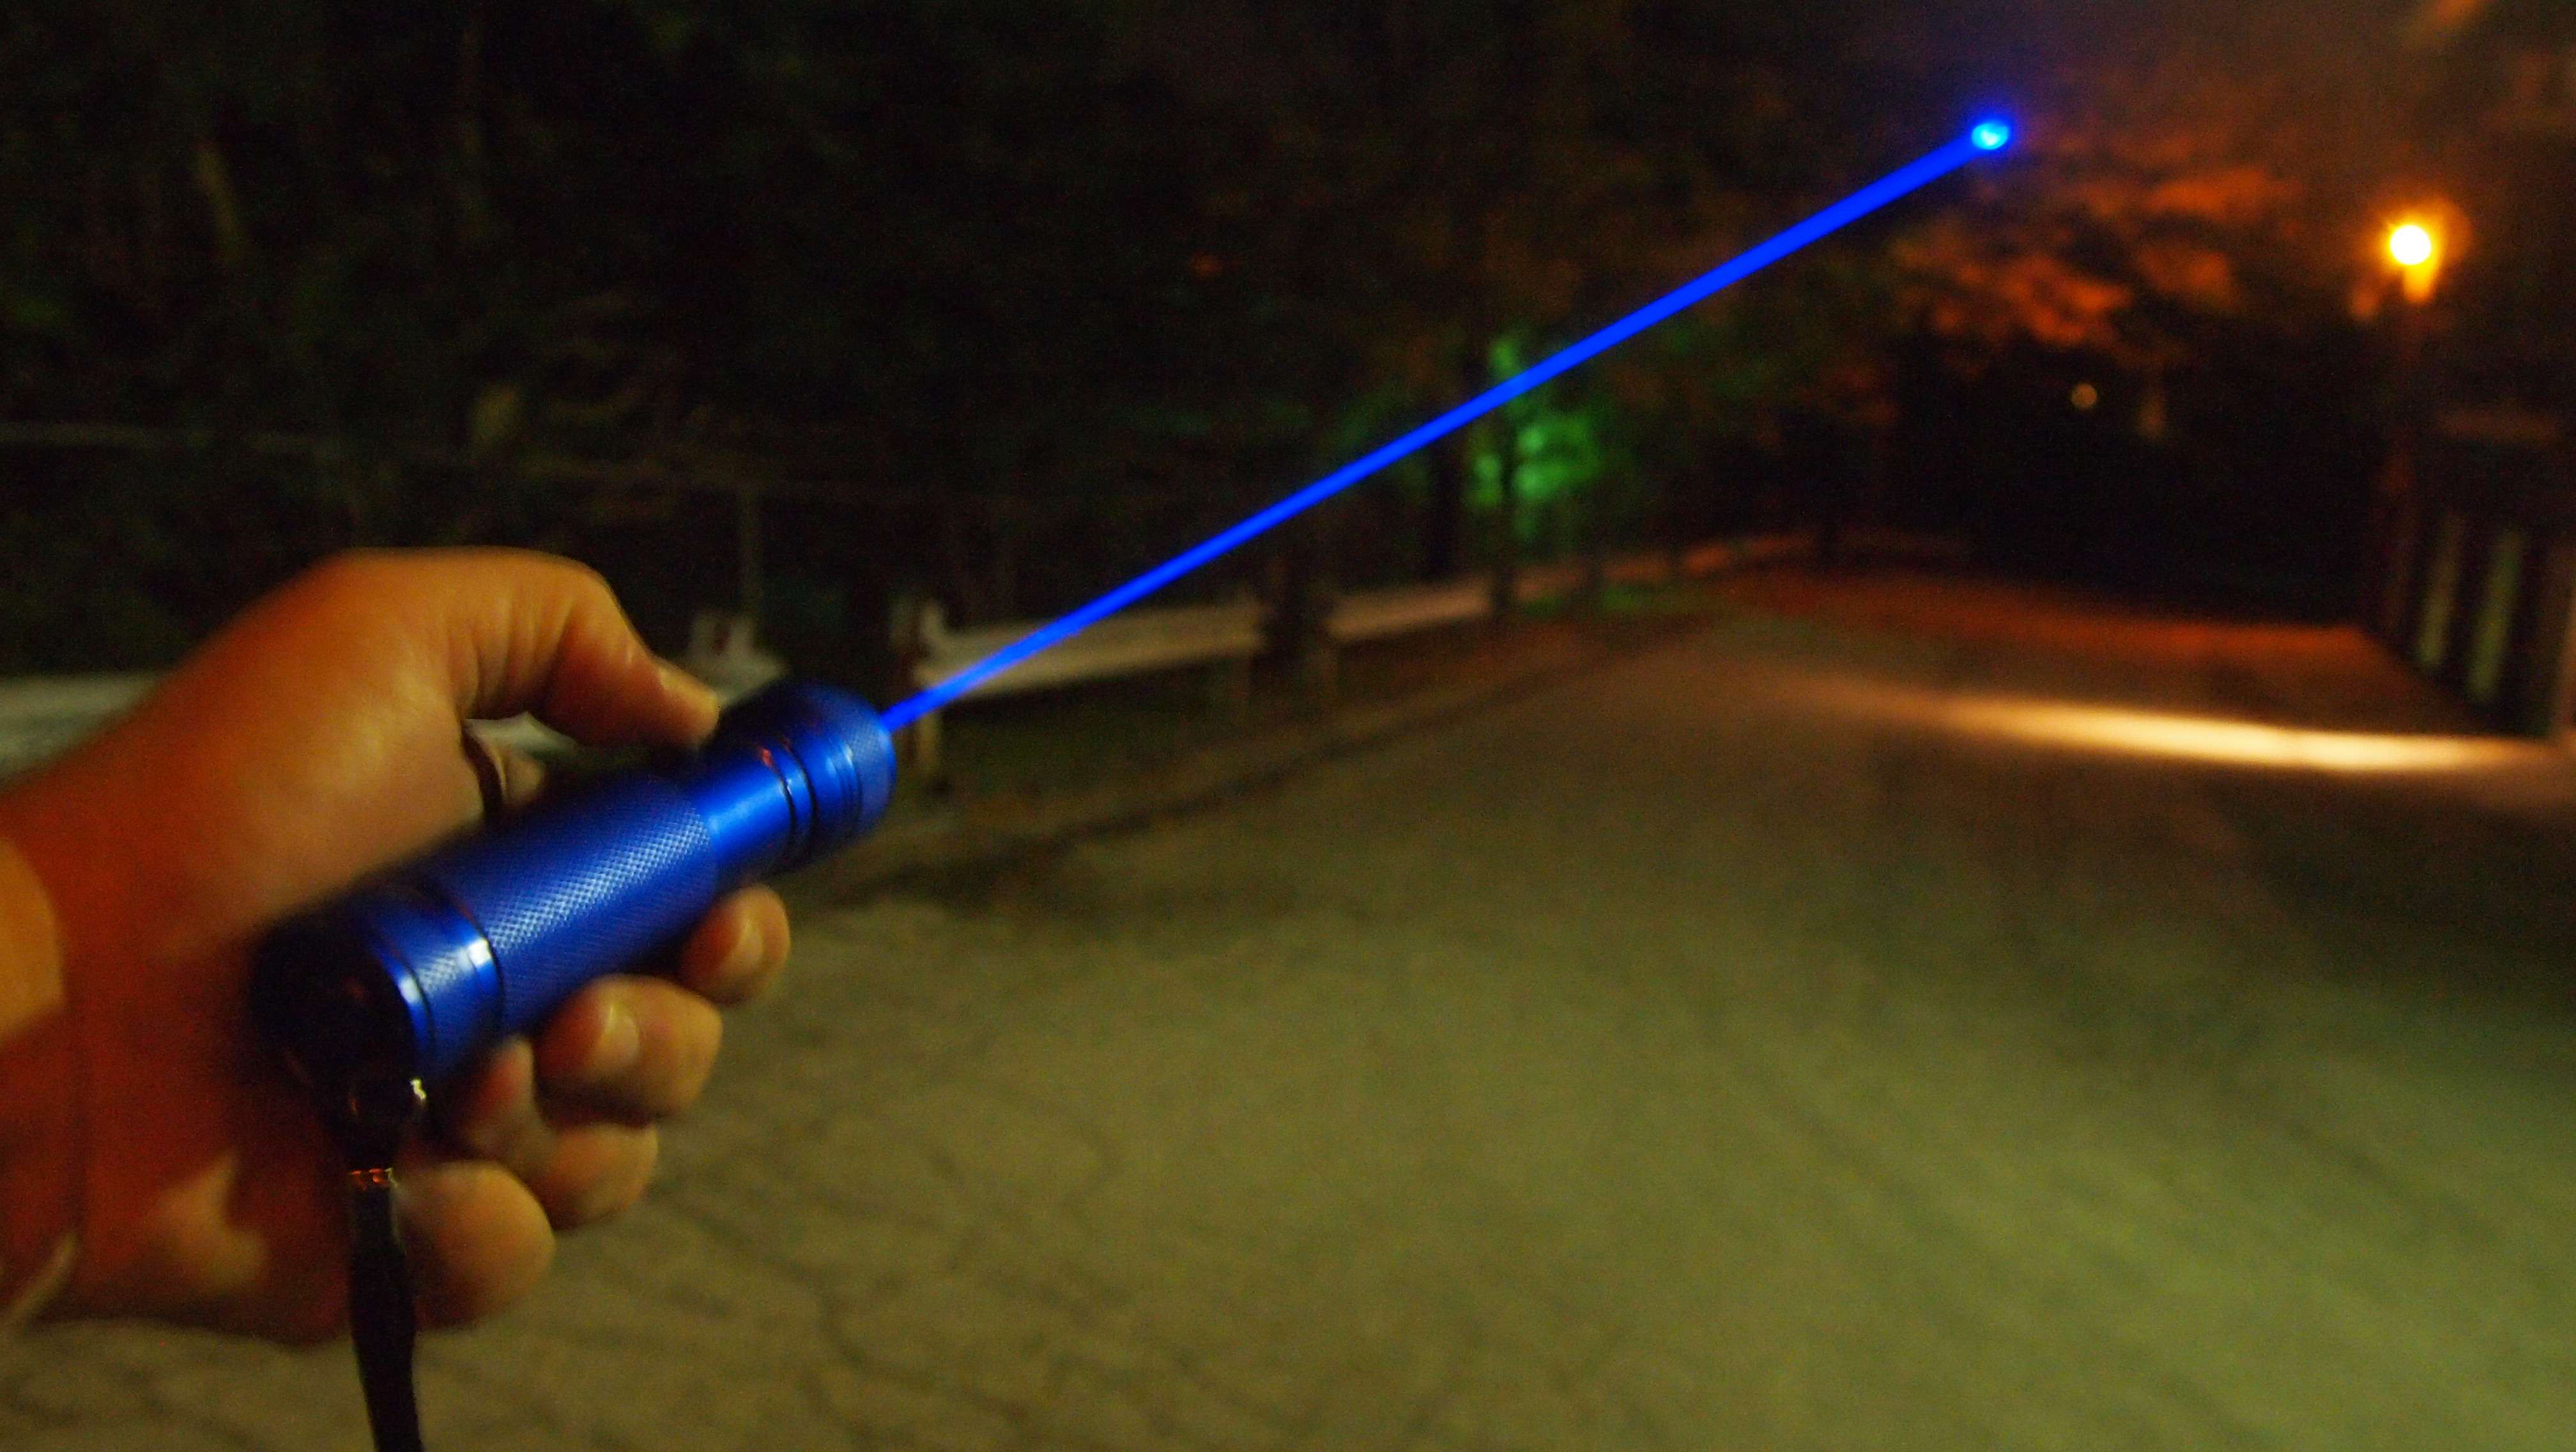
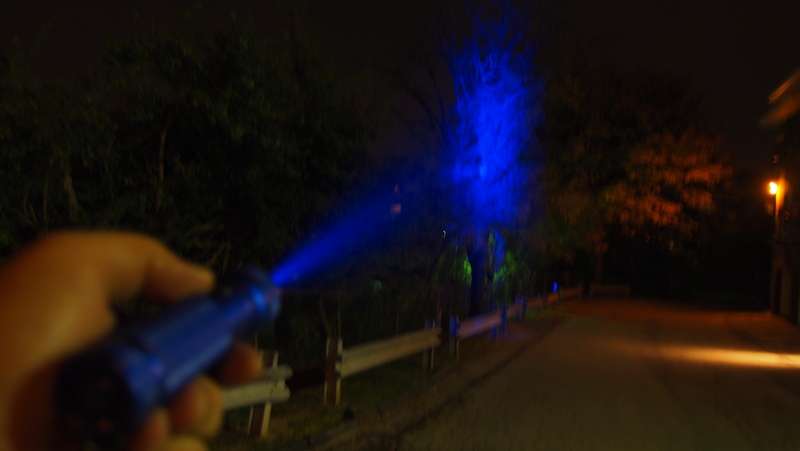
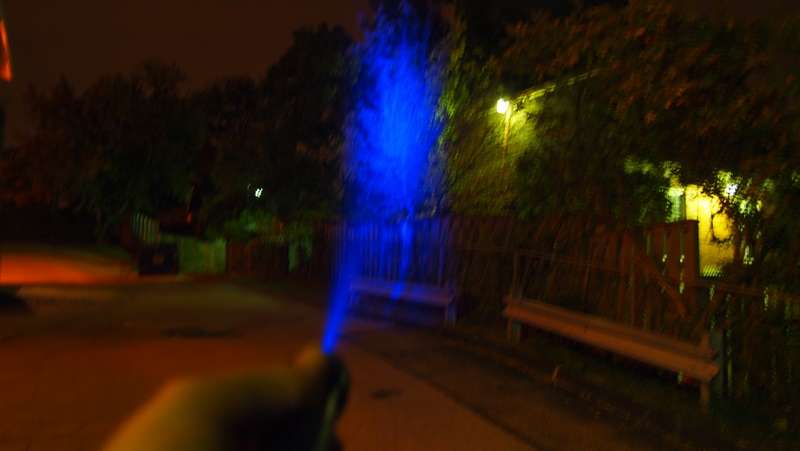

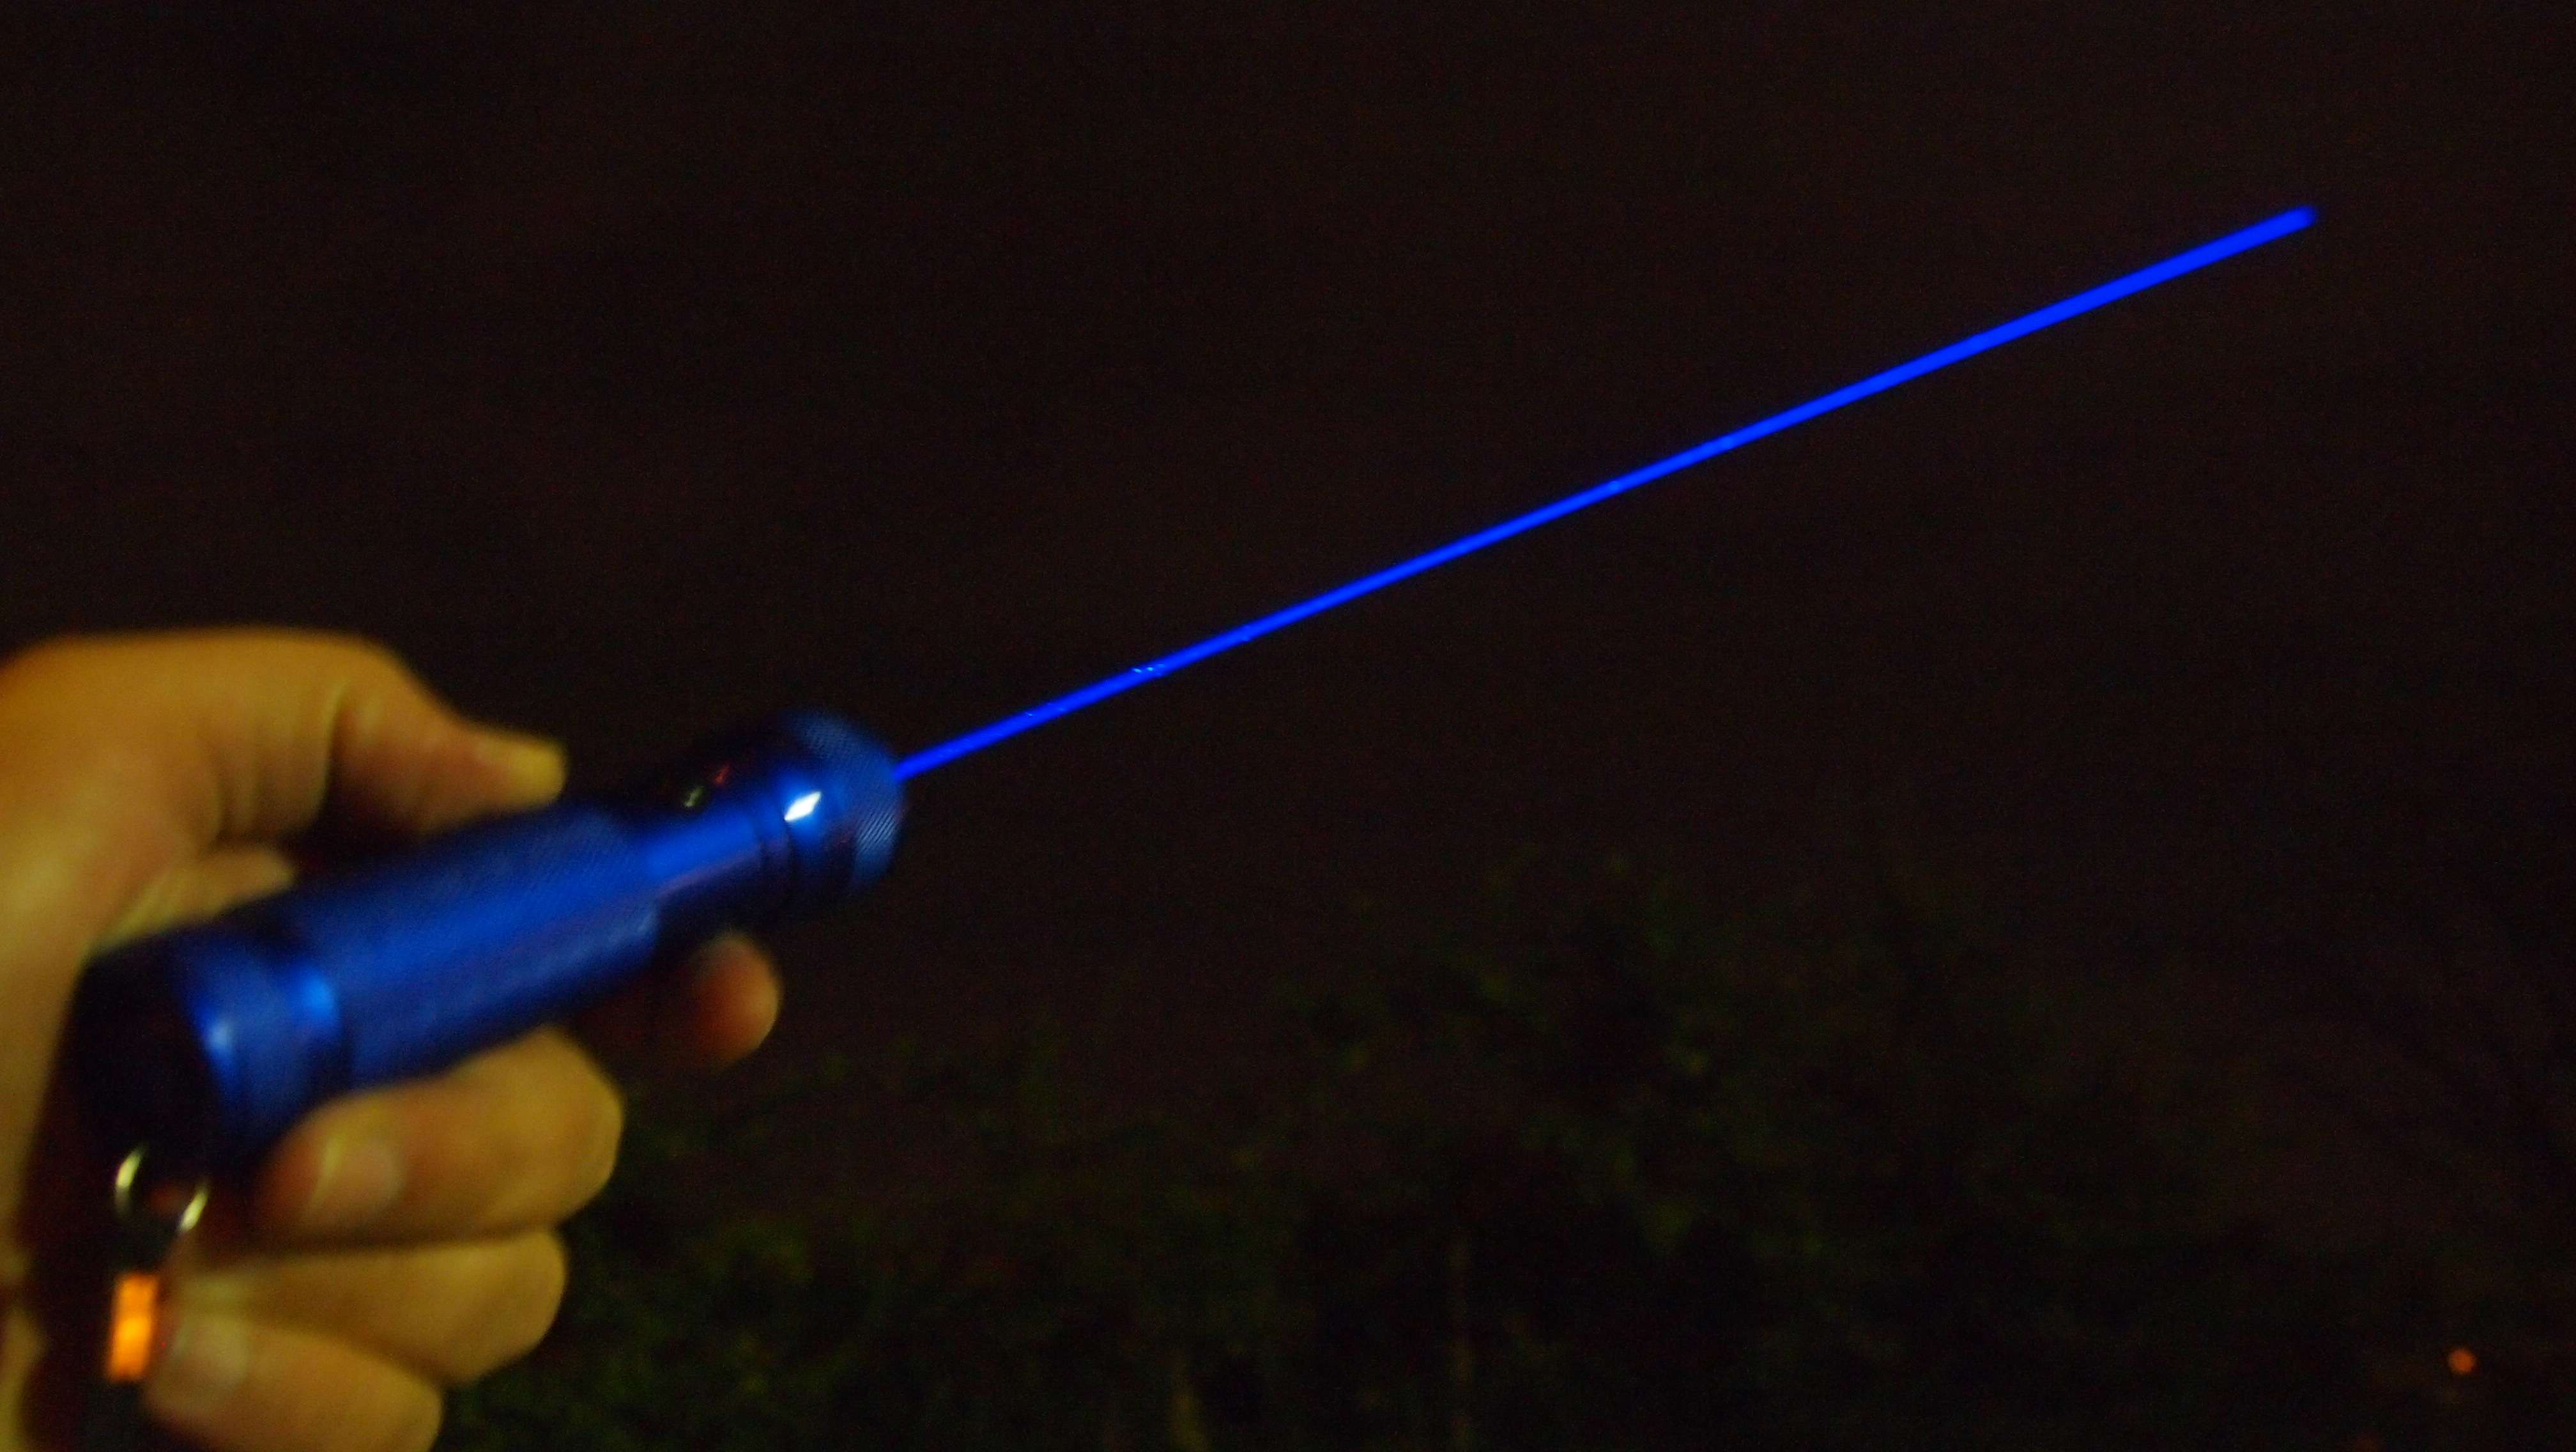
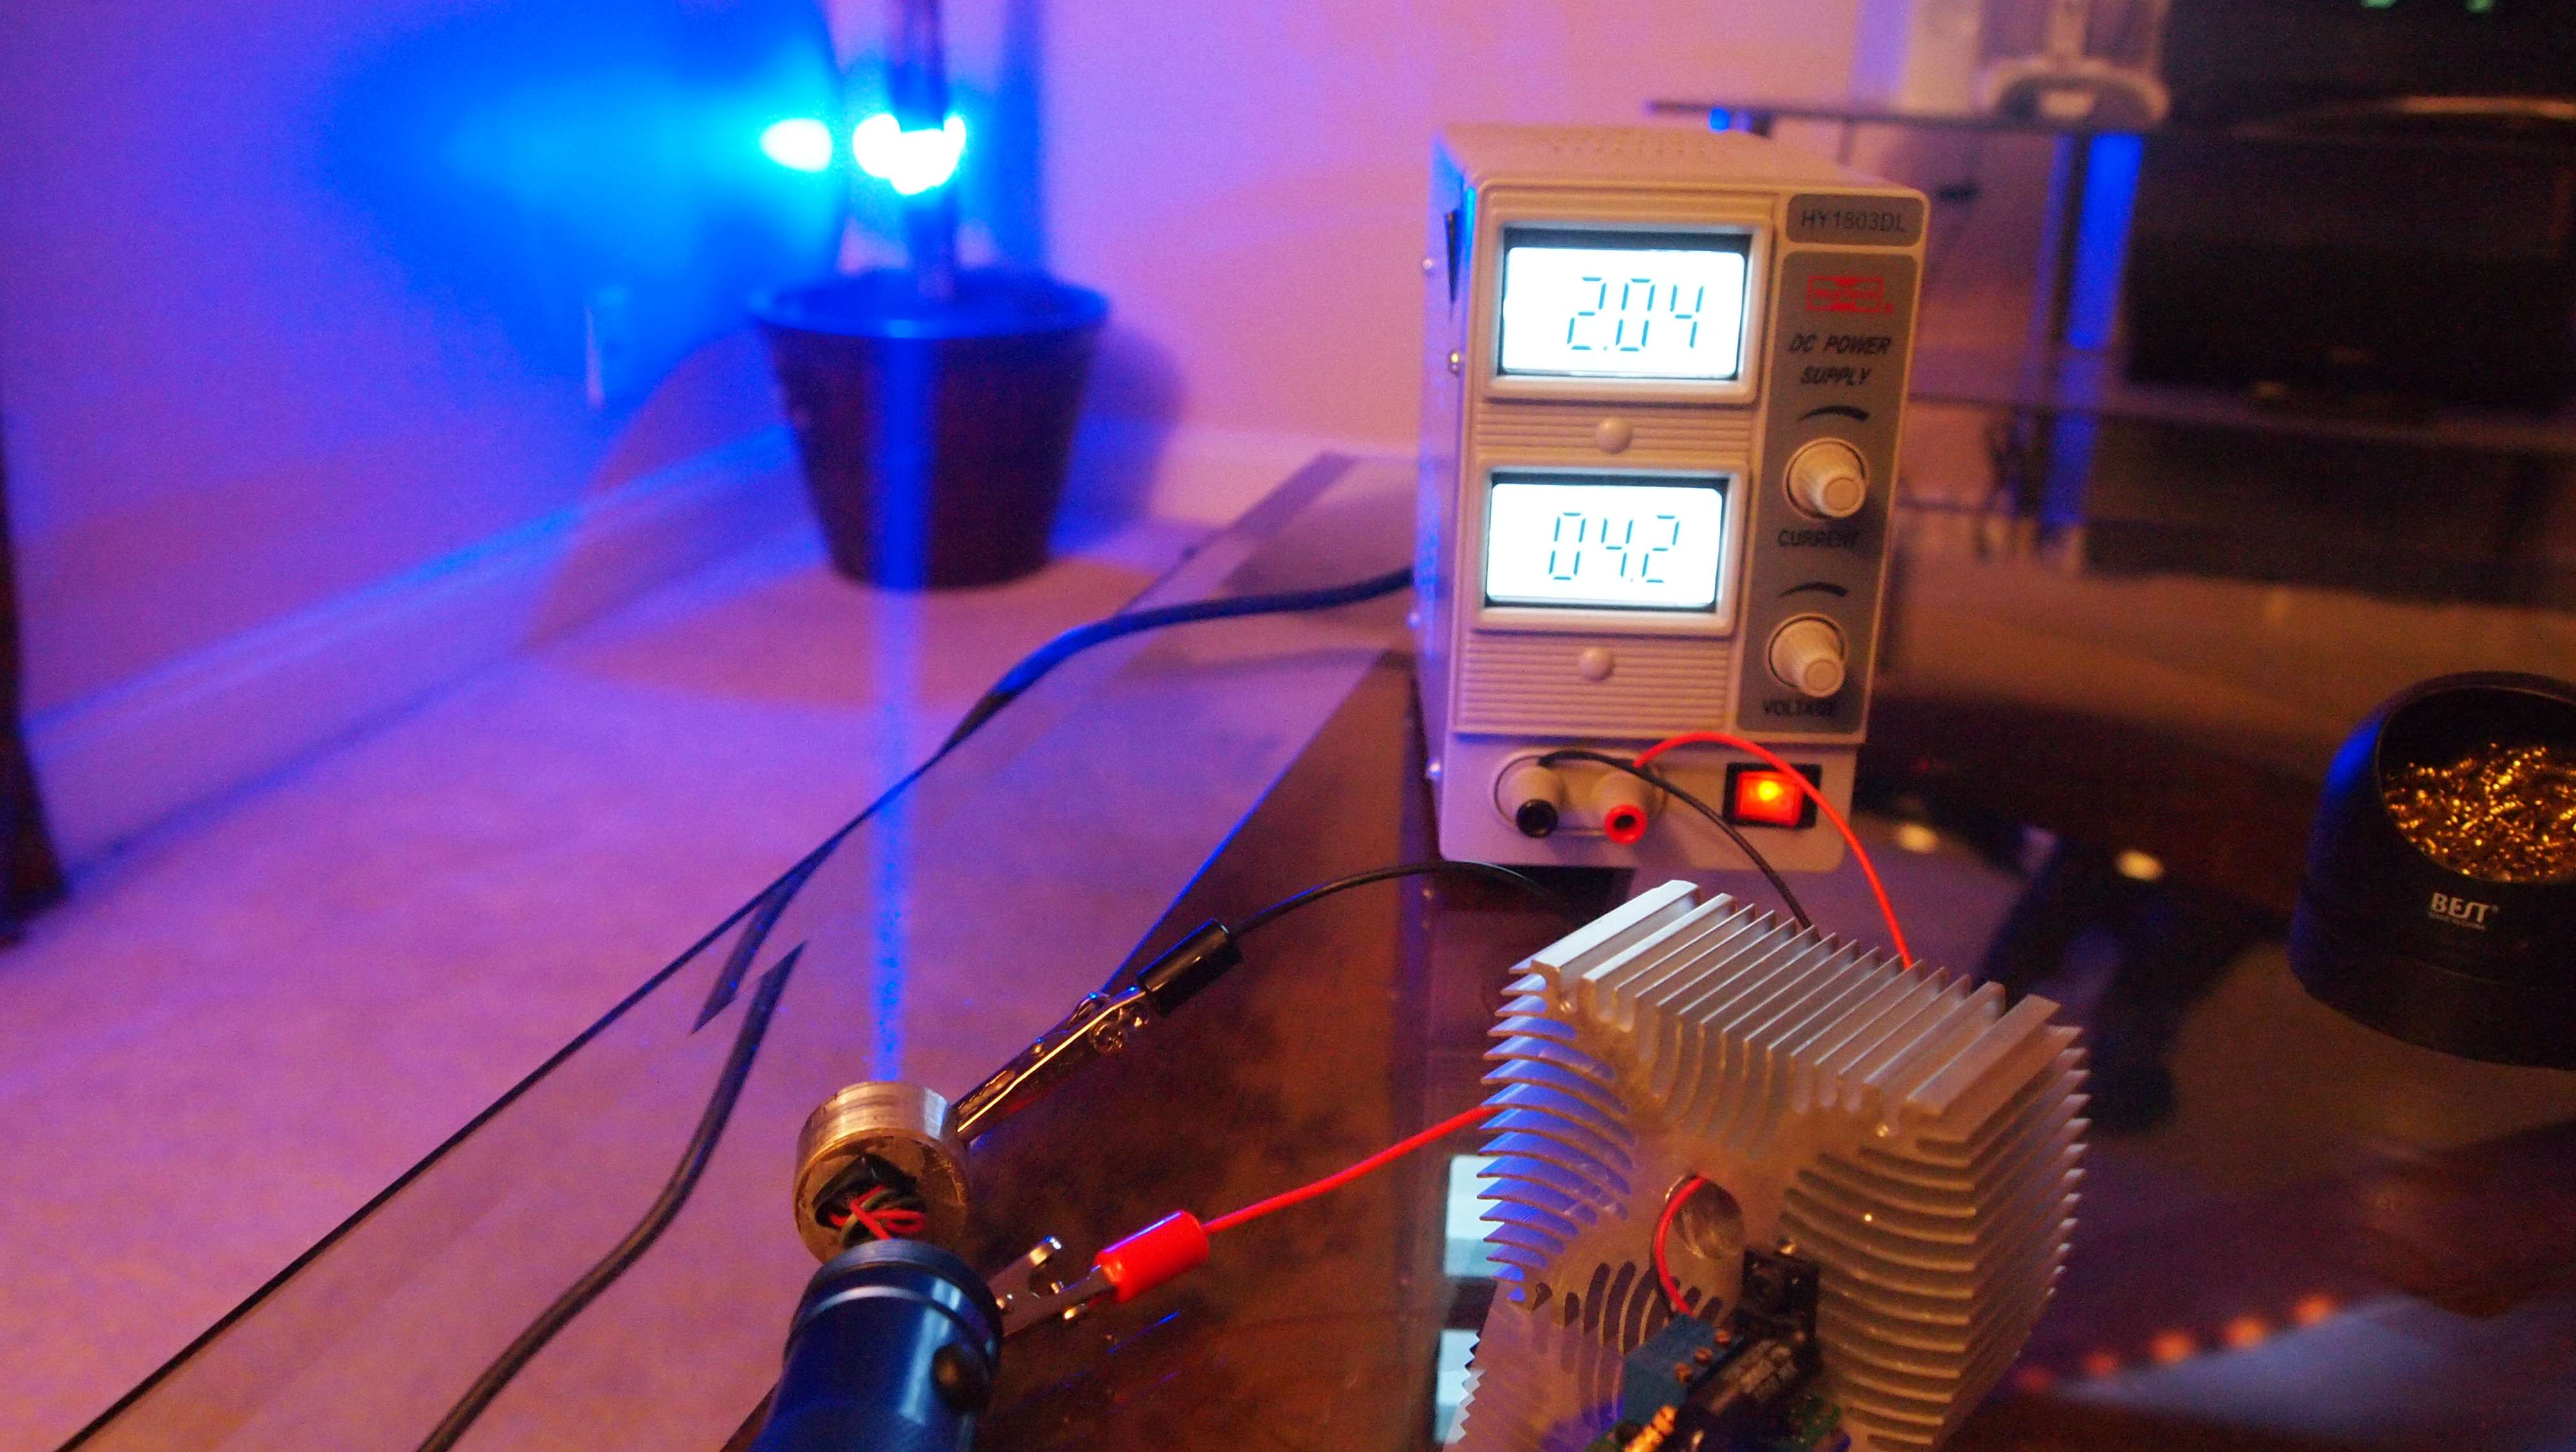
Now for the point of the whole project. I did a duration test and the unit will run continuously without the driver overheating. I did not want to push it so I stopped @ 3 1/2 minutes. I ran the test with a 405-G-1 lens from Jayrob and a sweet 1.6W came rolling out.
Operating at 1.5A the driver pulls 2A from the battery.
I am really loving these driver heatsink mods. I hope you all enjoyed it. Thanks for reading.
If you would like to see more of my reviews and tutorials please visit my compilation page.
http://laserpointerforums.com/f51/d...difications-compilation-60258.html#post852148
Here is the host kit from Mohrenberg. For being a compact unit this host actually has a pretty large heatsink which will work well for a 1.6W build. Also for an inexpensive I do love the way it feels and operates.

Here is the battery I will use. It is a high discharge AW IMR 18500 from Lighthound.
Specifications:
Nominal Voltage : 3.7V
Capacity : 1100mAH
Lowest Discharge Voltage : 2.50V
Standard Charge : CC/CV ( max. charging rate 4.5A )
Cycle Life : > 500 cycles
Max. continuous discharge rate : 10C

**EDIT**
Here is the 22600 which is the preferable battery for this host as it does not require the additions of the spring on the clickys battery contact point to fill the gap you get with the 18500 plus you get a capacity that puts it closer to the better 18650's. Not to mention it just fits very snug in this unit.
http://kaidomain.com/ProductDetails.aspx?ProductID=10622


**EDIT**
So to get started on this project I prepared a Flexdrive.

Solder the unit to set the range to allow it to run @ 1.5A.

Next we will prepare the Pill.
Bend the tab into an upright position.

With the tab in the upright position you can now slide the spacer out with ease. You don't have to but I suggest cutting 1/3 of this spacer off to shorten it and make the pill a little bigger.

Now that the spacer is out you are left looking at the clicky.

Now reinsert the clicky in the host with the spring facing the back of the host.

Slide your spacer in and add some Krazy Glue to hold the spacer in place. That's it for the pill preparation.

Next get your $1 gold coin to be used as the heatsink for the driver.

Take it to a grinder to flatten the points that will have contact. First the lip on the bottom of the coin that will press against the heatsink.

Then the area on the coin that the driver will sit.

I drilled a hole slightly off center for the wires to go through.

I quickly realized the diode pins will stick out too far for the dollar to fit over it. So I had to drill a larger hole centered for the pins to stick out.

Next I got some thermal adhesive mixed up.

Put a thin coat on the area that the driver will be affixed to. Set the driver and add some alligator clips to hold it tight until the adhesive hardens.

I gave it 20 minutes for the adhesive to harden then I removed the alligator clips and ran the diode wires through the hole.

I clipped the wires shorter striped them and added some flux to the tips.

Soldered the diode using the case pin for an isolated negative and added shrink tubing.

I then tested it at a low current to make sure all was well.

Next I set the coin against the heatsink as it will be in the host.

Made sure the wires would not bunch when pressed down.

I used a little electrical tape to cover up all the corners of the driver. Then I got some more thermal adhesive. I smeared some on the coin and pressed it up against the heatskin.

You can see the heatsink sits on the coin and the coin sits on the lip of the host.

I used the great amount of pressure that the head can exert down sandwiching the heatsink, coin and the host body together while the adhesive hardens.

After 20 minutes I opened it back up and the coin was very well bonded to the heatsink. So I soldered the positive wire to the contact pad in the host.

Then I put some electrical tape over the positive contact in the pill just to keep everything isolated.

I then screwed the head back on. Threw in the battery and I was ready to go.

There you have it. Really was an easy build. Now I have a laser with a continuous duty cycle for the driver running @1.5A putting out 1.6W.:eg:

Here is the fun part take it out and get some beamshots.


Now for the point of the whole project. I did a duration test and the unit will run continuously without the driver overheating. I did not want to push it so I stopped @ 3 1/2 minutes. I ran the test with a 405-G-1 lens from Jayrob and a sweet 1.6W came rolling out.
Operating at 1.5A the driver pulls 2A from the battery.

I am really loving these driver heatsink mods. I hope you all enjoyed it. Thanks for reading.
Last edited:


