andy_con
0
- Joined
- May 24, 2007
- Messages
- 3,394
- Points
- 0


Follow along with the video below to see how to install our site as a web app on your home screen.
Note: This feature may not be available in some browsers.


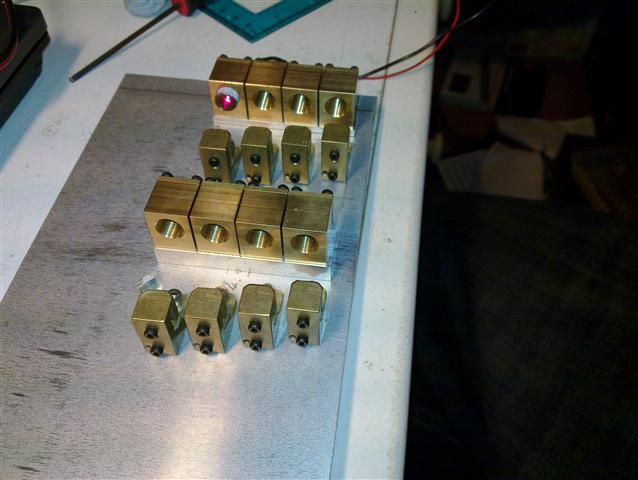
Well just it's red "module" is almost as big as some people's whole projector, so that would beso not a huge projector,
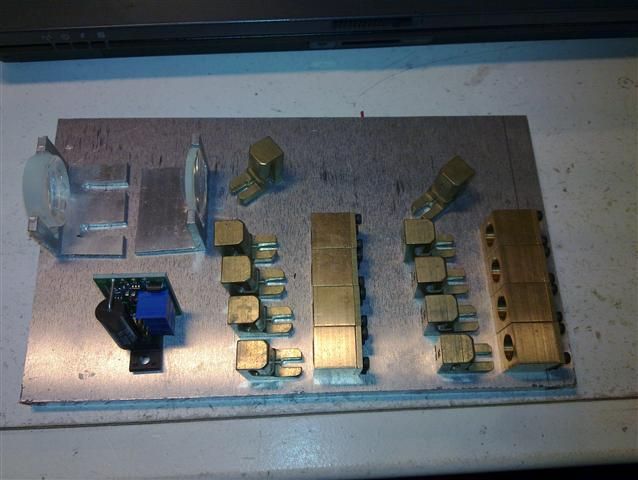
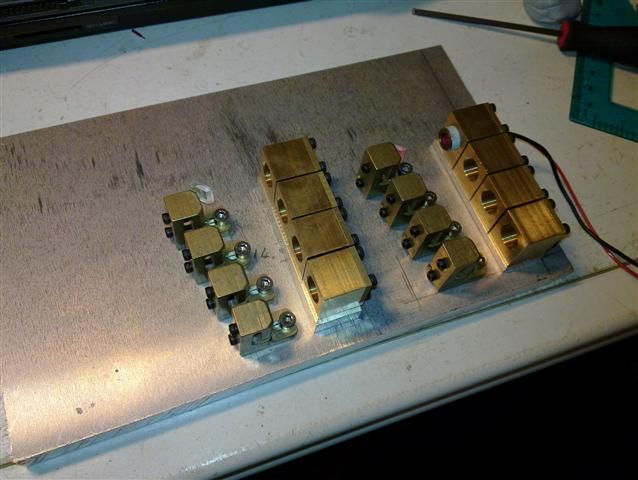
It,s always interesting to see images of larger projects. You learn something from the way each project is set up. This looks good. You said it is already sold, so when you finished the build what was the initial /final beam like as in dimensions and divergence? The telescope seems a little rough, but if you were able to get a good output beam with that level of adjustment that might mean others could as well without over engineering with 5-axis mounts etc. Also the knife edge combiners look only to have tip/tilt and no in/out adjustment. For good final stacking density I assume you set up your steps in drilling the base plate based on a measurement of the width of the coliminated beams? Is that right? Was that difficult? How did you do it?
Thanks for the reply. Yes the telescope seems a little rough. The lenses are set on the base plate and only one appears to have slots for mounting screws. The relative position of the two optics seem as if it will be set by sliding each Al bracket and then screwing it down. Any adjustment in tip or tilt to compensate for any astigmatism because the lens is mounted imperfectly seems as if it might be a little challenging. The reason I mentioned about the beam size was that I was uncertain the often quoted 3mmx5mm beam wasn't just an approximation. And if the knife edge mirrors weren't installed consistently on the mounts the ability to tweak the mirror's position after installation might lead to light loss or a larger combined beam. Don't Get me wrong I am raising these issues because I have a tendency to over engineer and waste money/time for minimal benefit. Experience is a great way to decide where to draw the line.

