

Javalin
0
- Joined
- Aug 22, 2013
- Messages
- 370
- Points
- 43
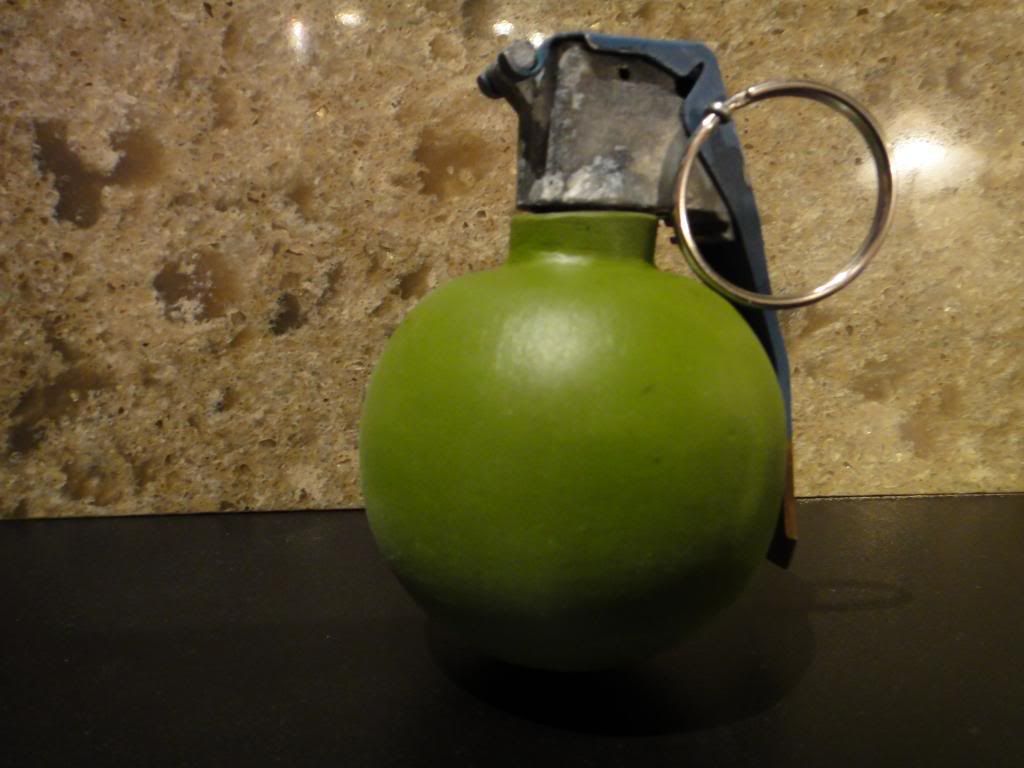
I have been kicking around the idea of this build for a few months now I finally got it done tonight! I'm pleased to present "Frag Out!"
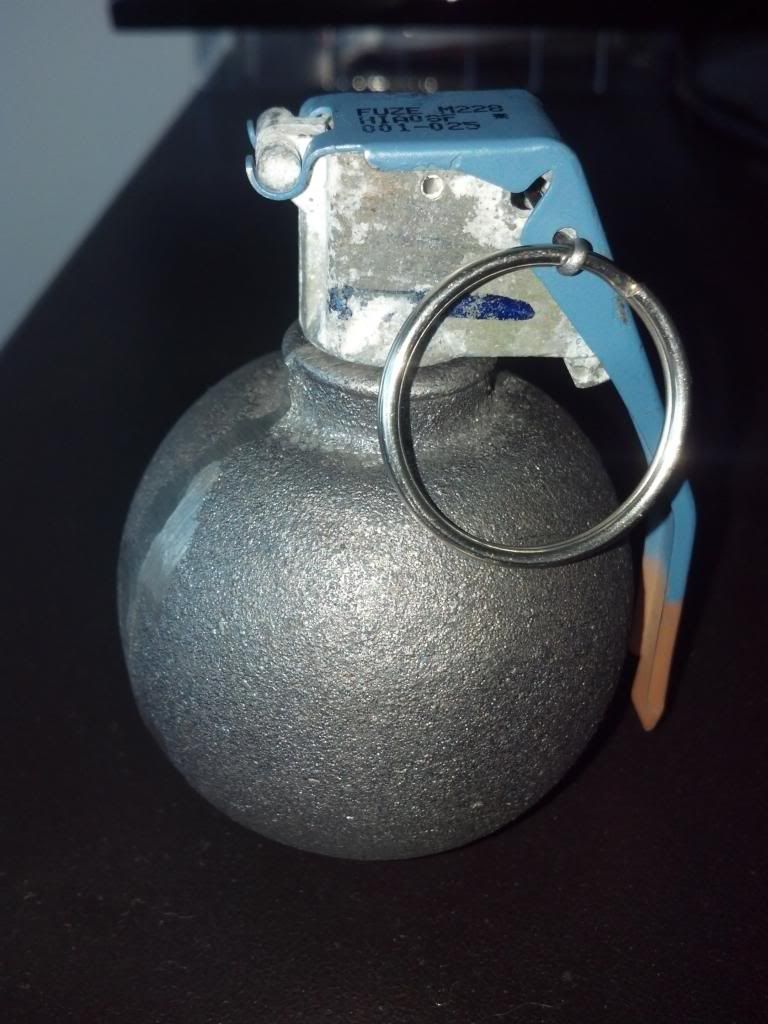
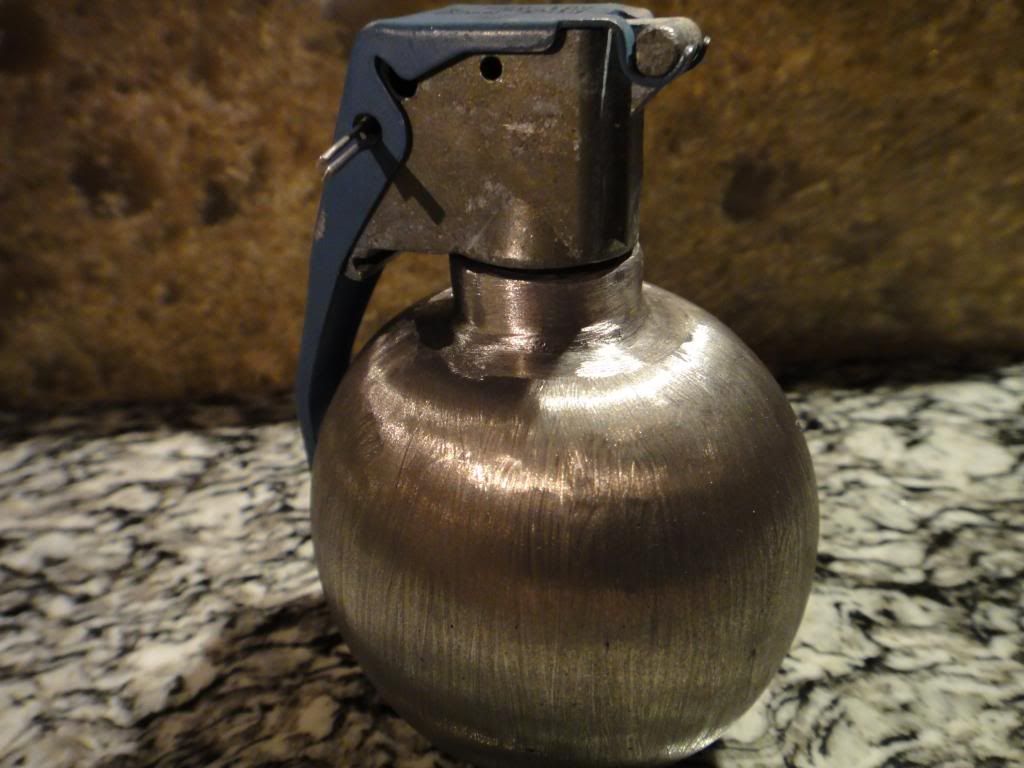
I didn't take very many build pictures but I'll do the best I can. I started out with this:
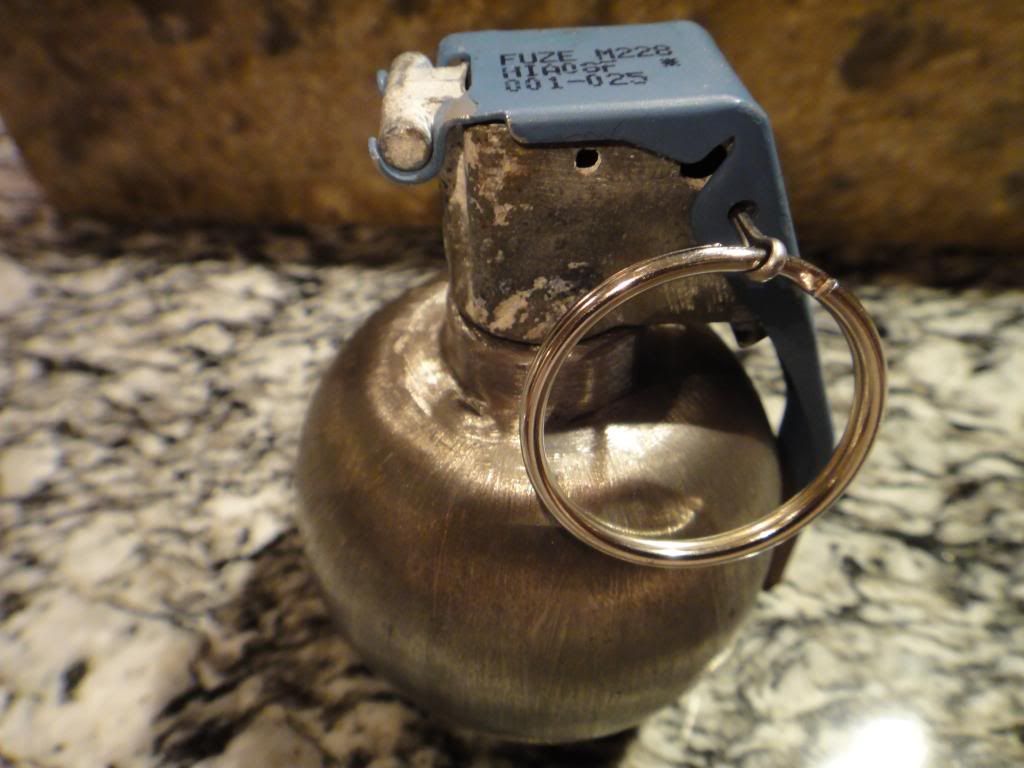
There was a nasty seam down the length and it was completely hollow.
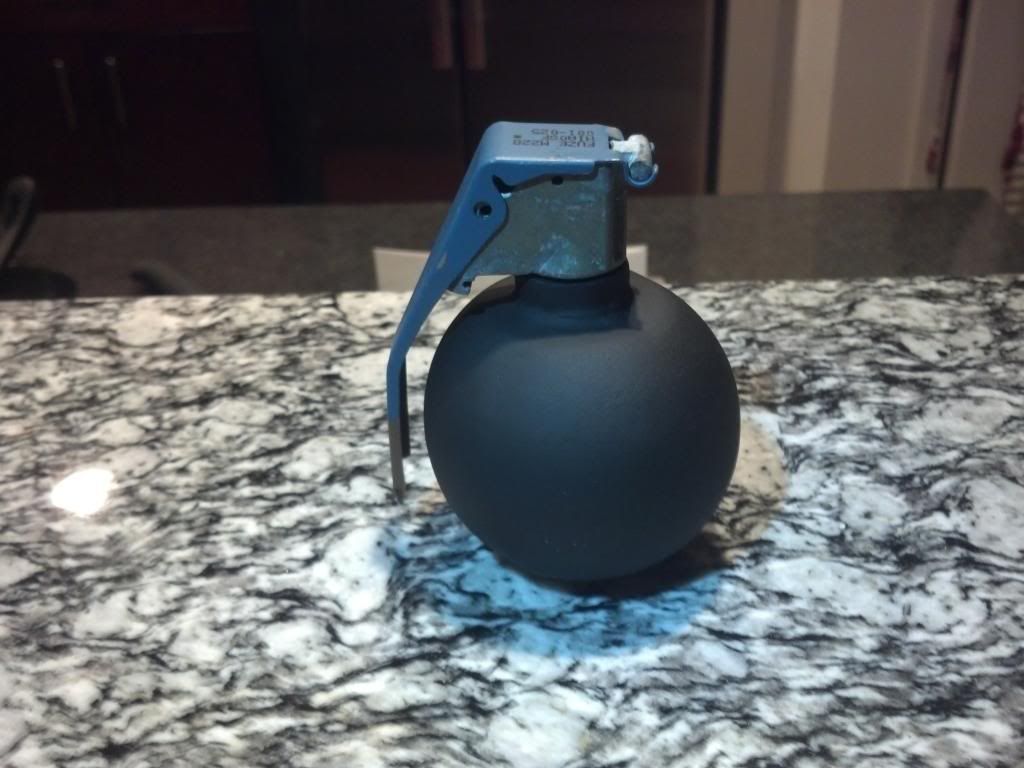
The first thing I did was knock down the seam.
Then I added a thin layer of primer so I could grind it down again and the low spots would remain black telling me where I needed to smooth out.
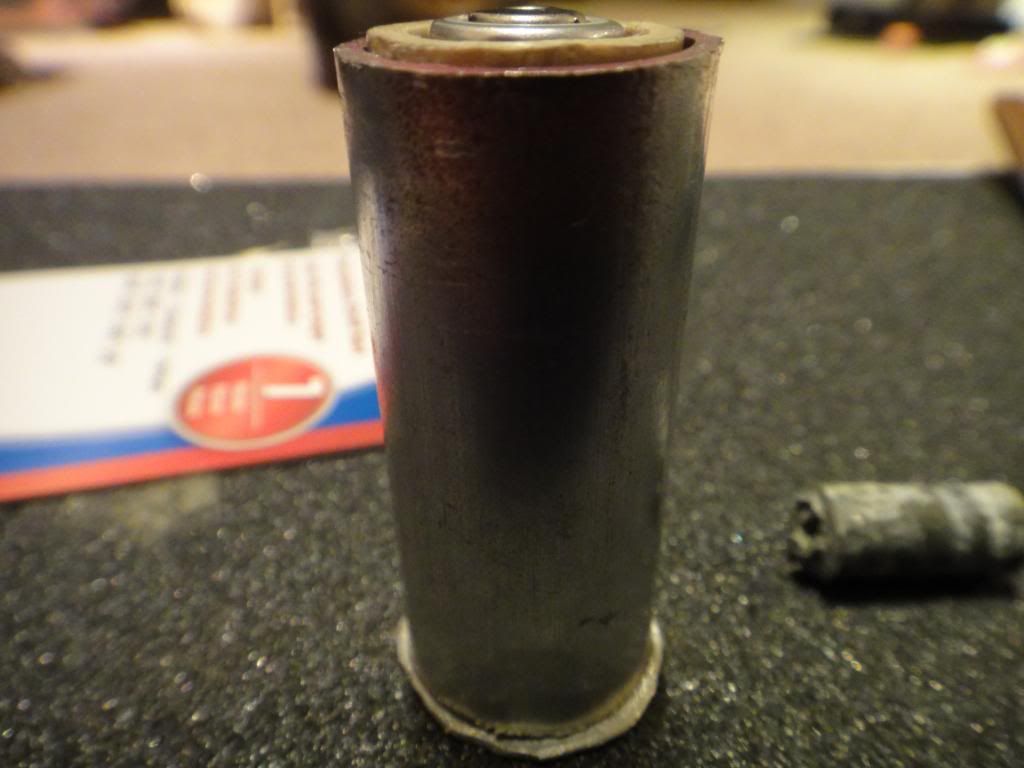
Then I created the battery battery barrel using aluminum with a PVC sleeve.
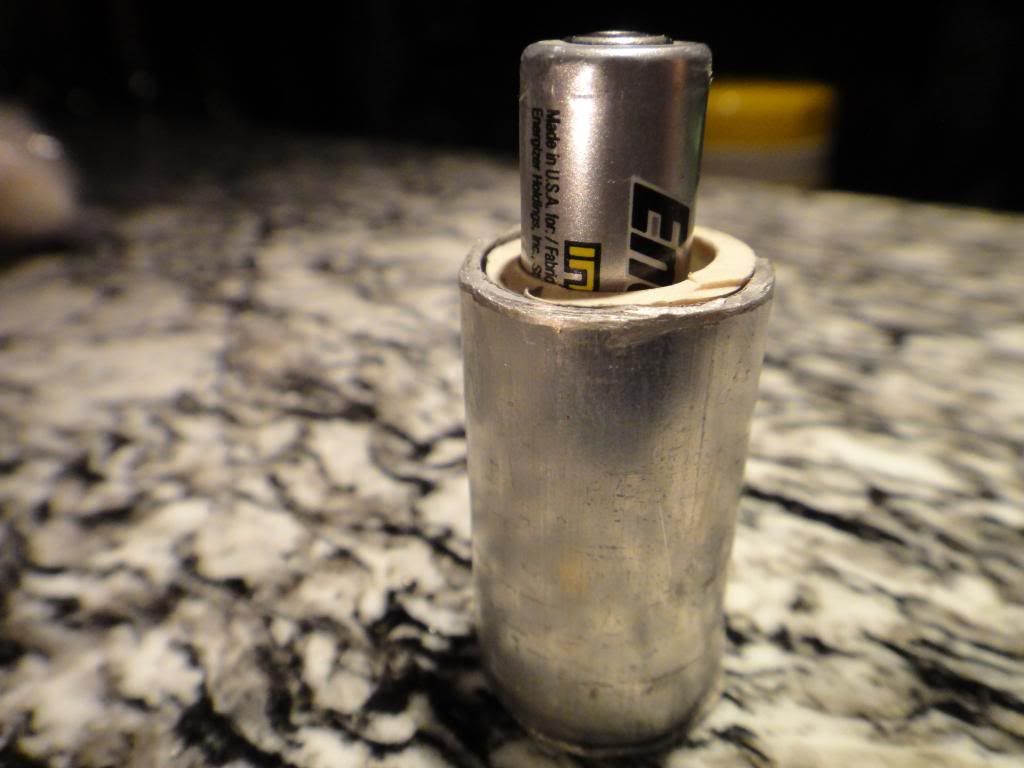
To create more room in the host I cut down the battery barrel and bored out the inside of the threads on the trigger assembly. The 10440 fits snugly in the trigger assembly.
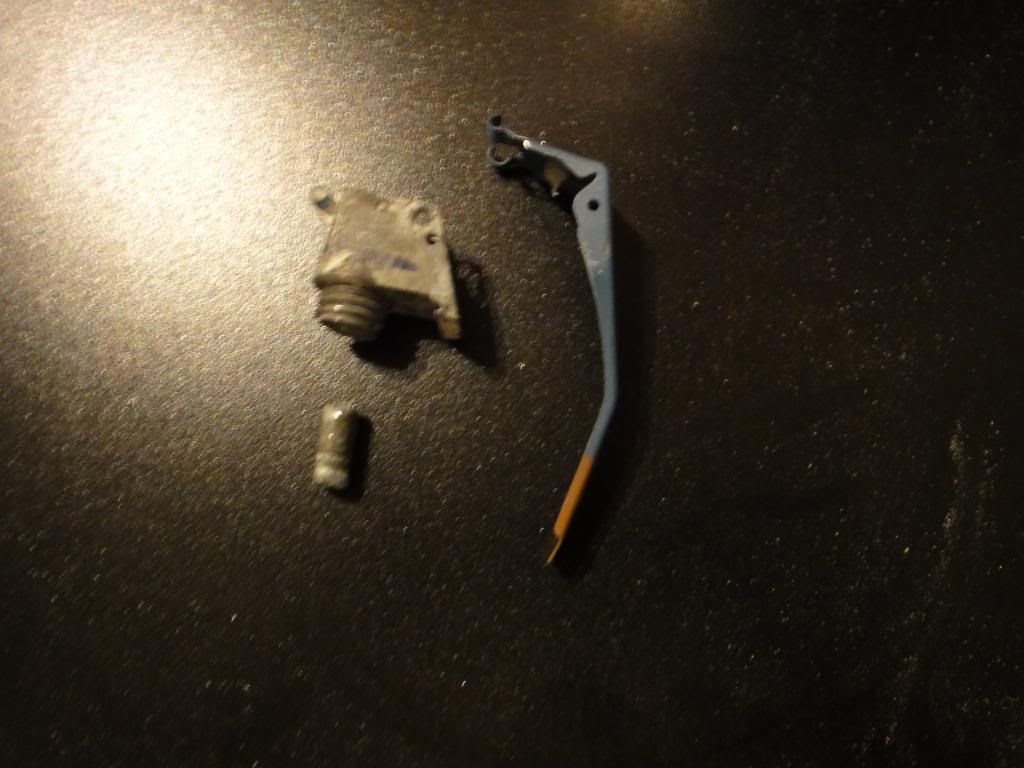
This is where I didn't take as many pictures so bear with me. I used epoxy putty to isolate a spring that fit into the trigger assembly with a wire soldered and then ran through to the top. then into a NC switch. (a switch that when not being pressed will pass current) The switch is soldered to the trigger assembly. When the spoon (lever) is pressed the switch is pressed and turns the laser off.
A MS Paint rendition of what I did:

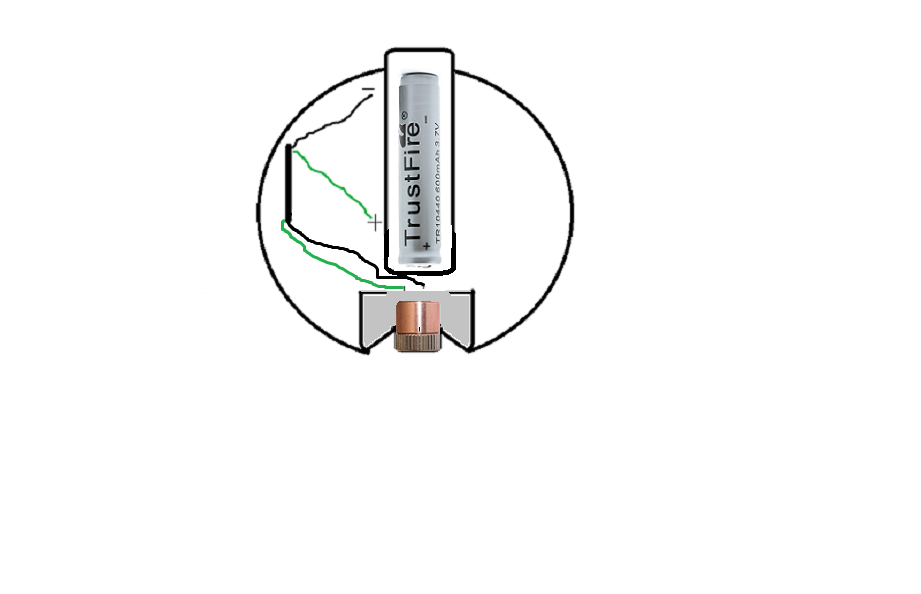
The inside of the host is a little more complicated. I bored out the bottom hole to accept the battery barrel. The battery barrel is isolated from the host and makes contact with the battery + terminal. The bottom of the battery barrel has a washer with a wire soldered to it then epoxied to the barrel. This runs to the driver. There is a wire connected to the host running to the driver. The driver is set at 350mA and wrapped in electrical tape to avoid shorts and is tucked to the side.
MS Paint cross section of the host. This is the earliest version and was made 100% life size. Note the tight tolerances and the reason why I had to set the battery into the trigger to free up space.
The heat sink was made from a short length of 3/4" aluminum rod and bored out using a dremel. The module and heat sink are thermal epoxied in place.
That's about it. I painted it using my airbrush and will likely put a few more coats on to bring it closer to the real color and add the yellow letters as well.
I didn't take very many build pictures but I'll do the best I can. I started out with this:
There was a nasty seam down the length and it was completely hollow.
The first thing I did was knock down the seam.
Then I added a thin layer of primer so I could grind it down again and the low spots would remain black telling me where I needed to smooth out.
Then I created the battery battery barrel using aluminum with a PVC sleeve.
To create more room in the host I cut down the battery barrel and bored out the inside of the threads on the trigger assembly. The 10440 fits snugly in the trigger assembly.
This is where I didn't take as many pictures so bear with me. I used epoxy putty to isolate a spring that fit into the trigger assembly with a wire soldered and then ran through to the top. then into a NC switch. (a switch that when not being pressed will pass current) The switch is soldered to the trigger assembly. When the spoon (lever) is pressed the switch is pressed and turns the laser off.
A MS Paint rendition of what I did:
The inside of the host is a little more complicated. I bored out the bottom hole to accept the battery barrel. The battery barrel is isolated from the host and makes contact with the battery + terminal. The bottom of the battery barrel has a washer with a wire soldered to it then epoxied to the barrel. This runs to the driver. There is a wire connected to the host running to the driver. The driver is set at 350mA and wrapped in electrical tape to avoid shorts and is tucked to the side.
MS Paint cross section of the host. This is the earliest version and was made 100% life size. Note the tight tolerances and the reason why I had to set the battery into the trigger to free up space.
The heat sink was made from a short length of 3/4" aluminum rod and bored out using a dremel. The module and heat sink are thermal epoxied in place.
That's about it. I painted it using my airbrush and will likely put a few more coats on to bring it closer to the real color and add the yellow letters as well.

