- Joined
- Aug 22, 2009
- Messages
- 404
- Points
- 0
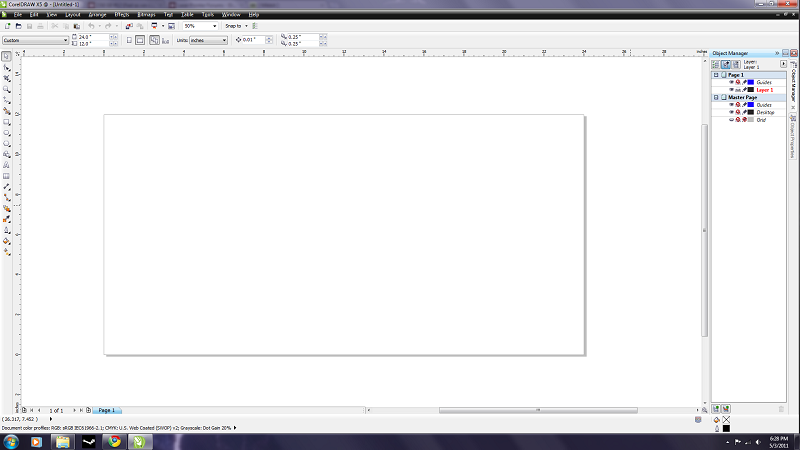
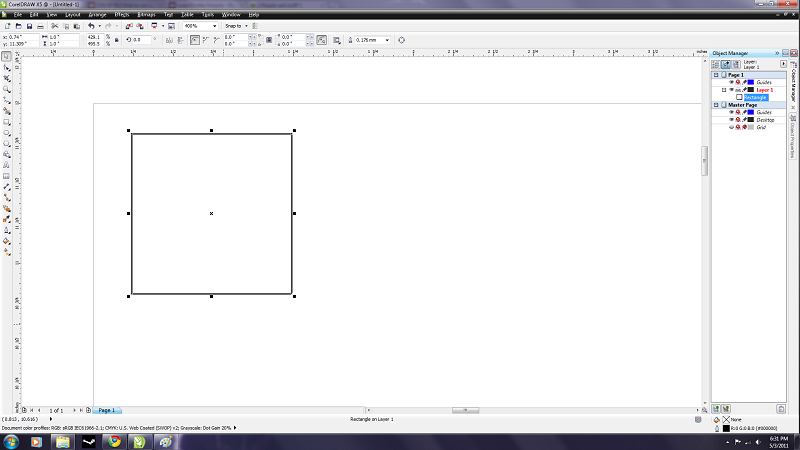
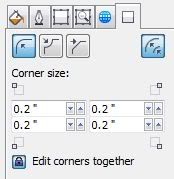
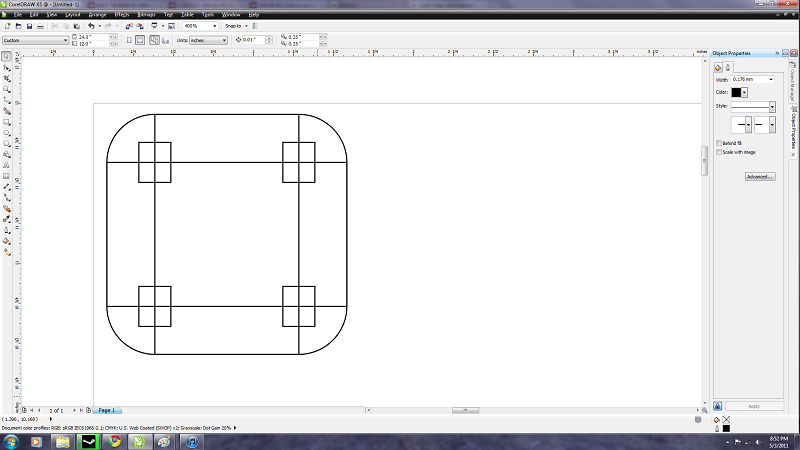
i didn't take many pictures while making this, so my tutorial consists of many the design phase. i thought it would be easier to show the design steps visually.
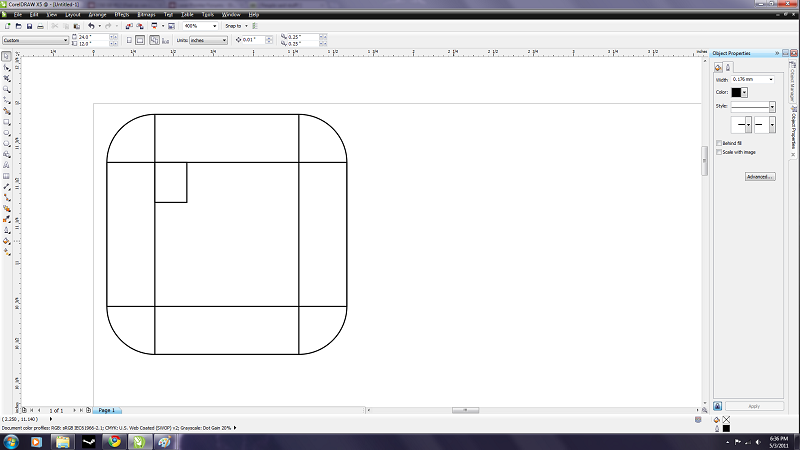
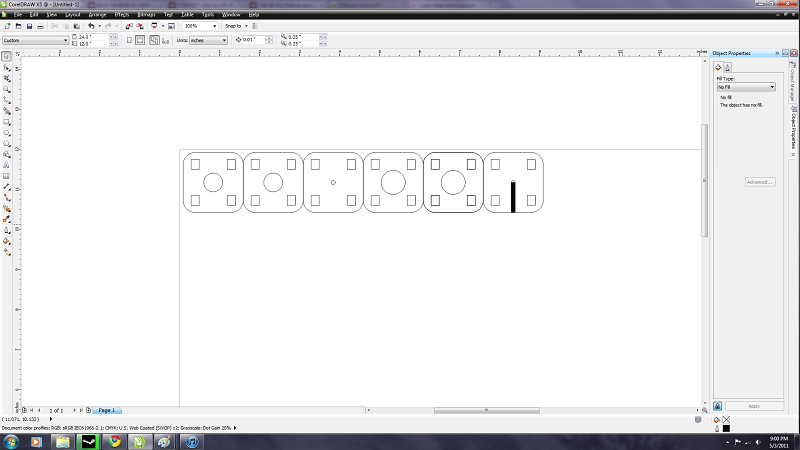
now you wand to copy the main support structure over and add the hole which will be the size needed for the part it is supporting.
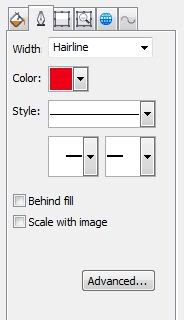
this is the most important part^. setting the line width to hairline, tells the laser that is going to vector (follow the line) as apposed to raster (moving side to side and pulsing the laser). setting the color to red on the RGB pallet tells the laser that it is to cut the material instead of engraving (engrave is blue on the RGB pallet).
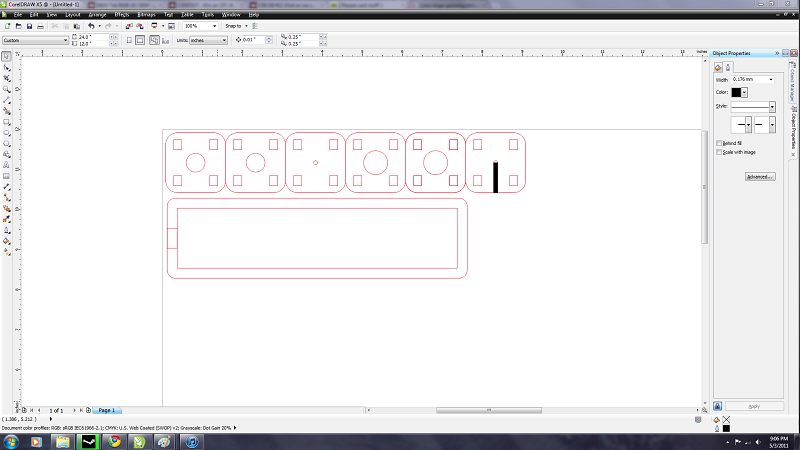
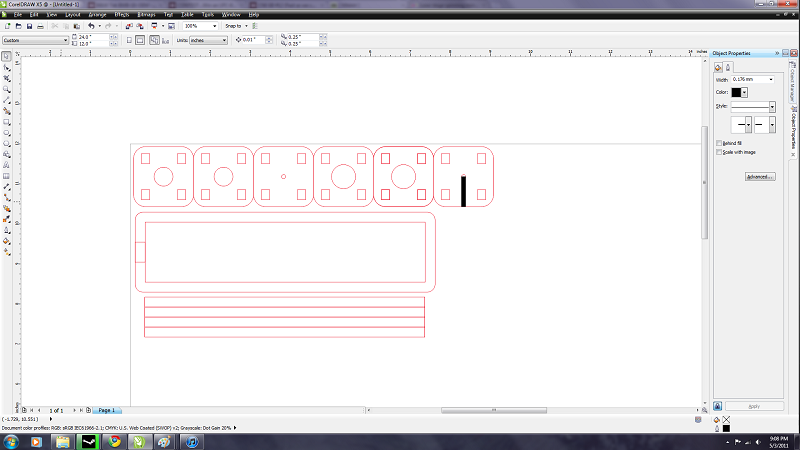
now that you have your parts designed you can send them to the laser. the laser runs on a standard printer driver so you simply hit print then press play on the laser. then you assemble your parts and are left with the completed housing.
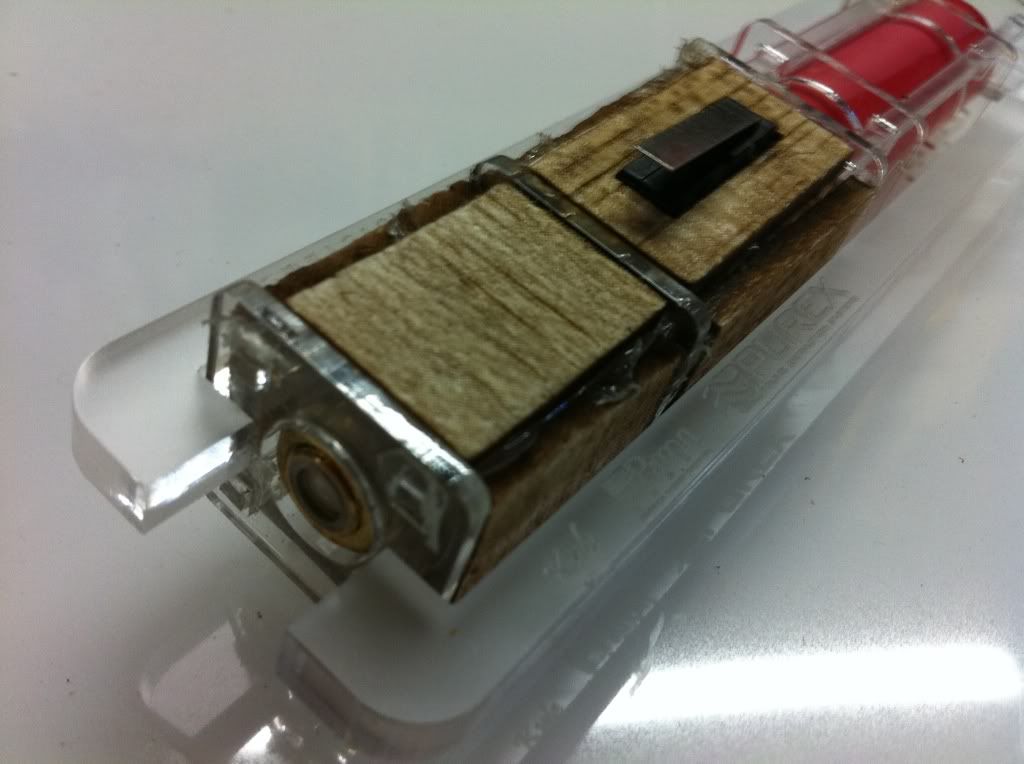
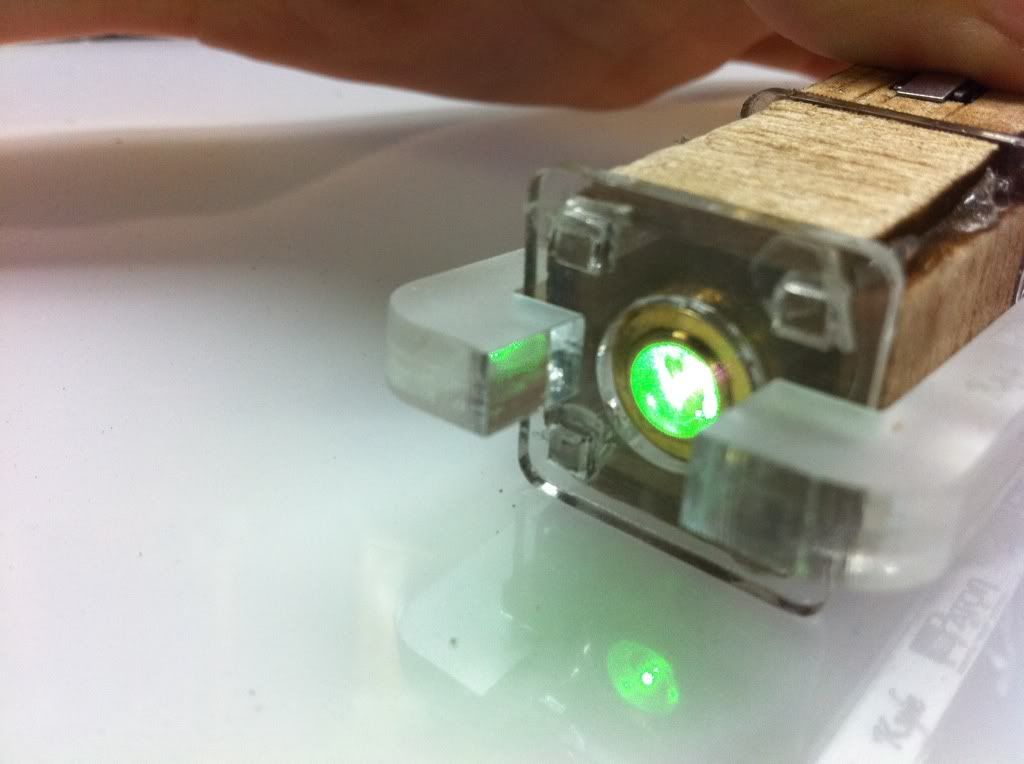
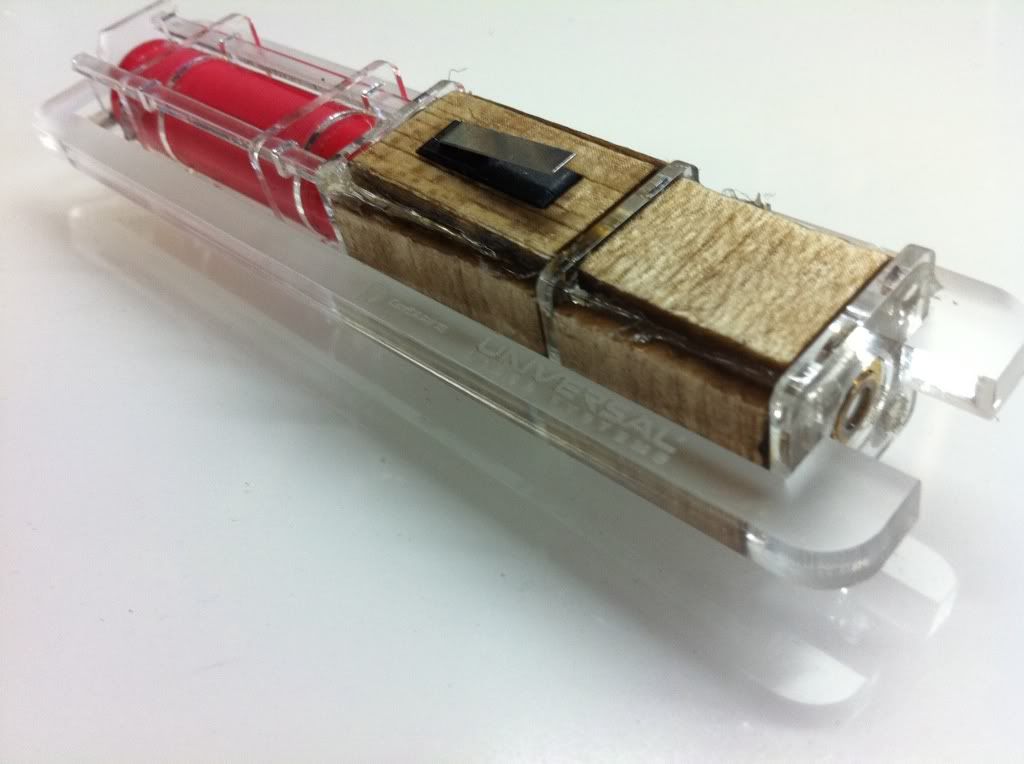
thanks for looking! :thanks:


now you wand to copy the main support structure over and add the hole which will be the size needed for the part it is supporting.

this is the most important part^. setting the line width to hairline, tells the laser that is going to vector (follow the line) as apposed to raster (moving side to side and pulsing the laser). setting the color to red on the RGB pallet tells the laser that it is to cut the material instead of engraving (engrave is blue on the RGB pallet).


now that you have your parts designed you can send them to the laser. the laser runs on a standard printer driver so you simply hit print then press play on the laser. then you assemble your parts and are left with the completed housing.


thanks for looking! :thanks:


