

This is my first laser build, and I can definitely say that I am already hooked to this hobby. For my first build I wanted a green laser for the beam visibility, solid built host but smaller, but I also wanted something that could do the basic burn tricks, without necessarily having to do additional focusing. So for this build I grabbed the 50mw O-Like module and Jayrobs SS DIY green kit. The kit was, like he says in his FS thread, very easy to put together, and definitely worth the price. The host is so nice feeling in the hand, and keeps the module cool. The 50mw O-like module is much better than I was expecting. I can see a very visible beam in dimly light conditions, even in decently lit rooms I can see the beam clearly, although not as bright as it is at night. It burns stuff a lot better than I had expected for a 50mw. I can pop red balloons without putting a black spot on them at about 1 foot, and balloons WITH black spots can be popped at at least 7 feet. And all thats without any additional focusing.
The hardest part of assembling this kit is soldering the wire to the driver board to bypass the switch. But for anyone with soldering skills, you know just how easy that is... I was a little worried of wires or solder making contact with the inside of the host, so i placed a little electric tape over the wire contacts. I am running 1 RCR123 battery, and its using 360mah of power. I thought about adjusting the pot, to bump it up to 380 or 400, but I didnt know if that was advised, so I will wait for someone to weigh in on that. My cheap ebay greenie runs at 380mah, so I didnt know if it would hurt the o-like or not.
Now for the pictures....
O-like packed this well. Box was secure and had plenty of bubble wrap inside.
Here is all the parts prior to assembly. Wire has already been soldered to switch.
Fully assembled...
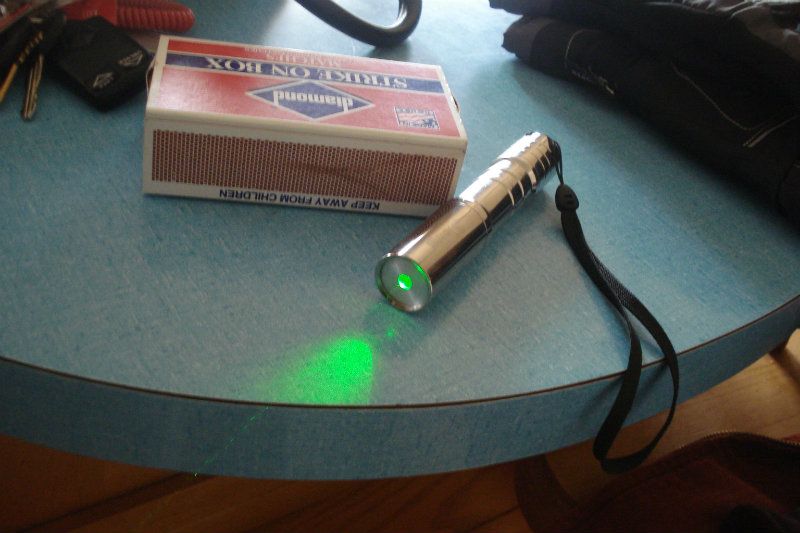
Power on, keep in mind it is noon outside in picture, so thats why beam is so faint...
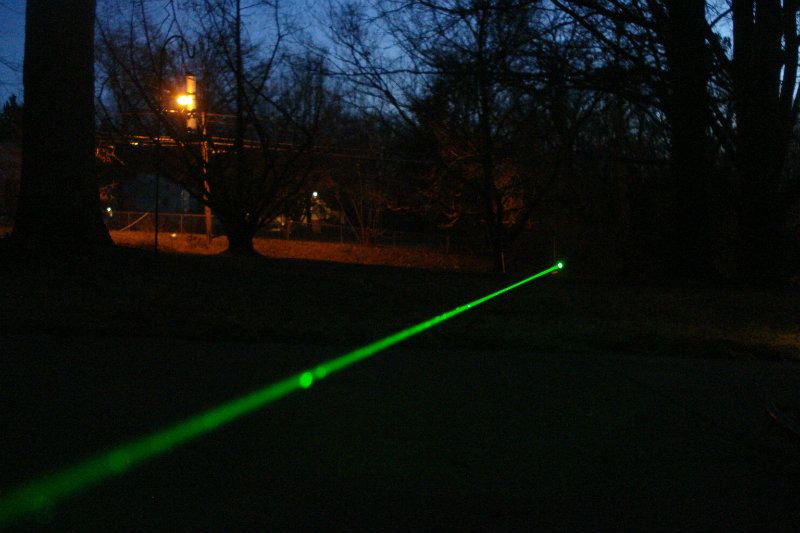
Beam shots; sorry for the low quality, I do not have that great of a camera...
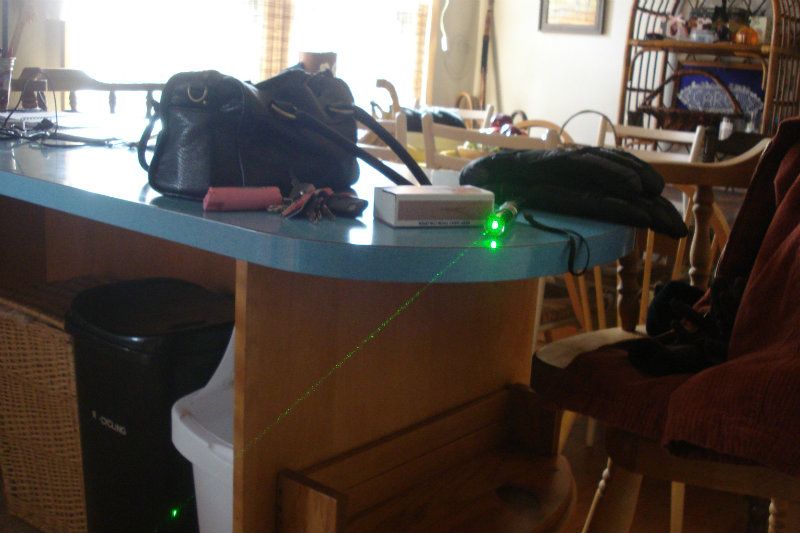
Here is another picture inside during the day...
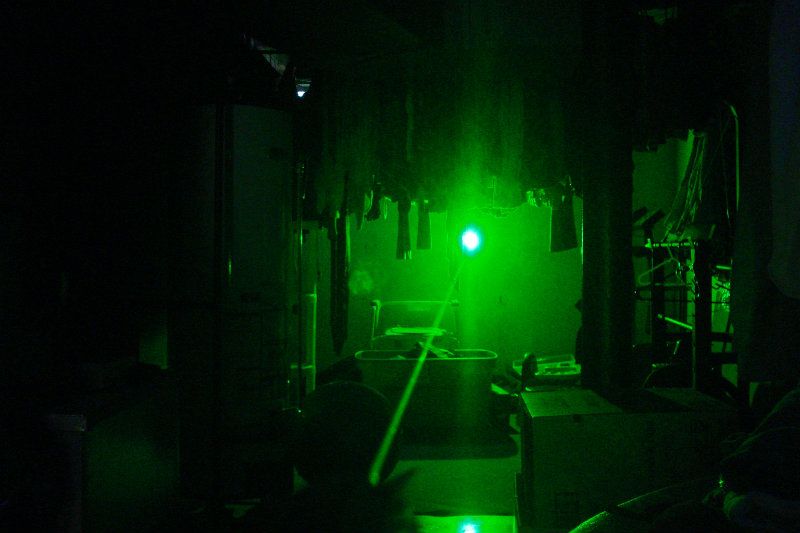
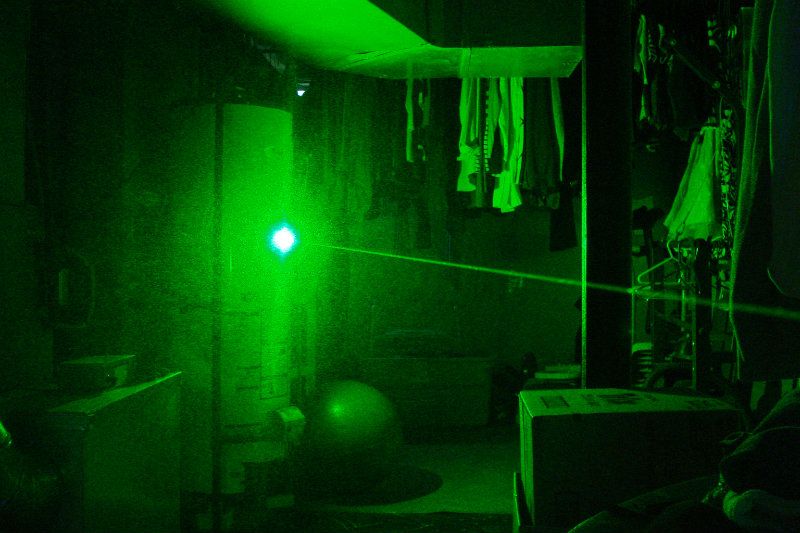
Picture inside in dark
Outside
Thanks for looking....
The hardest part of assembling this kit is soldering the wire to the driver board to bypass the switch. But for anyone with soldering skills, you know just how easy that is... I was a little worried of wires or solder making contact with the inside of the host, so i placed a little electric tape over the wire contacts. I am running 1 RCR123 battery, and its using 360mah of power. I thought about adjusting the pot, to bump it up to 380 or 400, but I didnt know if that was advised, so I will wait for someone to weigh in on that. My cheap ebay greenie runs at 380mah, so I didnt know if it would hurt the o-like or not.
Now for the pictures....
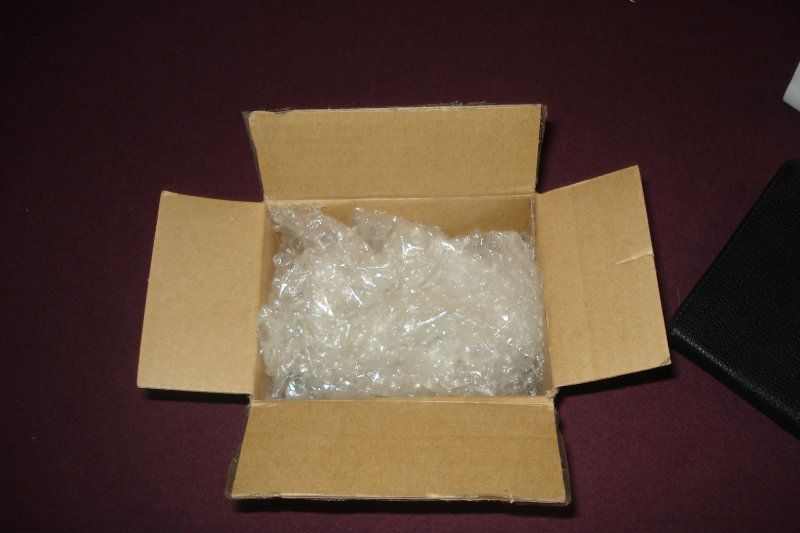
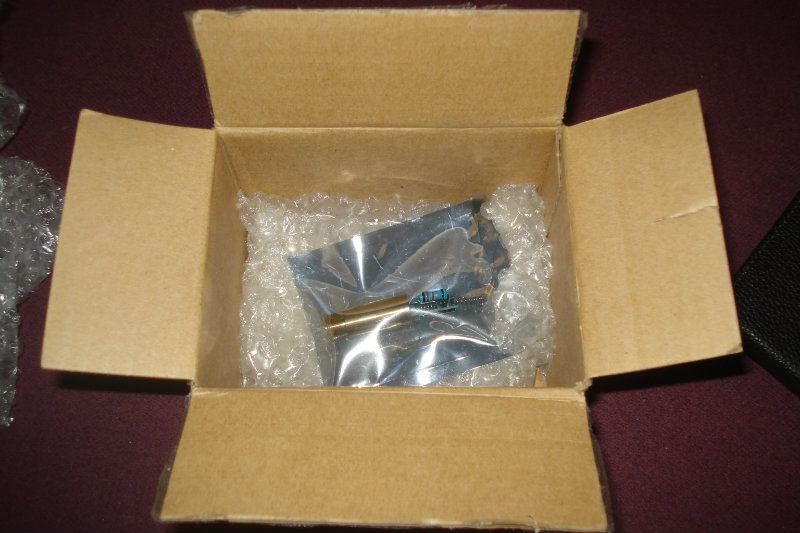
O-like packed this well. Box was secure and had plenty of bubble wrap inside.
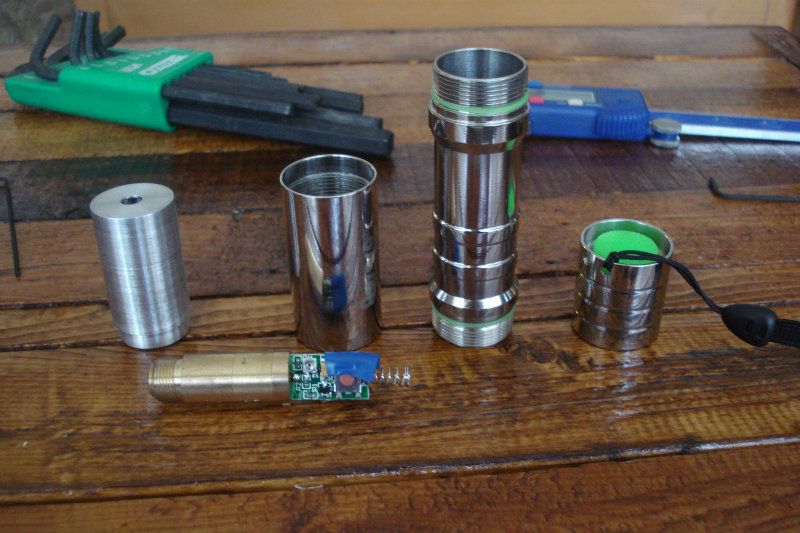
Here is all the parts prior to assembly. Wire has already been soldered to switch.
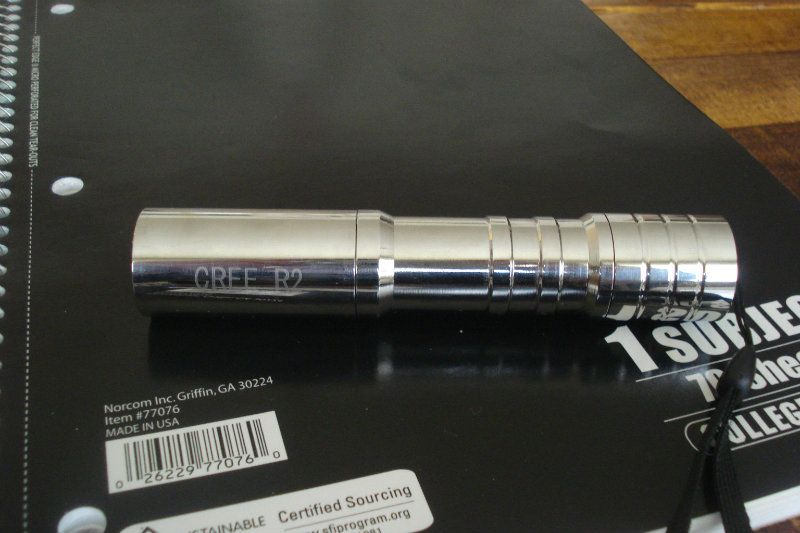
Fully assembled...
Power on, keep in mind it is noon outside in picture, so thats why beam is so faint...
Beam shots; sorry for the low quality, I do not have that great of a camera...
Here is another picture inside during the day...
Picture inside in dark
Outside
Thanks for looking....


