Welcome to Laser Pointer Forums - discuss green laser pointers, blue laser pointers, and all types of lasers

LPF Donation via Stripe | LPF Donation - Other Methods

Links below open in new window

ArcticMyst Security by Avery

Need advice; safely tightening C6 front bezel.

Joined
Nov 2, 2012
Messages
626
Points
43
I hate to make a new thread for this but I would rather err on the side of looking like an idiot rather than damaging my laser.

I would like to tighten down the front bezel ring on my C6, but the heatsink keeps rotating whenever I try and no matter how hard I try to hold it in place, I simply can't stop it from turning. Is there a way to hold it in place and get that front right tightened all the way down?

I would be willing to mail the laser to someone who can do it, if it's an involved job. Just really want this host to be all the way tight, because it "wobbles" a bit otherwise. I know I'm being picky now, but there you have it.

How should I go about this?

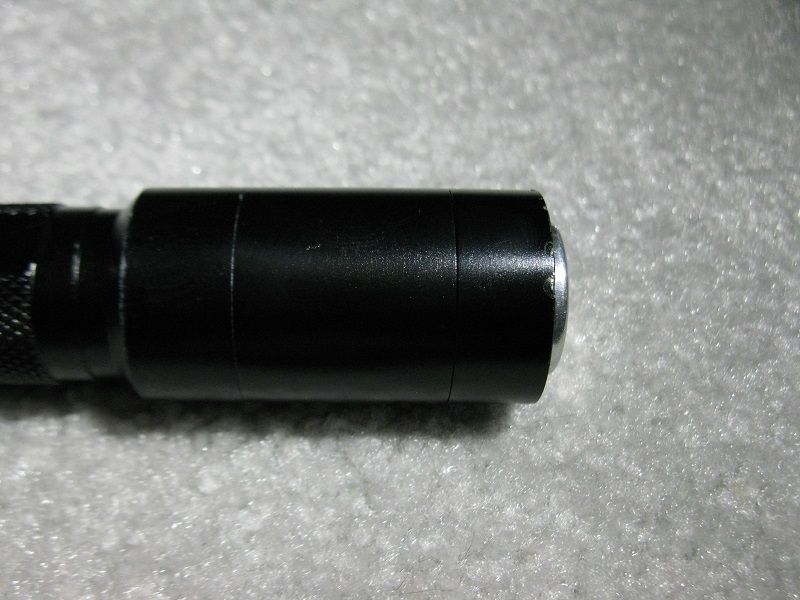
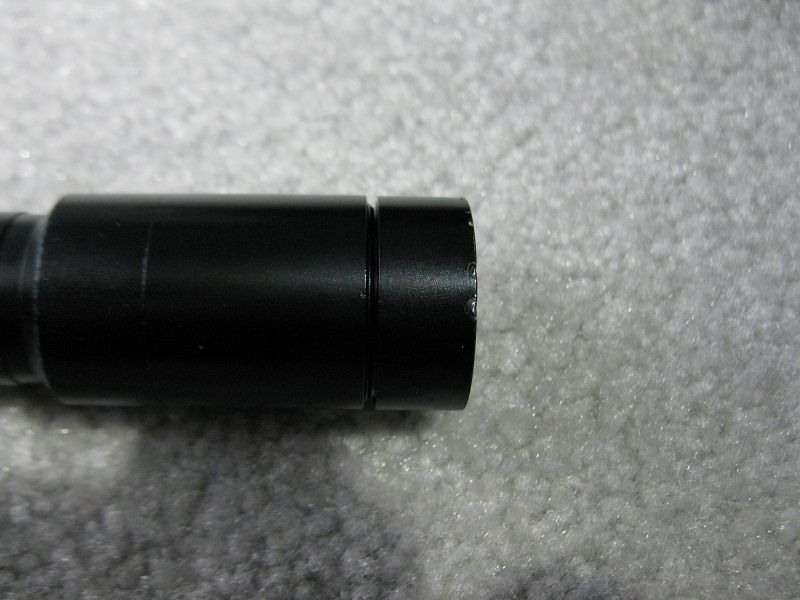
ETA: I took a photo. You can see that the front bezel is quite loose.

c6frontbezel_zps75842453.jpg
 
Last edited:


Joined
Feb 21, 2013
Messages
5,013
Points
0
Take out the oring. Without the oring it should be able to tighten fully, might need to press doen on the hestsink to keep it from rotating though. If that doesn't work then you have too much wiring and its not allowing to sit properly
 

Tmack

0
Joined
Oct 13, 2013
Messages
2,478
Points
0
If taking out the oring doesn't work, you could Dremel out the areas you need more clearance pretty easily.
 
Joined
Nov 2, 2012
Messages
626
Points
43
Thanks for the replies so far.

Has anyone tried applying some sort of grease to the o-ring? I'm thinking something like chemically inert laboratory grease, e.g. Halocarbon or high vacuum silicone-type grease that would be unlikely to harm the rubber o-ring material.

I ordered the C6 host and heatsink from Survival Lasers today and will play around with that and become familiar with it. Then will probably go for a 405nm S0J6 build once I'm confident that I can assemble the complete laser without damaging anything.

What I really would like is to have the heatsink drilled to accept this type of tool, which I think would completely address the issue of rotating heatsinks:
pinwrench1.jpg
 
Last edited:

Tmack

0
Joined
Oct 13, 2013
Messages
2,478
Points
0
If it won't stay still by just holding it something is going on

Sent from my HTCEVODesign4G using Tapatalk
 
Joined
Nov 2, 2012
Messages
626
Points
43
I haven't tried removing the o-ring yet. Will the heatsink still fit tight if I do that and tighten the front bezel down? I may hold off on making a move until I get the empty C6 host from SL and examine that. I'm definitely being cautious/chicken/paranoid, but I would feel really bad if I broke this laser.

The front bezel isn't actually in danger of falling off any time soon; it would need to be unscrewed a fair bit more, and although it feels slightly loose it doesn't rotate due to incidental contact with things, e.g. the inside of my pocket. It's basically a cosmetic issue rather than a functional one. Hell, it might even be a good thing in some cases; if I drop the laser and it lands on the front end, I could see that "play" absorbing some of the impact shock.

But when it comes to things like this I can be perfectionist to the point of it being a fault. I'm also an obsessive planner, also at times to a fault. That is what's going on here. I would like to tighten that front end down eventually but I'll hold off until I'm pretty sure I can do it without breaking something.

I really want that spanner tool and custom drilled heatsinks; I plan on building a set of C6's so it would be worth the price and wait for that. I'm surprised it isn't already a standard feature, because it would completely eliminate the hassle of spinning laser parts.

I really do appreciate all this advice; I'm considering all of it, and thanks to you guys I believe I will arrive at the best decision possible. That's really what I'm going for here, and fact of the matter is I can't thank you all enough. So, thanks.
 
Last edited:
Joined
Feb 21, 2013
Messages
5,013
Points
0
Orings NEED to come out of the bezel. That oring is for when it was a flashlight and it went between the reflector and glass. It NEEDS to come out, ive NEVER had a single C6 fit with the oring, its just too tight and you get the gap you are seeing. It wasnt a oh well see if this works, it was a this is your solution.

Also you dont need a tool to hold the heatsink when the oring is out. The reason the heat sink is rotating is since the oring is going its job and gripping what it contacts, aka the heatsink. Remove it! put a finger on the heat sink and screw the bezel on. Your finger is enough to hold it in place.
 
Joined
Nov 2, 2012
Messages
626
Points
43
Livinloud, I did what you said and you are 100% correct. I removed the o-ring and was able to tighten down the front bezel exactly as you said. This laser is now completely solid, totally flawless. Very, very cool; thank you so much!

ETA: Check that out, it's completely tightened down. Outstanding advice, and essential for any C6 builder to know. :thanks: :wave:

C6tight_zps31a9ec5c.jpg
 
Last edited:

Tmack

0
Joined
Oct 13, 2013
Messages
2,478
Points
0
That oring is making too much friction on the heatsink. The first thing in Rick Trent's kit directions is ." Discard bezel o ring" .
 
Joined
Nov 2, 2012
Messages
626
Points
43
Yep, that front o-ring was the whole problem and as it goes, so goes the problem.

The picture is now complete. As of this time, I now have everything I need to move forward with my S0J6 violet build, and from there, my planned 650/660nm, 520nm, and 450nm. All single-mode, of course - a complete C6 set. You've all made my day. Thank you.
 

IsaacT

0
Joined
Aug 25, 2010
Messages
5,947
Points
83
Here is what I do:

  • I counter rotate the heatsink slightly. This is to prepare for the final step.
  • I screw on the bezel a little bit.
  • I press my thumb onto the opening of the module with enough pressure to ensure a good amount of frictional hold.
  • I then tighten as far as I can without the heatsink turning.
  • Once the heatsink begins to turn, it should require at most a quarter turn, which you have prepared for.
  • If it looks like it will take more, press harder on the heatsink and try again.

You should be able to make it so that the heatsink is in the spot you originally planned it to be in and the wires will not have crossed.

PS - 4000th post!
 
Last edited:
Joined
Nov 2, 2012
Messages
626
Points
43
That's what I ended up doing, after taking out the o-ring I gave the heatsink a good quarter turn to the left to relieve some stress, then jammed my thumb into the diode well and cranked down the front ring as far as I could. The host components are fully hand tight now, I would need tools (channel locks / pipe grips) to get them tighter, but I see no point in doing so.
 

IsaacT

0
Joined
Aug 25, 2010
Messages
5,947
Points
83
That was always something I hated about the C6 hosts. That little gap irritated me and sometimes the bezel ends up slightly crooked.
 

Zeebit

0
Joined
Aug 27, 2012
Messages
1,110
Points
0
Taking out the o-rings definately help but I have a few C6 builds that I didn't have to remove the o-rings. To prevent the sink from rotating, I tightly screw in the lens barrel w/ focus adapter to have something to hold on to.
 
Joined
Feb 21, 2013
Messages
5,013
Points
0
Depends where you got the host from depends on how thick the oring is. If its a solid host then it has the thick oring, if its a cheap one from china then they normally have very thin orings and you can keep those in. Ive seen it on numerous flashlights, you order the same exact thing but where you get it from determines the orings :thinking: stupid knockoffs
 

Zeebit

0
Joined
Aug 27, 2012
Messages
1,110
Points
0
I suppose all the C6 come from China but not necessarily from the same factory. So that's where the variations come from.
 
Last edited:


Top