ru124t
0
- Joined
- Jan 17, 2014
- Messages
- 555
- Points
- 28
Ok guys,
I am really excited to put my first build on here ! I wanted to show how a noob with little building knowledge and a lot of using the custom search bar, could indeed make a working laser! Even though this is a plug and burn kit , I know it will give me the confidence to tackle bigger and more complex tasks down the road. I also made a few noob mistakes doing this but it all turned out for the good in the end. Without further ado, I give thee , The Newfie Rednecker !
First up, required parts. I bought a Mrcrouse Ultrafire 903 plug and burn kit with custom knurled focus knob. Seeing how this was going to be my first try at this, I did not want to ruin an expensive host. However, This host is really solid and feels heavy in the hand.The leads were attached and the heatsink is a heavy aluminum one. I would like to thank Mrcrouse himself for his patience because I asked a lot of questions and he is truly a professional.
Next I opted for a cheaper diode and driver combo from the master himself,DTR .I choose the single mode 300mw 650nm with flexdrive as per his suggestion, and it arrived in a timely and safe manner. Again, he answered a lot of noob questions, and again I appreciated all the help.
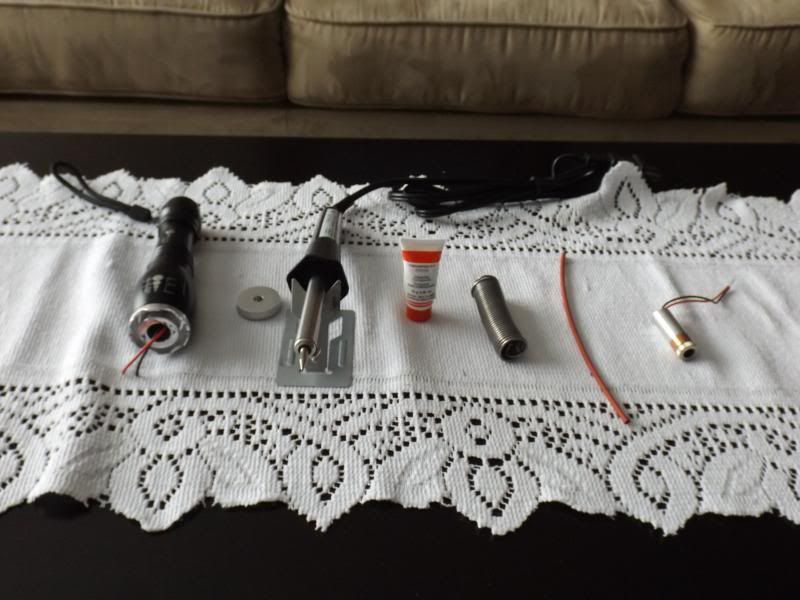
Last you will need the following, heatshrink tubing, heatsink cooling paste or arctic silver compound, solder , soldering iron and wire cutter or knife. I also forgot to mention that you should also be wearing anti-static wristband to protect your diode!
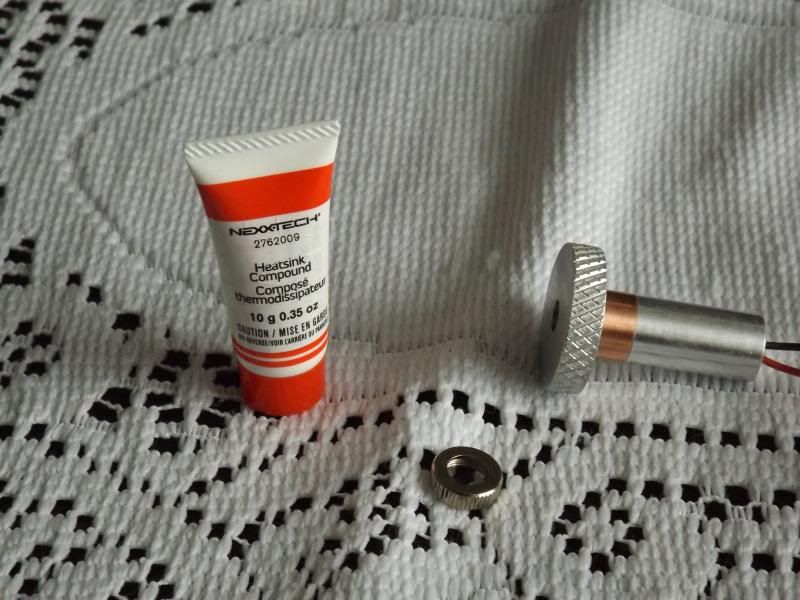
Paste goes on the diode housing to ensure good heat transfer!
As you can see by the next picture, all you have to do is join the wires and heatshrink the joins. THis being my first build, I made a couple of rookie mistakes and I sure hope others will learn from them. Before I did anything, I put thermal paste on the diode housing and put it in the heatsink BEFORE I soldered the wires together. I also put the knurled focus knob on before that cause I wanted to see how cool it was going to look. Well as I soldered the wires together and stood back to admire my handiwork, I realized I had the diode in the wrong way and I had already applied the thermal grease.I had to take knurled knob off, had to carefully make sure not to get thermal compound in the diode itself! LOL Also, it is a lot easier to solder the wires together when the diode is not in the heavy aluminum heat sink. Anyway I wiped off the paste and put it together the correct way. It would have taken 5 minutes, maybe 10, to do this instead of the 30 mintes because of the mistakes. I also had to solder the wires together twice because I never took into consideration that they would have to be shortened up some to fit inside the host. Another thing to consider if this is your first time soldering, get yourself some small wire and practice putting them together. I have had a little bit of practice back in the day when we used to put modchips in the PS1 so they could play burned games, but I guess you young'uns probably wouldn't remember that! LOL
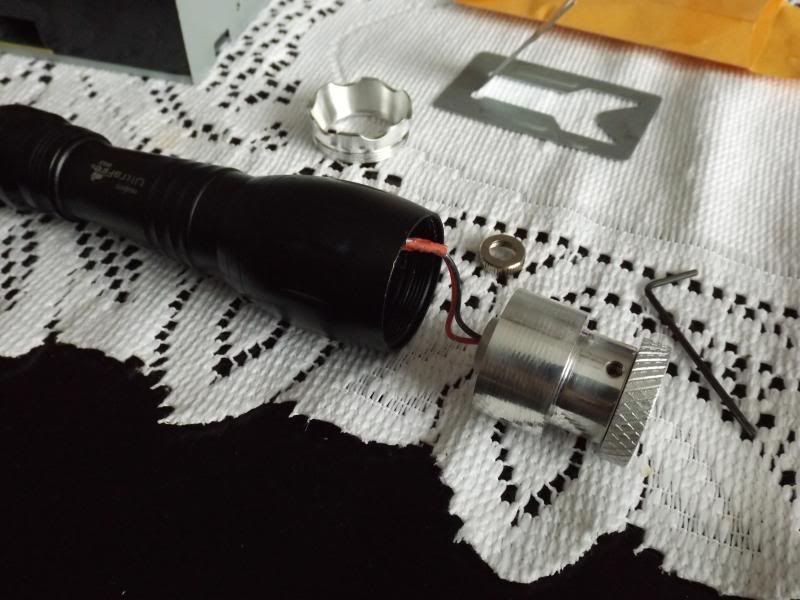
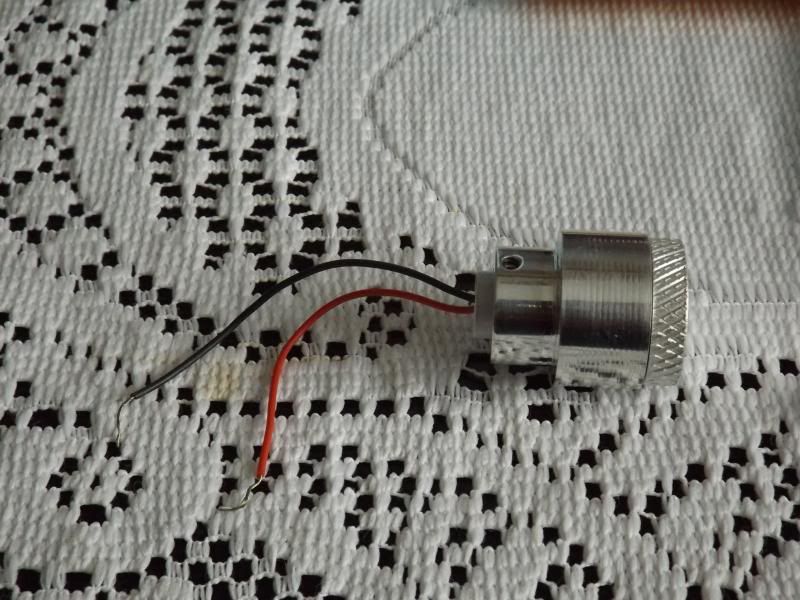
The above picture is the photo of the heatsink put together backwards with thermal compound applied and knurled knob already put on. Learn from my mistakes, don't rush and do things the hard way!
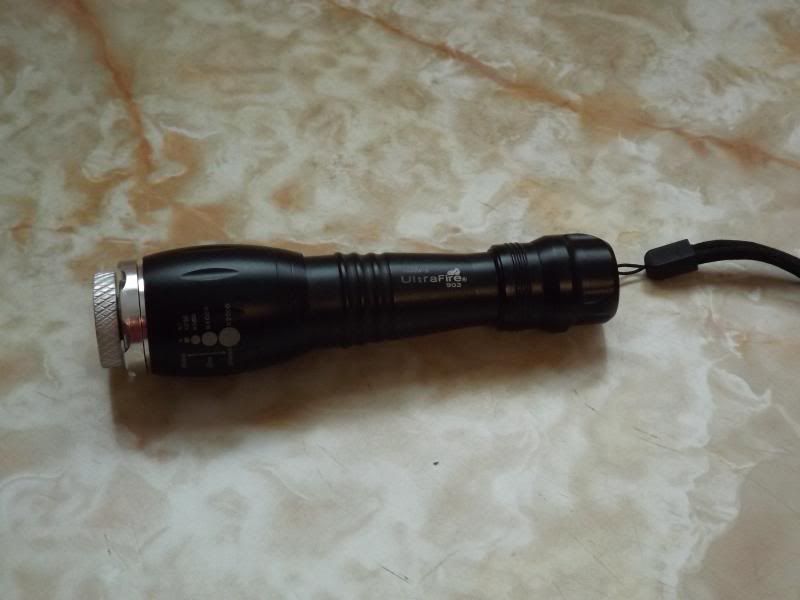
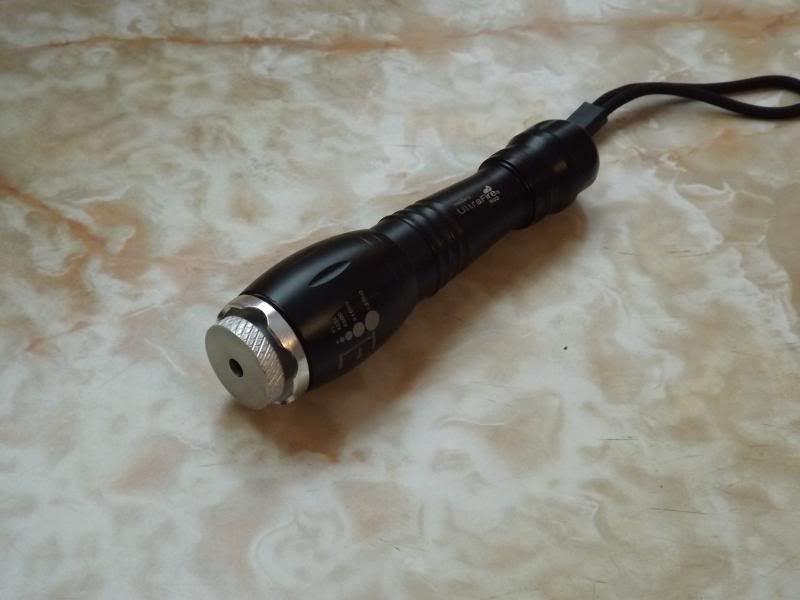
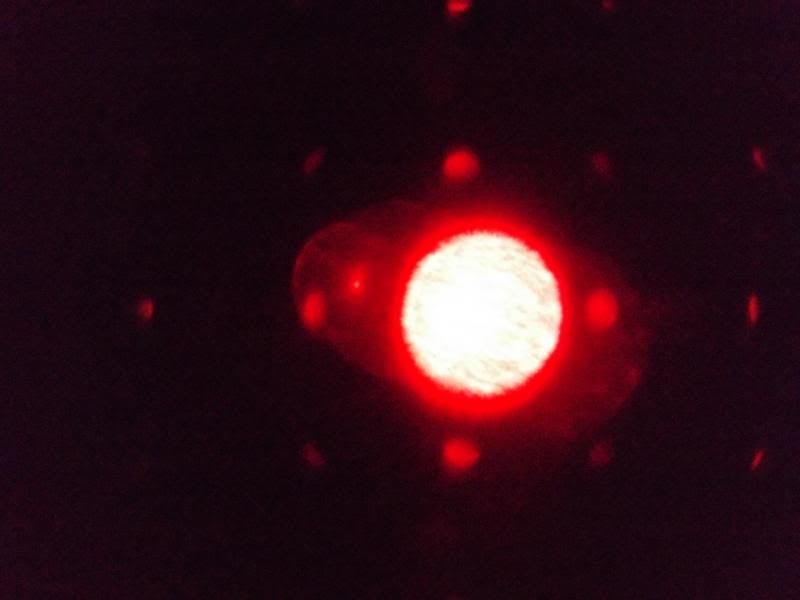
Here she is, my new baby , The Newfie Rednecker ! I will add beam shots when I can! This also was the first time I used my new camera, so please forgive the garbage pictures. My laser lpm's at around 260 mw with not so good batteries. I will try it later with the good ones!
In closing I would like to thank all the members who have helped me in my short time here and have given me the confidence to pursue building lasers. I could not have done this without you! I would list you all but I know I would forget someone and that would not be fair.
Next up, I have the RGB kit coming from DTR ! Stay tuned for more noob building lasers!
I am really excited to put my first build on here ! I wanted to show how a noob with little building knowledge and a lot of using the custom search bar, could indeed make a working laser! Even though this is a plug and burn kit , I know it will give me the confidence to tackle bigger and more complex tasks down the road. I also made a few noob mistakes doing this but it all turned out for the good in the end. Without further ado, I give thee , The Newfie Rednecker !
First up, required parts. I bought a Mrcrouse Ultrafire 903 plug and burn kit with custom knurled focus knob. Seeing how this was going to be my first try at this, I did not want to ruin an expensive host. However, This host is really solid and feels heavy in the hand.The leads were attached and the heatsink is a heavy aluminum one. I would like to thank Mrcrouse himself for his patience because I asked a lot of questions and he is truly a professional.
Next I opted for a cheaper diode and driver combo from the master himself,DTR .I choose the single mode 300mw 650nm with flexdrive as per his suggestion, and it arrived in a timely and safe manner. Again, he answered a lot of noob questions, and again I appreciated all the help.
Last you will need the following, heatshrink tubing, heatsink cooling paste or arctic silver compound, solder , soldering iron and wire cutter or knife. I also forgot to mention that you should also be wearing anti-static wristband to protect your diode!


Paste goes on the diode housing to ensure good heat transfer!
As you can see by the next picture, all you have to do is join the wires and heatshrink the joins. THis being my first build, I made a couple of rookie mistakes and I sure hope others will learn from them. Before I did anything, I put thermal paste on the diode housing and put it in the heatsink BEFORE I soldered the wires together. I also put the knurled focus knob on before that cause I wanted to see how cool it was going to look. Well as I soldered the wires together and stood back to admire my handiwork, I realized I had the diode in the wrong way and I had already applied the thermal grease.I had to take knurled knob off, had to carefully make sure not to get thermal compound in the diode itself! LOL Also, it is a lot easier to solder the wires together when the diode is not in the heavy aluminum heat sink. Anyway I wiped off the paste and put it together the correct way. It would have taken 5 minutes, maybe 10, to do this instead of the 30 mintes because of the mistakes. I also had to solder the wires together twice because I never took into consideration that they would have to be shortened up some to fit inside the host. Another thing to consider if this is your first time soldering, get yourself some small wire and practice putting them together. I have had a little bit of practice back in the day when we used to put modchips in the PS1 so they could play burned games, but I guess you young'uns probably wouldn't remember that! LOL


The above picture is the photo of the heatsink put together backwards with thermal compound applied and knurled knob already put on. Learn from my mistakes, don't rush and do things the hard way!


Here she is, my new baby , The Newfie Rednecker ! I will add beam shots when I can! This also was the first time I used my new camera, so please forgive the garbage pictures. My laser lpm's at around 260 mw with not so good batteries. I will try it later with the good ones!
In closing I would like to thank all the members who have helped me in my short time here and have given me the confidence to pursue building lasers. I could not have done this without you! I would list you all but I know I would forget someone and that would not be fair.
Next up, I have the RGB kit coming from DTR ! Stay tuned for more noob building lasers!


