- Joined
- Dec 6, 2010
- Messages
- 99
- Points
- 0
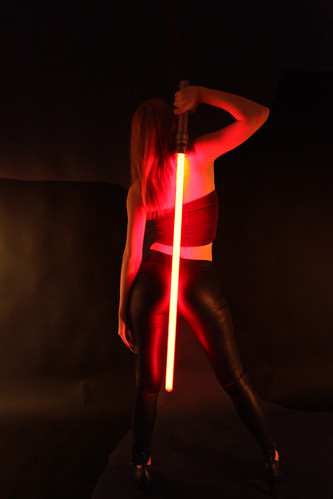
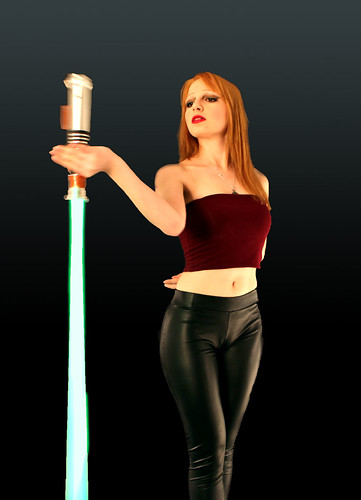
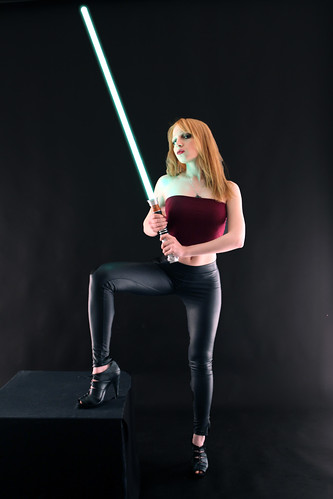
How to make your LIGHT SABER perfectly brilliant replica, looking like in the movie, suitable for shows and funny fights with friends, and great light shows.
Tools needed:
1) Choose your favourite color laser, of course major intensity, means major realistic light saber effect, BUT TAKE CARE, to not exceed in MW power, as long as, laser will hit a mirror and reflects its beam, the power that reflects should be not enough to damage the diode. I would reccomend:
5mw - 675 red
5-10mw - 532 green
20-30mw - 447 blue
..and related driver.
Anyway, whatever color you choose, never forget that RED is PHISICALLY the more visible color, the GREEN, is ELECTRONICALLY the more visible.
2) Buy a Light Saber replica, even a cheap one, led lighted, or just the handle from a toys store.
Note: A Light Saber replica may be supplied with a Led stripe or a single high powered Luxeon LED. In the first case, the led stripe can easily break and the blade is a fragile polycarb, no, no fights or fun...in the second case, the bright effect is great, but usually you cant get a constant light all above the surface of the blade, due to limited focus control of Leds.
3) Get a fiber optic stick, at least 30", a semi-spherical round cap, and a circular mirror to put into the cap, there are several companies online that sell them. Of course, need to check the size of the stick will fit into the handle of the sword.
4) Glue, soldering iron, screwdrivers, tools
HOW TO PROCEED:
A) Dont expect to be able to remove the polycarbonated "blade" from the toy, you just have to break it, extract the led stripe, and clean the handle.

B) you can, then disassemble the sword, to check if the AAA or AA supply (usually 2 or 4 of them) is enough for your laser, notice that the power supply, generally, at least for "high end" handles, controls a motion sensor with sound effects, so generally there will be a driver output that will be more than enough for a 5-10mw laser.

C) You can install your laser on the base of the handle, check that the axis just goes straight, before fixing it with some epoxy or hot glue.
Adding an additional lens for control the focus of the beam, will let you to adjust the constant diffusion of the light above the blade,
so the first 50% of the blade need to be lit by the LD itself, and the other 50% from the reflection starting from the top mirror.

D) Instead of fixing the fiber optics blade with hot glue, i would recommend to drill two holes, in vertical succession, in the base of the blade, and doing the same on the handle, this way is possible to keep the blade fixed on the handle with just a couple of screws... so in a second time, would be easy to disassemble the blade, for doing maintenance to the laser.


The final effect is wonderful, the light is intense, and the optic fiber is enough strong to support heavy fights against other swords, and even break several plastic, wood or strong paper targets.
Sorry for my english! Im still learning


Tools needed:
1) Choose your favourite color laser, of course major intensity, means major realistic light saber effect, BUT TAKE CARE, to not exceed in MW power, as long as, laser will hit a mirror and reflects its beam, the power that reflects should be not enough to damage the diode. I would reccomend:
5mw - 675 red
5-10mw - 532 green
20-30mw - 447 blue
..and related driver.
Anyway, whatever color you choose, never forget that RED is PHISICALLY the more visible color, the GREEN, is ELECTRONICALLY the more visible.
2) Buy a Light Saber replica, even a cheap one, led lighted, or just the handle from a toys store.
Note: A Light Saber replica may be supplied with a Led stripe or a single high powered Luxeon LED. In the first case, the led stripe can easily break and the blade is a fragile polycarb, no, no fights or fun...in the second case, the bright effect is great, but usually you cant get a constant light all above the surface of the blade, due to limited focus control of Leds.
3) Get a fiber optic stick, at least 30", a semi-spherical round cap, and a circular mirror to put into the cap, there are several companies online that sell them. Of course, need to check the size of the stick will fit into the handle of the sword.
4) Glue, soldering iron, screwdrivers, tools
HOW TO PROCEED:
A) Dont expect to be able to remove the polycarbonated "blade" from the toy, you just have to break it, extract the led stripe, and clean the handle.

B) you can, then disassemble the sword, to check if the AAA or AA supply (usually 2 or 4 of them) is enough for your laser, notice that the power supply, generally, at least for "high end" handles, controls a motion sensor with sound effects, so generally there will be a driver output that will be more than enough for a 5-10mw laser.

C) You can install your laser on the base of the handle, check that the axis just goes straight, before fixing it with some epoxy or hot glue.
Adding an additional lens for control the focus of the beam, will let you to adjust the constant diffusion of the light above the blade,
so the first 50% of the blade need to be lit by the LD itself, and the other 50% from the reflection starting from the top mirror.

D) Instead of fixing the fiber optics blade with hot glue, i would recommend to drill two holes, in vertical succession, in the base of the blade, and doing the same on the handle, this way is possible to keep the blade fixed on the handle with just a couple of screws... so in a second time, would be easy to disassemble the blade, for doing maintenance to the laser.


The final effect is wonderful, the light is intense, and the optic fiber is enough strong to support heavy fights against other swords, and even break several plastic, wood or strong paper targets.
Sorry for my english! Im still learning


Last edited:


