

- Joined
- May 27, 2011
- Messages
- 94
- Points
- 0
Hey everybody! I have been working on this new laser project for quite some time and now it is actually starting to take shape! I decided to make a thread that I will be updating as the build progresses to let you guys in on the progress, so without further a due I am pleased to introduce....
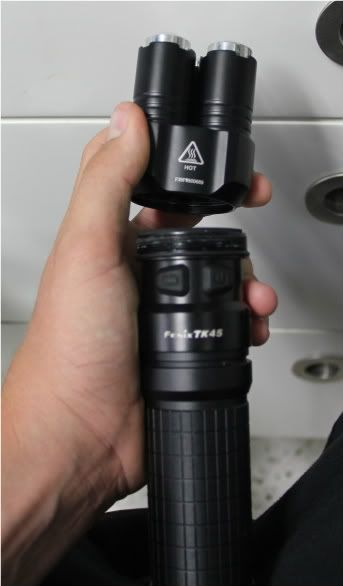
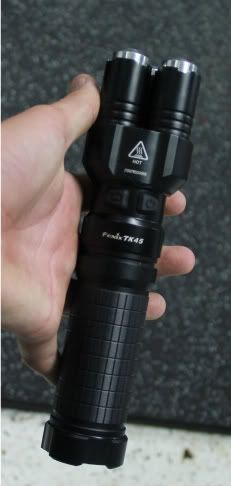
This build started with the host. I was looking through Lighthound's flashlights trying to find a cool host to use in one of my builds and this crazy host called the Fenix Tk-45 rolled past my eyes. When I saw this host it was love at first sight... this host has three separate heads and let me tell you this thing look like hand-held turret! :drool:

Lighthound unfortunately doesn't carry this host anymore, but here is a link to an alternative site...
Amazon.com: Fenix TK45 High Performance Flashlight: Sports & Outdoors")
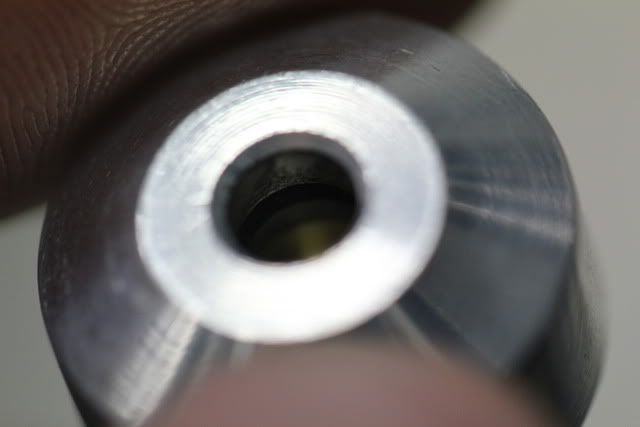
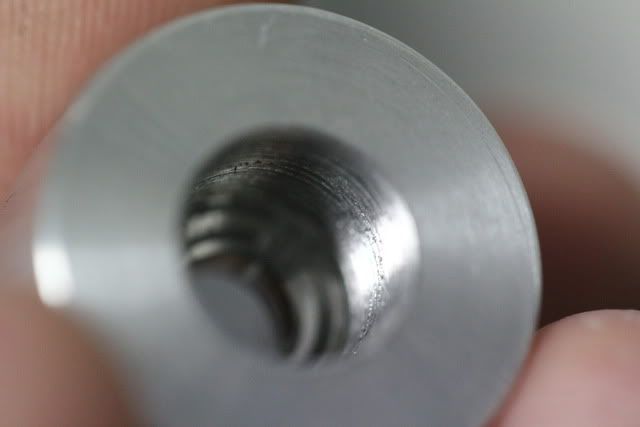
Now that I had found the host I wanted to use I had to get it customized to house the lasers, so I sent it off to Ehgemus. When he got it, the first thing he had to do was unscrew the three heads...
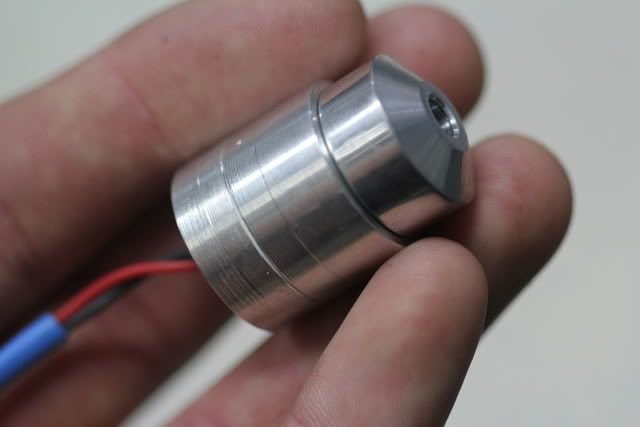
After that, he went on to make the three heatsinks (2 fit for diodes & 1 fit for a Green Module)...
...He also drilled out where the led's where on each of the three heads.
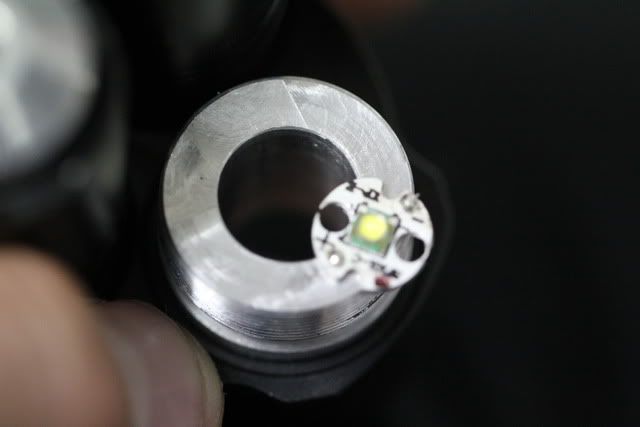
He did this not only so I could run wires to the driver, but so the green module could fit in any of the three heads...
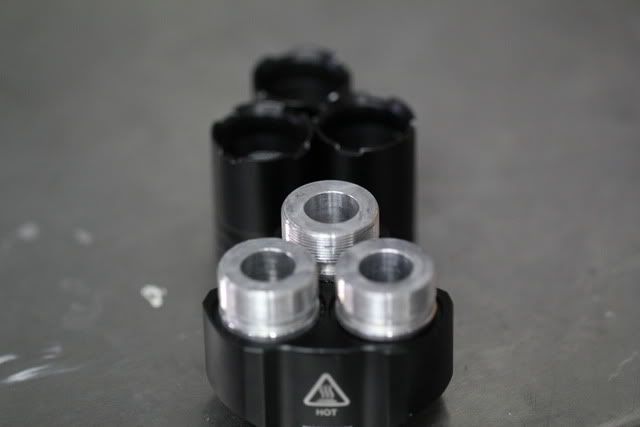
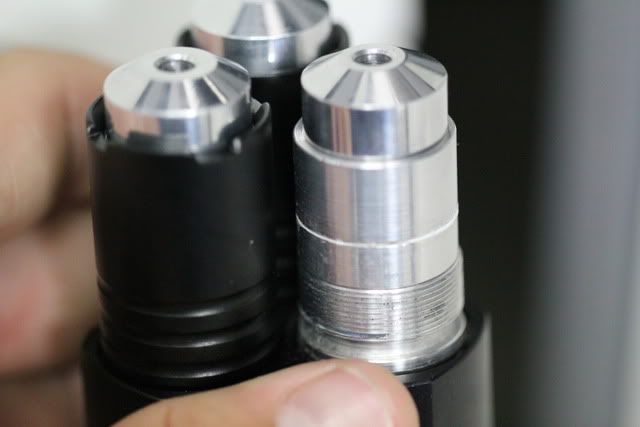
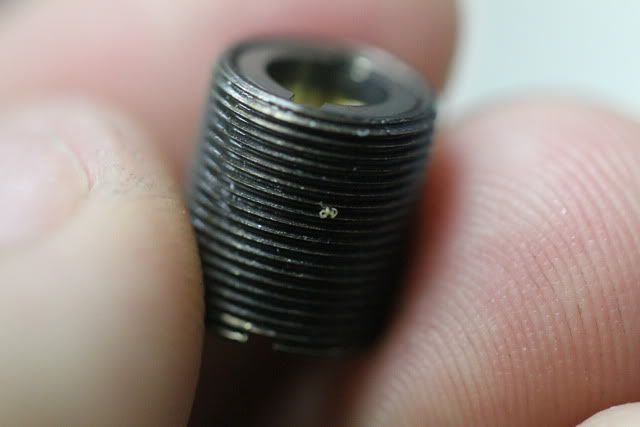
Then Ehgemus made 3 focus rings (2 that where threaded for lenses & 1 with no threads for the green module):
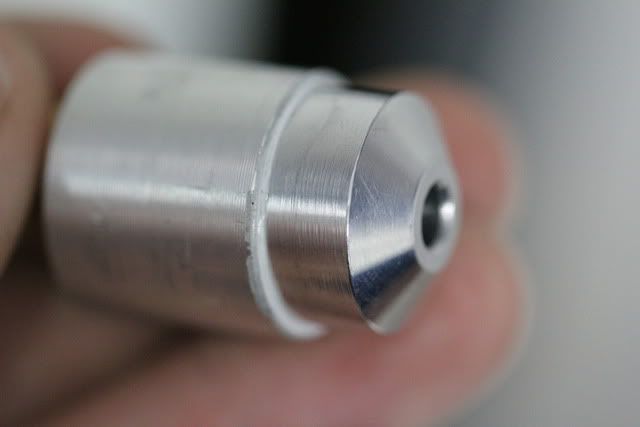
Front...
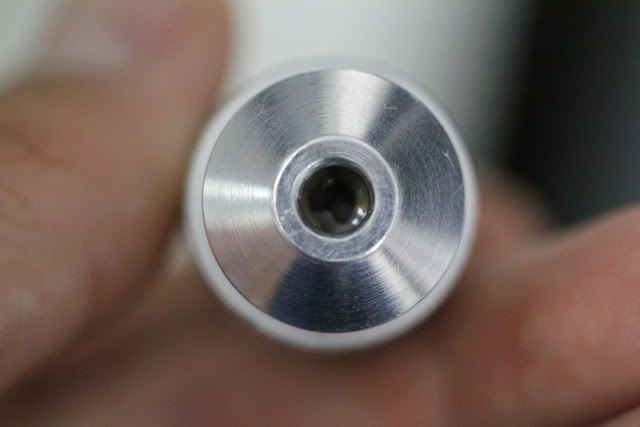
Back...
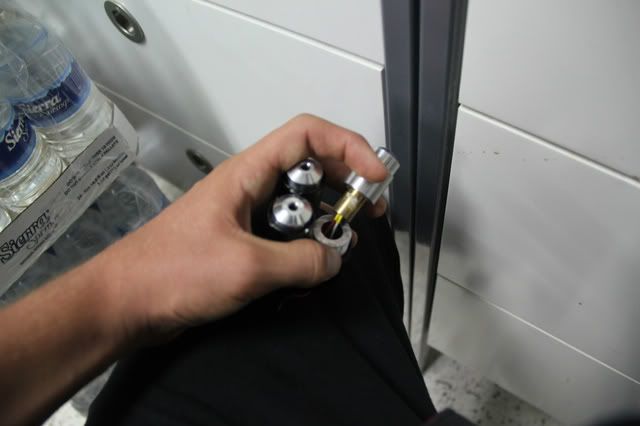
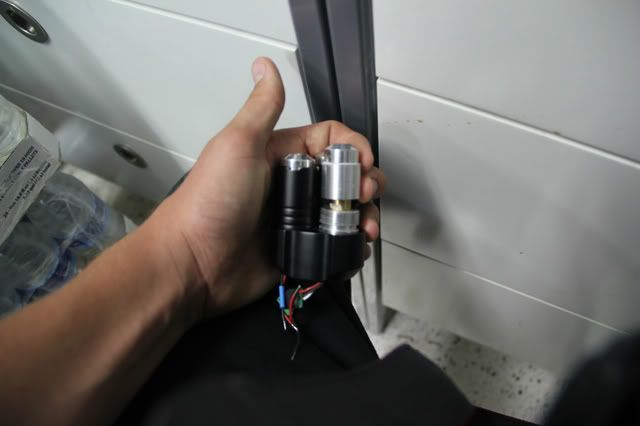
Ehgemus was ready to ship this to me, but I had another favor to ask him... so I shot him a pm and begged him to see if he could unscrew the head from the handle so I could access the area where the driver was. The reason I wanted him to do it so bad was because I knew that it was HEAVILY thread-locked and if he couldn't get it off with his huge selection of tools, I knew I could never get it off with my small selection of tools! Thankfully Ehgmeus, being the great guy he is, agreed to try to unscrew it and was successful...
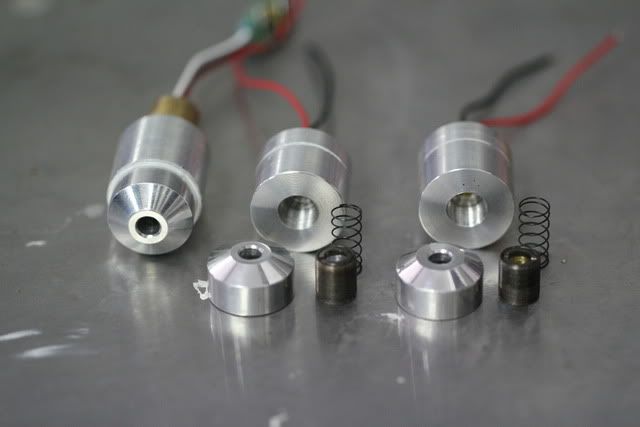
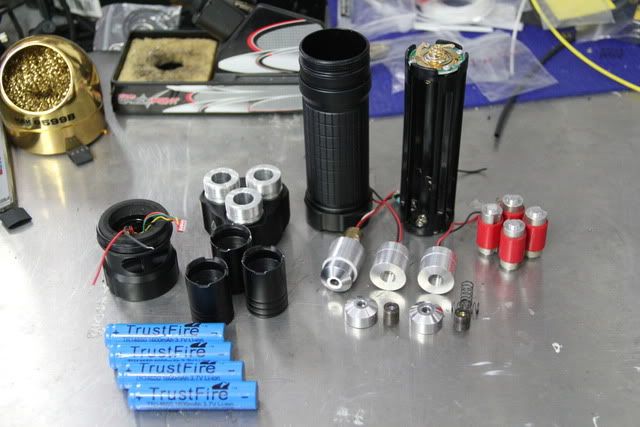
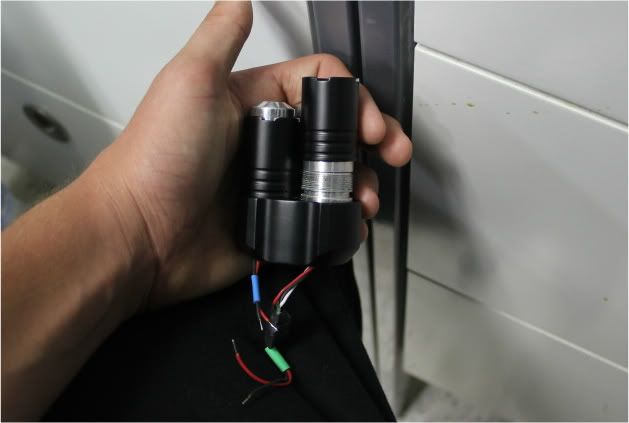
Here are all the parts you need for the build...
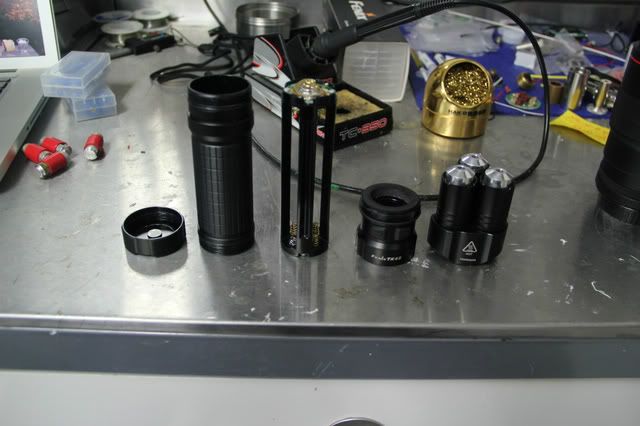
Here is how the host breaks down (bottom is on the left and goes together ending at the right which is the top)...
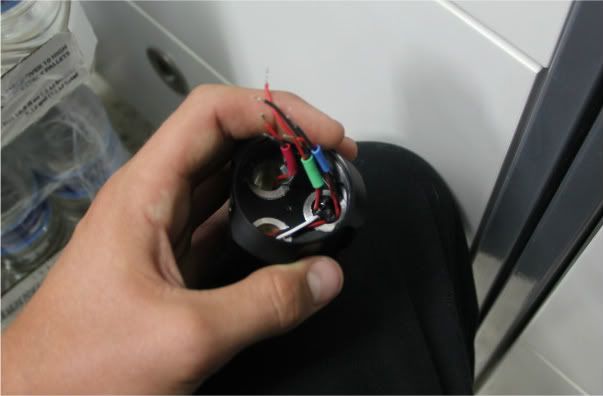
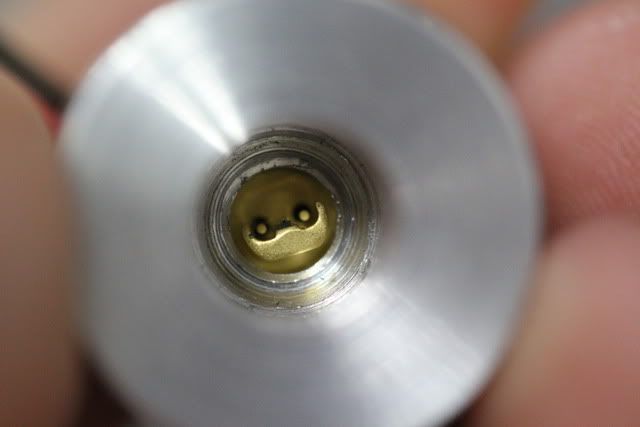
Inside of head...
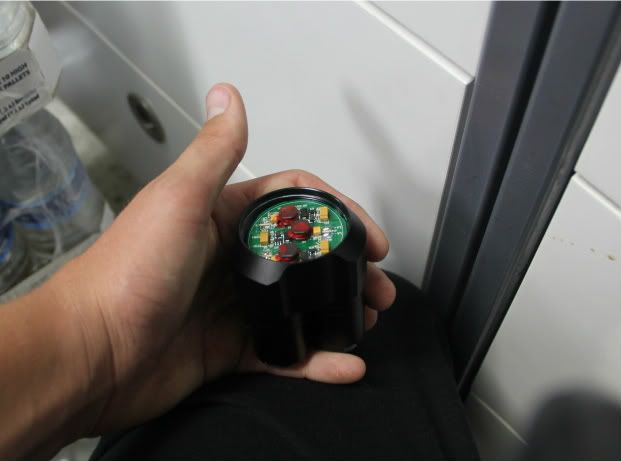
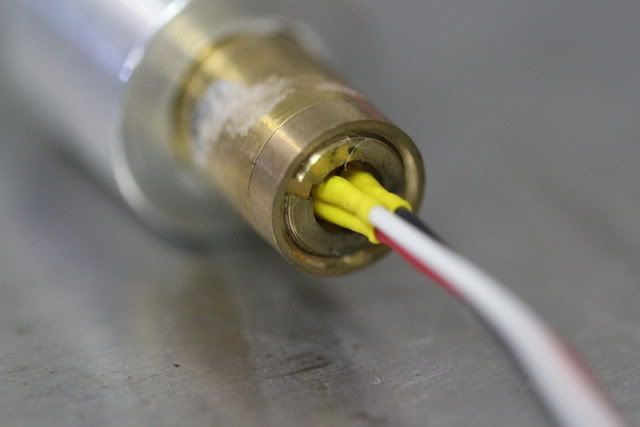
Inside of head w/ Existing Fenix Tk-45 Driver...
PICTURES OF HOST:
Front...
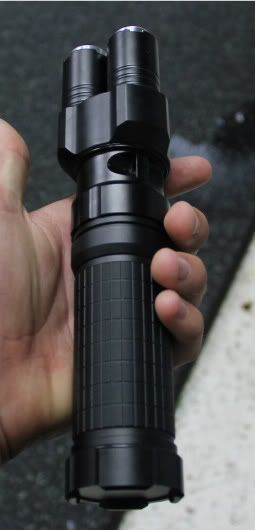
Back...
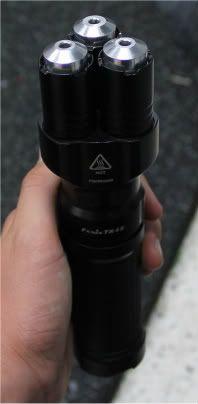
Top...
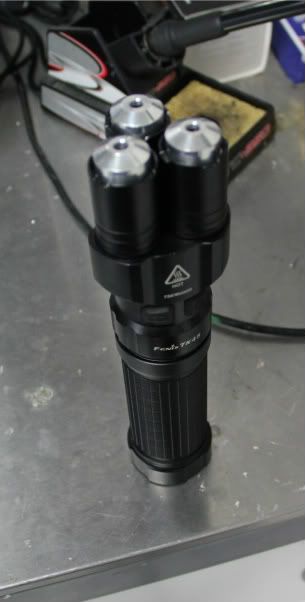
Stands up by itself...
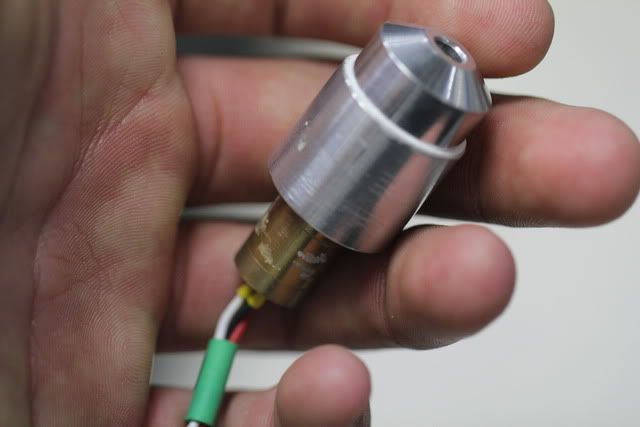
When I got this host back from Ehgemus the first thing I did was press fit both diodes into their heatsink...
Then I thermal glued the green module into its heatsink, making the top of the module flush with the heatsink...
After the thermal glue dried... I proceeded to thermal glue the green focus ring on to the top of the green heatsink...
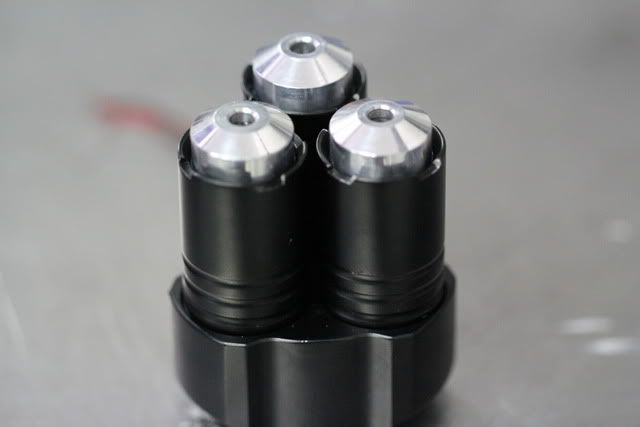
After I finished getting the diodes and module in their heatsinks, I put them in their place on top of the head...
And screwed on the retaining rings...
Final Product...
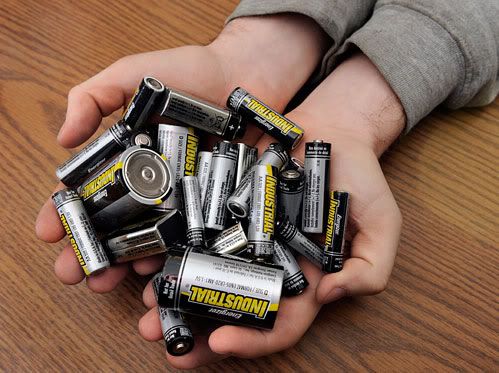
So now that I have my host figured out I needed a battery. The Fenix Tk-45 originally ran on 8 AA batteries, but the draw from three lasers would drain those batteries fast and I would be buying AA's all the time!
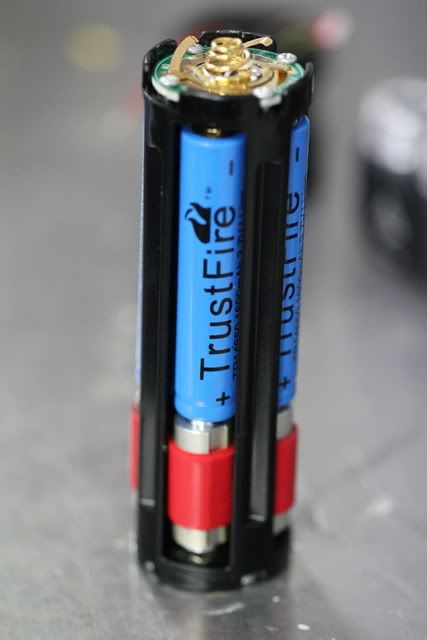
...So I had Ehgemus modify the battery holder to accept 4 TrustFire 14650 batteries in parallel.
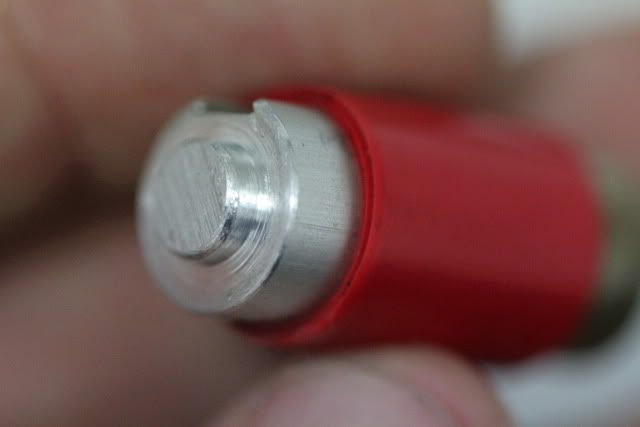
And here is one of the spacers Ehgemus made for the battery holder...
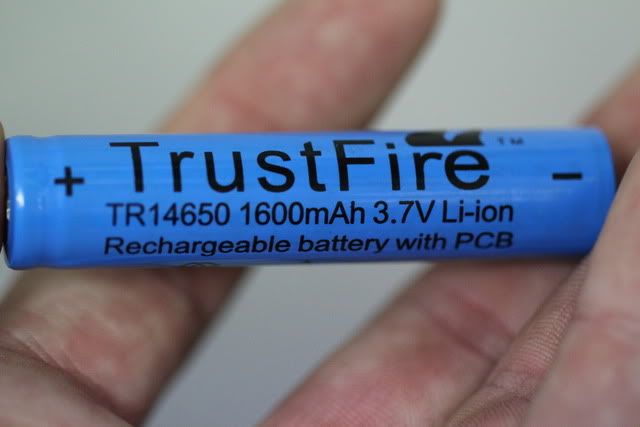
And if you take a look at this picture you can see the specs on the batteries I used...
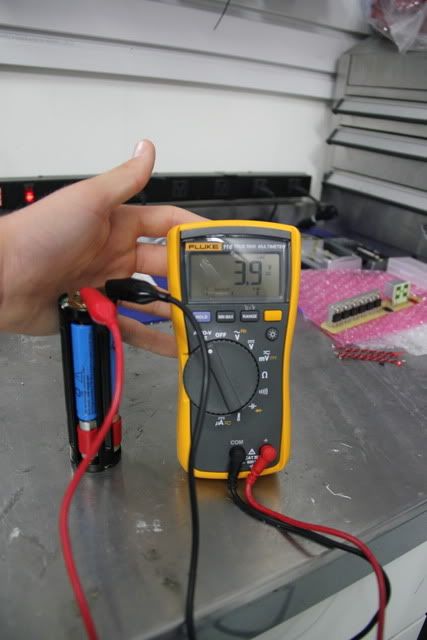
These batteries put out 3.9V for my lasers to suck...
To drive these diodes and not have them immediately die once current is flowing, I had to get a driver. The only problem was that I wanted to be able to choose between the three colors of lasers, like which one I wanted to be on and such, so I had JohnyZ design me a driver (which he dubbed the TriniDrive)...
UPDATE 1: JohnyZ made some modifications to the driver including a reset button that I can press if the firmware freezes or starts acting funny and he upgraded the ATmega48 to a ATmega168 because the ATmega48 couldn't fit the firmware. Here is the new render of the driver which now contains a model of the 4 pin connector and the pot for adjusting 445 current...
UPDATE 2: JohnyZ added a new linear driver to power the green module and came to the conclusion that the best drivers for the red and blue diodes would be two boosts. Thew new render includes 1 linear and 2 boost drivers and the only thing it is still missing is one pot which JohnyZ will add soon...
UPDATE 3: The driver came in to JohnyZ today! He said that he ordered the parts and he wil try to get it put together on monday. Here's a picture of the blank pcb...
UPDATE 4: Unfortunately the first design of the Trinidrive failed, but with failure comes great success. In the new design, JohnyZ switched from using his own drivers to FlexDrives and P-Channel MOSFET transistors to control the diodes. The new board also has holed under the designated spots for the drivers to allow for better cooling. In addition, the driver features a "FTDI TTL" header for more convenience in debugging/remote controlling/updating the firmware...
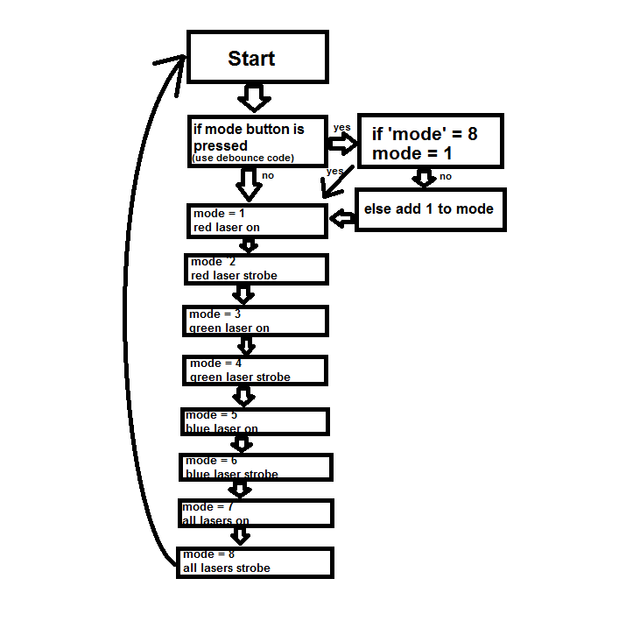
Modes...
So I just told Johny to use the stock clickies and to use the existing 4-pin connector coming from the switches to connect them to the board...
For the red laser I used a Mitishubishi 300mW 635nm from DTR!

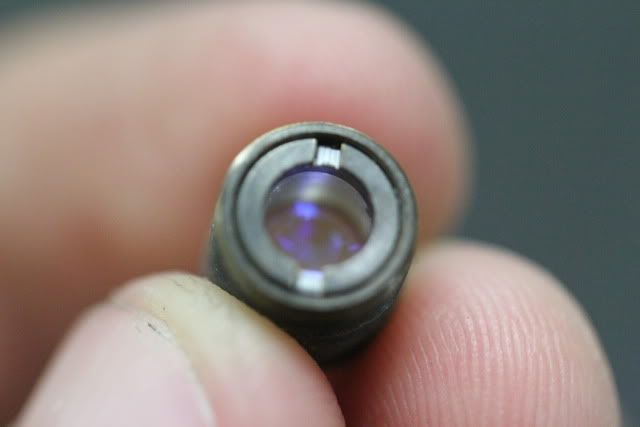
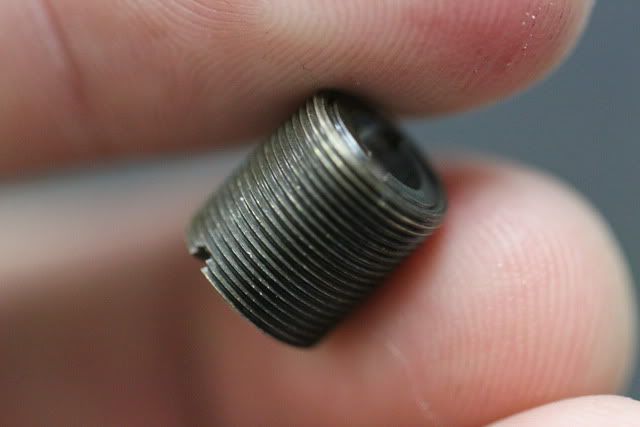
...And for the lens I used the one and only 605-G-1 thanks to Jayrob...
More pics of the 650-G-1...
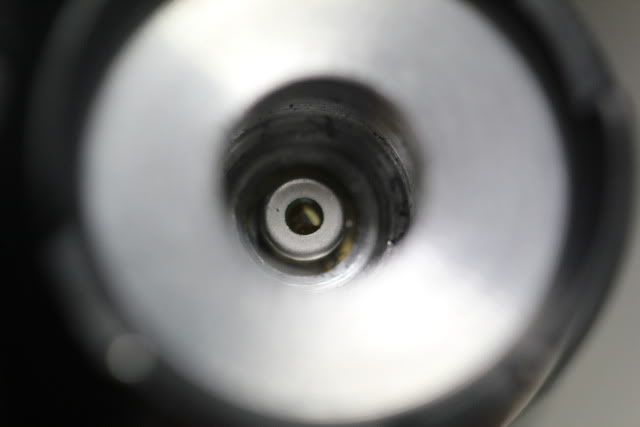
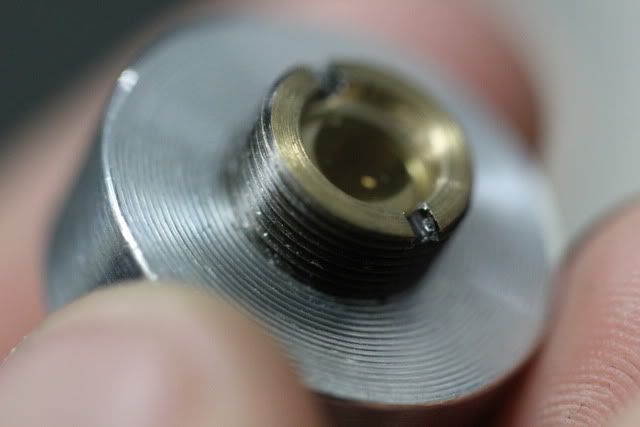
Diode in heatsink w/ Focus Ring...
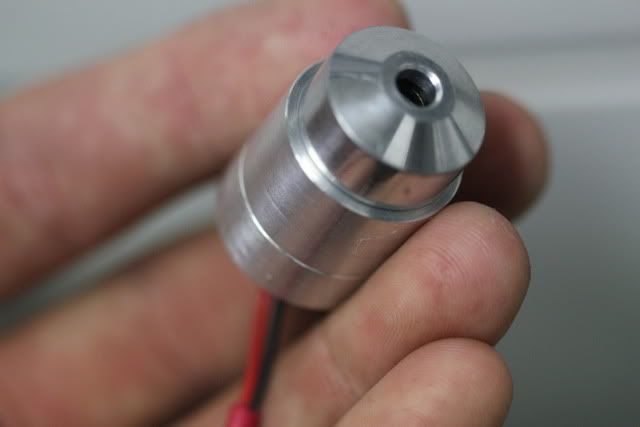
For the green laser I used a 200mW O-like Module...
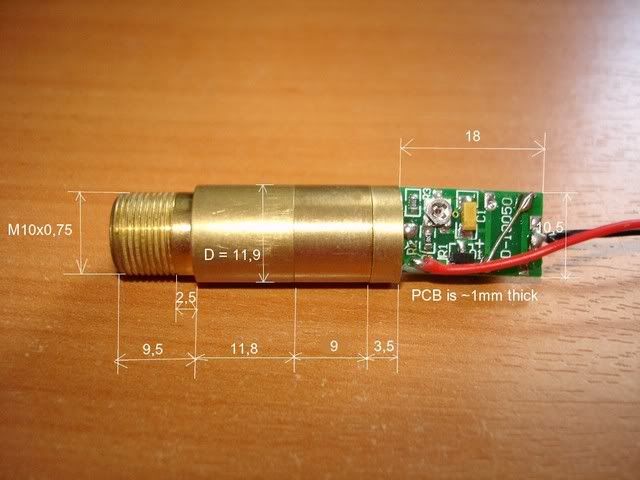
Module in heatsink w/ Focus Ring...
For the blue laser I used a Nichia 1W Blue diode...
...And for the lens I used a 405-G-1 also thanks to Jayrob...
More pics of the 405-G-1...
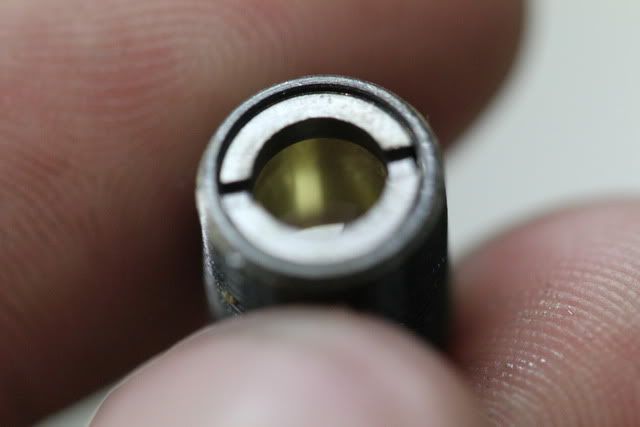
Diode in heatsink w/ Focus Ring...
The Trinity!
The Idea
The Idea
This build started with the host. I was looking through Lighthound's flashlights trying to find a cool host to use in one of my builds and this crazy host called the Fenix Tk-45 rolled past my eyes. When I saw this host it was love at first sight... this host has three separate heads and let me tell you this thing look like hand-held turret! :drool:
Lighthound unfortunately doesn't carry this host anymore, but here is a link to an alternative site...
Amazon.com: Fenix TK45 High Performance Flashlight: Sports & Outdoors
Host
Now that I had found the host I wanted to use I had to get it customized to house the lasers, so I sent it off to Ehgemus. When he got it, the first thing he had to do was unscrew the three heads...
After that, he went on to make the three heatsinks (2 fit for diodes & 1 fit for a Green Module)...
...He also drilled out where the led's where on each of the three heads.
He did this not only so I could run wires to the driver, but so the green module could fit in any of the three heads...
Then Ehgemus made 3 focus rings (2 that where threaded for lenses & 1 with no threads for the green module):
Front...
Back...
Ehgemus was ready to ship this to me, but I had another favor to ask him... so I shot him a pm and begged him to see if he could unscrew the head from the handle so I could access the area where the driver was. The reason I wanted him to do it so bad was because I knew that it was HEAVILY thread-locked and if he couldn't get it off with his huge selection of tools, I knew I could never get it off with my small selection of tools! Thankfully Ehgmeus, being the great guy he is, agreed to try to unscrew it and was successful...
Here are all the parts you need for the build...
Here is how the host breaks down (bottom is on the left and goes together ending at the right which is the top)...
Inside of head...
Inside of head w/ Existing Fenix Tk-45 Driver...
PICTURES OF HOST:
Front...
Back...
Top...
Stands up by itself...
Assembly
When I got this host back from Ehgemus the first thing I did was press fit both diodes into their heatsink...
Then I thermal glued the green module into its heatsink, making the top of the module flush with the heatsink...
After the thermal glue dried... I proceeded to thermal glue the green focus ring on to the top of the green heatsink...
After I finished getting the diodes and module in their heatsinks, I put them in their place on top of the head...
And screwed on the retaining rings...
Final Product...
Battery
So now that I have my host figured out I needed a battery. The Fenix Tk-45 originally ran on 8 AA batteries, but the draw from three lasers would drain those batteries fast and I would be buying AA's all the time!
...So I had Ehgemus modify the battery holder to accept 4 TrustFire 14650 batteries in parallel.
And here is one of the spacers Ehgemus made for the battery holder...
And if you take a look at this picture you can see the specs on the batteries I used...
These batteries put out 3.9V for my lasers to suck...
Driver
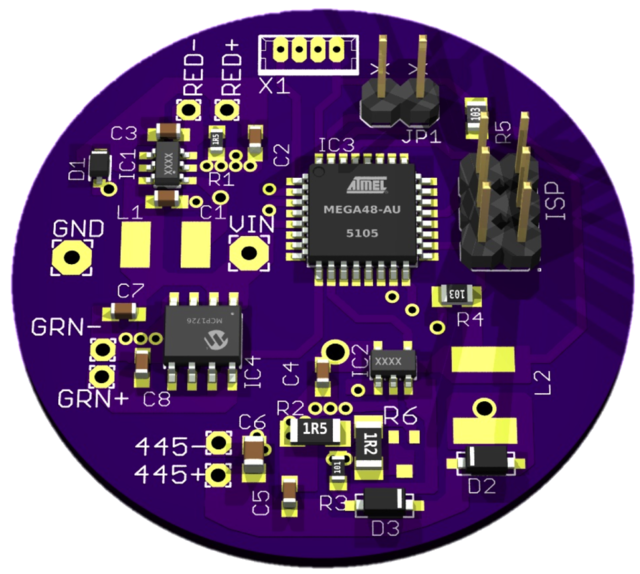
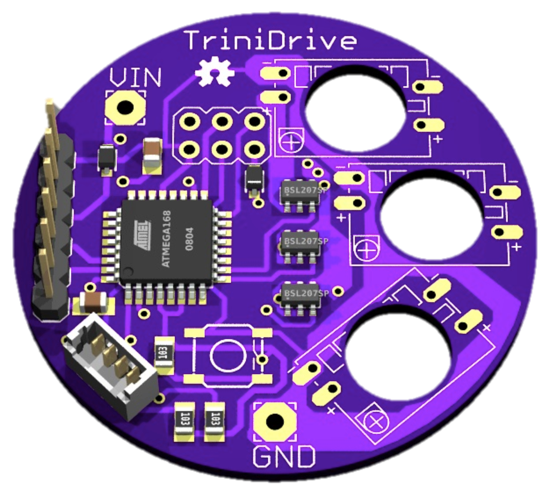
To drive these diodes and not have them immediately die once current is flowing, I had to get a driver. The only problem was that I wanted to be able to choose between the three colors of lasers, like which one I wanted to be on and such, so I had JohnyZ design me a driver (which he dubbed the TriniDrive)...
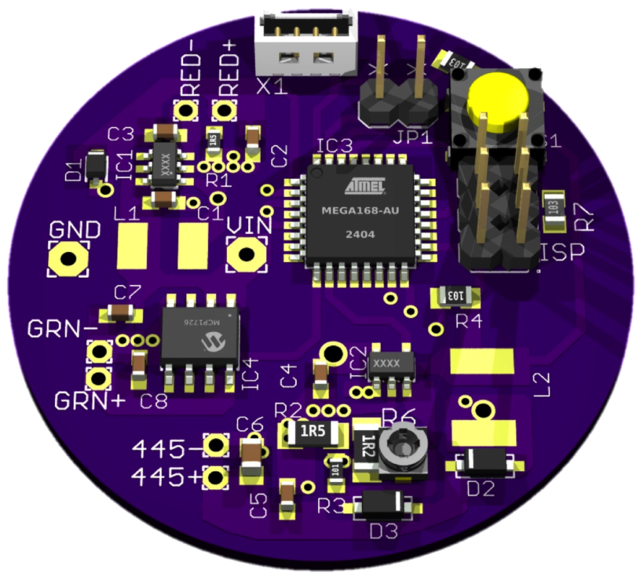
UPDATE 1: JohnyZ made some modifications to the driver including a reset button that I can press if the firmware freezes or starts acting funny and he upgraded the ATmega48 to a ATmega168 because the ATmega48 couldn't fit the firmware. Here is the new render of the driver which now contains a model of the 4 pin connector and the pot for adjusting 445 current...
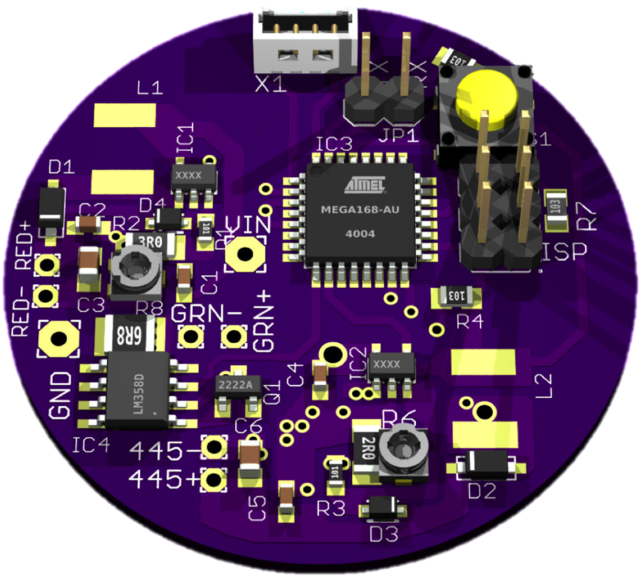
UPDATE 2: JohnyZ added a new linear driver to power the green module and came to the conclusion that the best drivers for the red and blue diodes would be two boosts. Thew new render includes 1 linear and 2 boost drivers and the only thing it is still missing is one pot which JohnyZ will add soon...
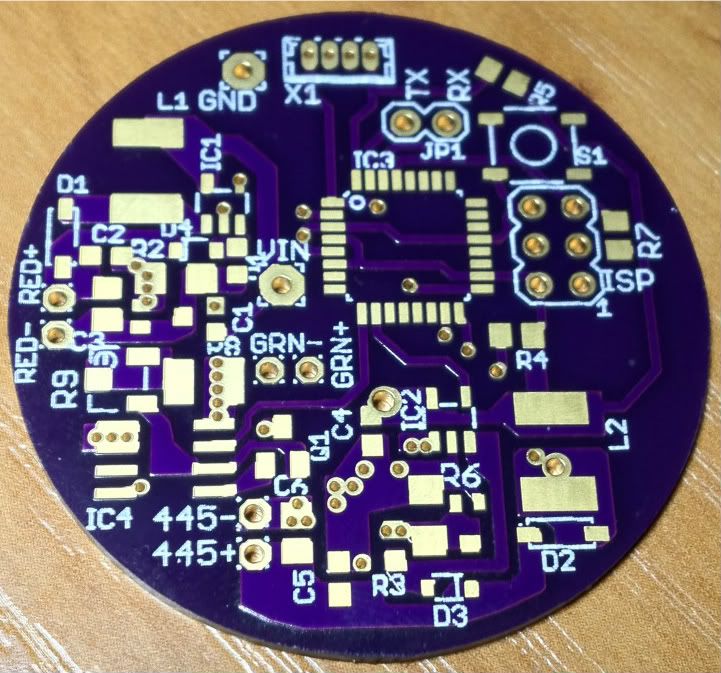
UPDATE 3: The driver came in to JohnyZ today! He said that he ordered the parts and he wil try to get it put together on monday. Here's a picture of the blank pcb...
UPDATE 4: Unfortunately the first design of the Trinidrive failed, but with failure comes great success. In the new design, JohnyZ switched from using his own drivers to FlexDrives and P-Channel MOSFET transistors to control the diodes. The new board also has holed under the designated spots for the drivers to allow for better cooling. In addition, the driver features a "FTDI TTL" header for more convenience in debugging/remote controlling/updating the firmware...
Modes...
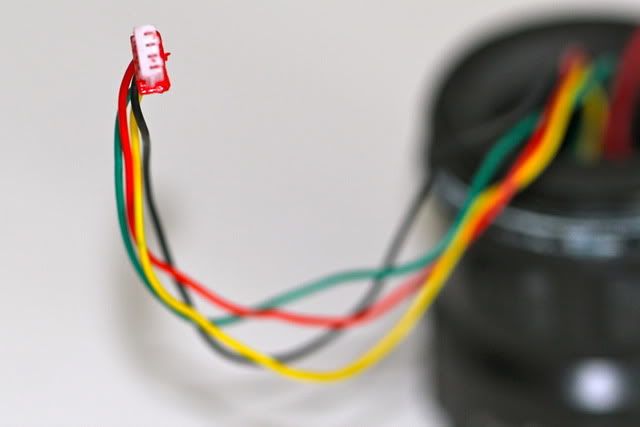
So I just told Johny to use the stock clickies and to use the existing 4-pin connector coming from the switches to connect them to the board...
And now for the Lasers!!!
Red
For the red laser I used a Mitishubishi 300mW 635nm from DTR!
...And for the lens I used the one and only 605-G-1 thanks to Jayrob...
More pics of the 650-G-1...
Diode in heatsink w/ Focus Ring...
Green
For the green laser I used a 200mW O-like Module...
Module in heatsink w/ Focus Ring...
Blue
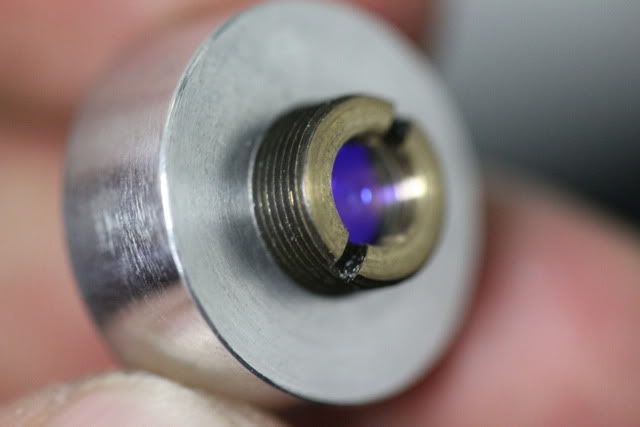
For the blue laser I used a Nichia 1W Blue diode...
...And for the lens I used a 405-G-1 also thanks to Jayrob...
More pics of the 405-G-1...
Diode in heatsink w/ Focus Ring...
Last edited:


