- Joined
- May 1, 2011
- Messages
- 949
- Points
- 0
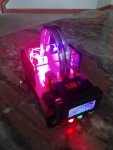
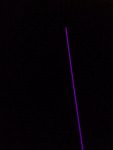
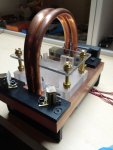
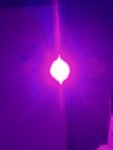
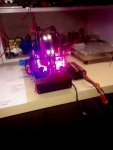
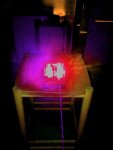
Amazing how bright it is. So the prisms for the 445 had the same beam specs as the 638 with the corrective lenses. I'd love to make a pointer size with this setup but should I really use prisms?


Amazing how bright it is. So the prisms for the 445 had the same beam specs as the 638 with the corrective lenses. I'd love to make a pointer size with this setup but should I really use prisms?
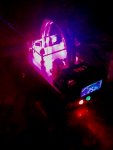
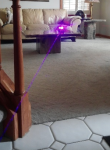
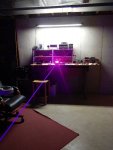
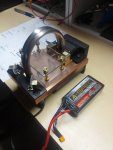
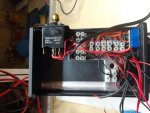
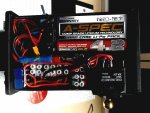
") See pics
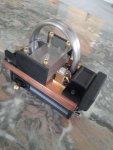
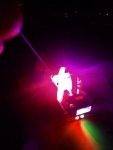
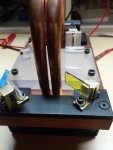
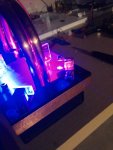
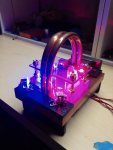
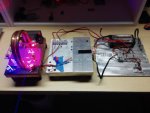
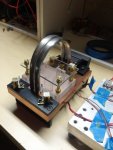
See picsThis has got to be the best way to view purple. CD you make your own parts?
Could you make something for me when I need it? I got a few ideas myself.
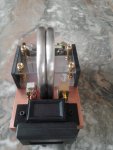
Sure....PM me....I luv to machine !! In my opinion....combining Lasers and machining....It is like mixing chocolate
and nuts....Perfect !!!And....to do almost any more advanced builds.....ya gotta have the tools...or access to the tools.....or purchase custom work. That is just the way it is ! Send me your ideas....then I can ....er..ah..."borrorw" them !!:eg::eg::eg:
Hey I appreciate it. I'll let you know when I save up a few bucks.