grainde
0
- Joined
- Jan 29, 2012
- Messages
- 3,163
- Points
- 113
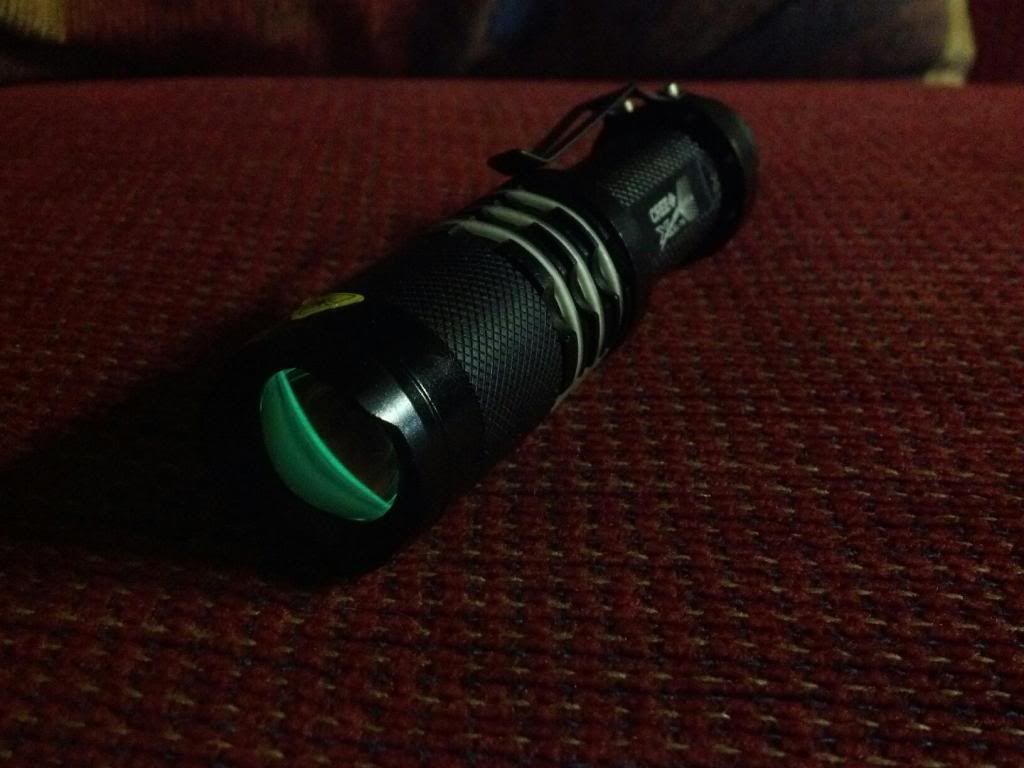
Just thought Id share a little mod I did before xmas. I had been searching for a decent flood-to-throw flash light and eventually stumbled upon this one from Manafont. The price at the time was $16, but unfortunately it went up a little in the new year.
Here is the light in Flood mode

and here Throw mode

This is from the font in Flood

and Throw

This shows the rear and the GITD tail cap switch

Everything shown here is bundled with the light. It includes a 3 x AAA holder and a plastic sleeve to enable use of an 18650.

Finally, this is an "almost" macro of the emitter. Dont actually have a macro lens...In the photo it looks to be a little off centre, but that was just the angle the photo was taken at.

The build quality was actually very good, well at least for the price , but I didn't really care for the bundled strobe and SOS modes and wanted to up the power a little anyway...:eg: So I bought one of the new 3040 mA AMC drivers from Kaidomain. This driver uses the new, or higher binned, 380 mA AMC chips to get that little extra.
  One thing I should add is that the emitter wasn't properly heat sinked to the pill, so I attached it using arctic silver. To be honest this should have been done, but I'm guessing they don't bother in many of the cheaper lights...
Here the stock driver was replaced and the new driver sinked to a 10 cent euro coin. The 10, 20 and 50 cent coins are made of Nordic Gold (with composition 89% copper, 5% aluminium, 5% zinc, and 1% tin). This is a form of brass, but with an exceptionally high copper content, so the thermal conductivity shouldn't suffer too much. Either way the coin worked very well at transferring the heat and was also a perfect fit for the pill.


A copper washer was also used to heat sink the chips on the other side of the driver.

After testing the current between the driver and LED, I noticed that without the tail cap, the current was around 3 A. When the tail cap was used however, the current dropped to 2.2 A! So I decided to mod the switch too and replaced the flimsy stainless contacts with some beefier 240 V high current switch contacts. These were drilled out, cut to size and fitted. This seemed to work as the current went back up to around 3030 mA. :wave:


Below are some beam shots in the snow!


In the final shot above, you can see that the beam just reaches the house at the bottom of the hill, which is around 400 - 500 m away! Here Ive cropped the photos to show it a little more clearly. The beam just illuminates the RHS of the house in the second image.


Over all I'm very pleased and would definitely recommend this light. It's a fantastic little flood-to-throw! Cheers :beer:
Here is the light in Flood mode

and here Throw mode

This is from the font in Flood

and Throw

This shows the rear and the GITD tail cap switch

Everything shown here is bundled with the light. It includes a 3 x AAA holder and a plastic sleeve to enable use of an 18650.

Finally, this is an "almost" macro of the emitter.

The build quality was actually very good, well at least for the price
Here the stock driver was replaced and the new driver sinked to a 10 cent euro coin. The 10, 20 and 50 cent coins are made of Nordic Gold (with composition 89% copper, 5% aluminium, 5% zinc, and 1% tin). This is a form of brass, but with an exceptionally high copper content, so the thermal conductivity shouldn't suffer too much. Either way the coin worked very well at transferring the heat and was also a perfect fit for the pill.


A copper washer was also used to heat sink the chips on the other side of the driver.

After testing the current between the driver and LED, I noticed that without the tail cap, the current was around 3 A. When the tail cap was used however, the current dropped to 2.2 A! So I decided to mod the switch too and replaced the flimsy stainless contacts with some beefier 240 V high current switch contacts. These were drilled out, cut to size and fitted. This seemed to work as the current went back up to around 3030 mA. :wave:


Below are some beam shots in the snow!


In the final shot above, you can see that the beam just reaches the house at the bottom of the hill, which is around 400 - 500 m away!


Over all I'm very pleased and would definitely recommend this light. It's a fantastic little flood-to-throw! Cheers :beer:
Last edited:


