

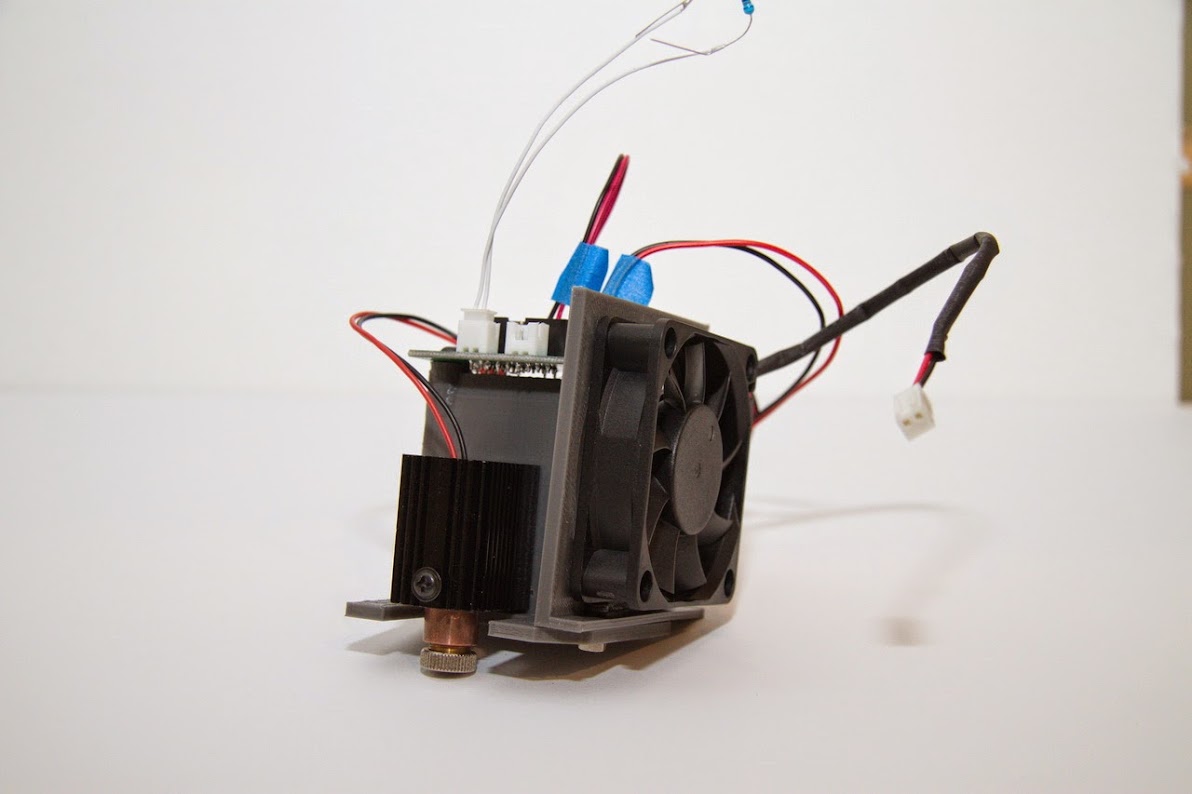
I'm happy to share initial prototype of RigidBot laser cutter, utilizing 2nd extruder place and parts. This is really early prototype, but it frigging works and I'm so excited that I decided to share ")
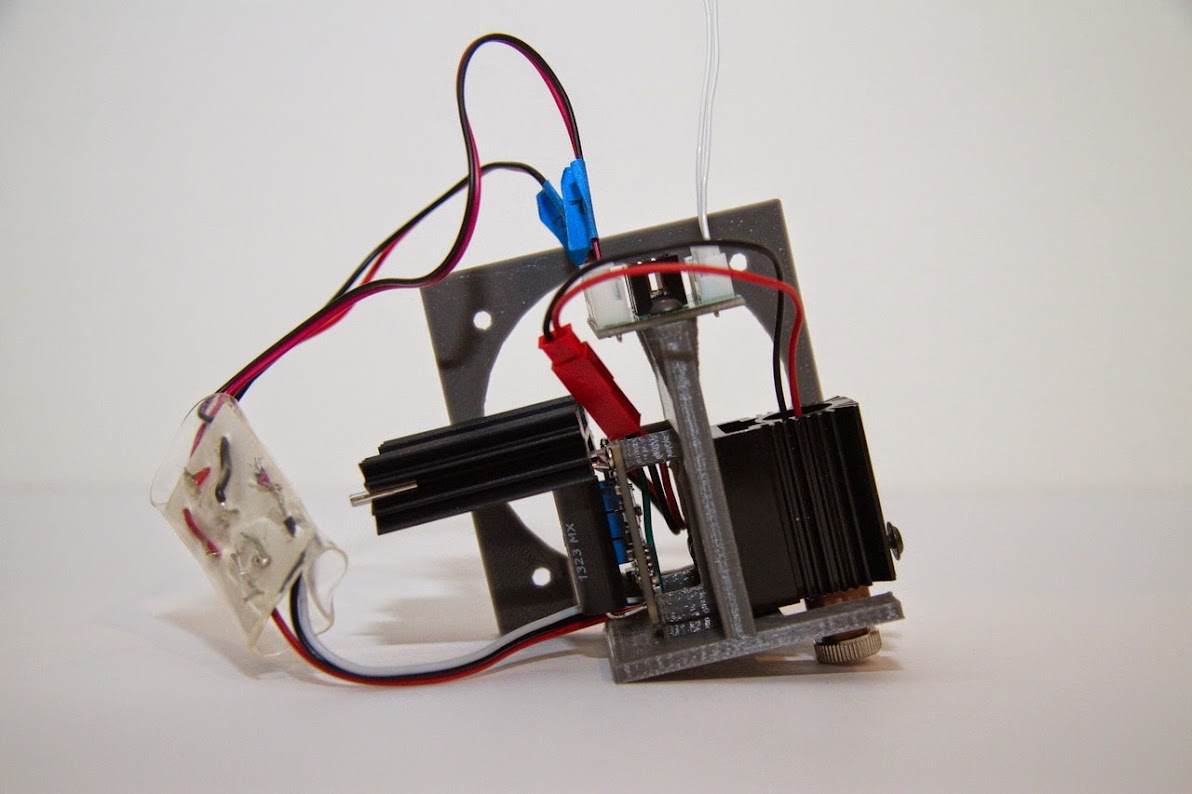
I run 405nm laser at 600mA, with proper heatsink. All this crap mounted on custom designed mount. This mount version is not final as well as hardware, but progress is pretty solid. Laser driver support TTL modulation for which I decided to reuse Fan1 signal. But it required conversion hence so many wires and prototype converter solder on piece of cardboard. This is optocuopler converted which drops fan1 PWM signal 0-24V to 0-~5V.
Some specs:
Laser: 405nm Blueray laser BDR-209 works up to 750mA but with reservations ( I really pushing it )
Driver: 4A capable, Flexmod driver, with modulation
Features:
Converts one of extruders into laser cutter/engraver just uses existing connection and provided voltages and signals.
Utilities existing extrude distribution PCB
Uses 24V without any conversions
Used TTL control signal from printer to modulate power of the laser from 0-100%
60mm fan design (Bigger coverage, low noise)
Controlled from Pronterface or any other printer app / uses g-codes.
Future works:
Develop PCB for modulation level converter ( that ugly shrink wrapped contraption with all elements mounted on piece of cardboard )
)
Improve mount
Test higher current on laser
Source more powerful laser, maybe ~3W 445nm?
Develop or source move efficient laser driver ( less heat - smaller fan )

Here are some videos:
RigidBot 405nm laser cutter attachment cutting paper and cardboard speed test - YouTube
RigidBot 405nm laser cutter attachment cutting foam - YouTube
If you have comments, suggestion I would be appreciated.
Big thank you to dtr-lpf for a lot of help in the area.
I run 405nm laser at 600mA, with proper heatsink. All this crap mounted on custom designed mount. This mount version is not final as well as hardware, but progress is pretty solid. Laser driver support TTL modulation for which I decided to reuse Fan1 signal. But it required conversion hence so many wires and prototype converter solder on piece of cardboard. This is optocuopler converted which drops fan1 PWM signal 0-24V to 0-~5V.
Some specs:
Laser: 405nm Blueray laser BDR-209 works up to 750mA but with reservations ( I really pushing it )
Driver: 4A capable, Flexmod driver, with modulation
Features:
Converts one of extruders into laser cutter/engraver just uses existing connection and provided voltages and signals.
Utilities existing extrude distribution PCB
Uses 24V without any conversions
Used TTL control signal from printer to modulate power of the laser from 0-100%
60mm fan design (Bigger coverage, low noise)
Controlled from Pronterface or any other printer app / uses g-codes.
Future works:
Develop PCB for modulation level converter ( that ugly shrink wrapped contraption with all elements mounted on piece of cardboard
)Improve mount
Test higher current on laser
Source more powerful laser, maybe ~3W 445nm?
Develop or source move efficient laser driver ( less heat - smaller fan )
Here are some videos:
RigidBot 405nm laser cutter attachment cutting paper and cardboard speed test - YouTube
RigidBot 405nm laser cutter attachment cutting foam - YouTube
If you have comments, suggestion I would be appreciated.
Big thank you to dtr-lpf for a lot of help in the area.

