- Joined
- Aug 25, 2010
- Messages
- 533
- Points
- 63
This is one of the most powerful and dangerous lasers that I have created since now.
The combination of the three elements glass lenses and the Linos beam expander (355nm coated version) is astonishing:
I can focalize a very small collimated line far away and I start smoking the bark and the leaves of the trees at dozens of meters
almost instantly!
For reasons, I cannot use 405-G2 lenses in conjunction with Jetlaser BE or Linos BE because I encountered some bad issues:
- I cannot create a decent focus near of far away from the aperture: the spot diameter rest always big and I'm not able
to reduce it in any way;
- I cannot focus the fast axis and the slow axis together. When an axis is focused, the other one is out of focus. Strange behaviour;
- I cannot obtain a balanced gap between the min and the max focus range;
- The beam after the 405-G2 lens is out of perpendicularity and it enter inside the first lens of the Linos BE in a wrong way,
so the output beam is near the edge of the output lens and not centered, so I will have some extra loss of power;
- The beam maintain a noticeable divergence, and during foggies nights and a long exposure shot I will see some highly
diverging purple wings around the main beam;
- Linos and JL beam expanders are not able to eliminate the classical squares and aberrations of the 405-G2 lenses around the main dot,
so the result is an ugly long line surrounded by crap reflections.
My diode with 405-G2 lens without Linos BE peak near 6.5W @4.5A, while it peak at 4.5+W with three elements glass lenses
and Linos BE.
Usually the three elements glass lenses lose about 30% of the diode output power, while the 355nm Linos BE has not
the ideal coating for a 450nm diode and loss about 7% of the input power in reflection.
6.5W less 37% is about 4.1W, so my 4.5W output power was really a nice surprise.
Those were the original Cypreus IIIb components of my first build:
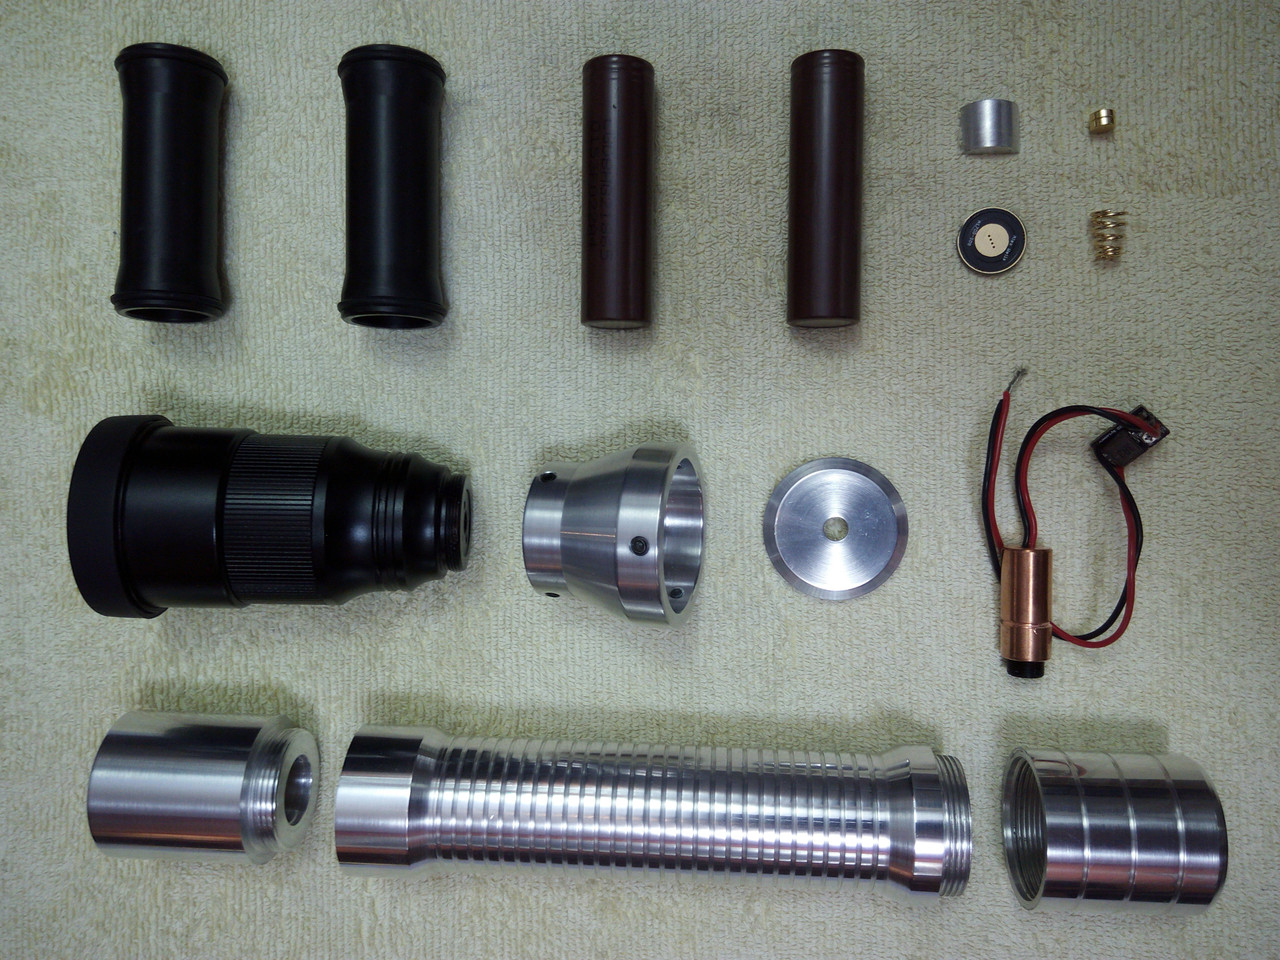
... but now the gentle soul of Mr. Angelos has rebuilded the head in a much much better way! Next six shots were done by Angelos.
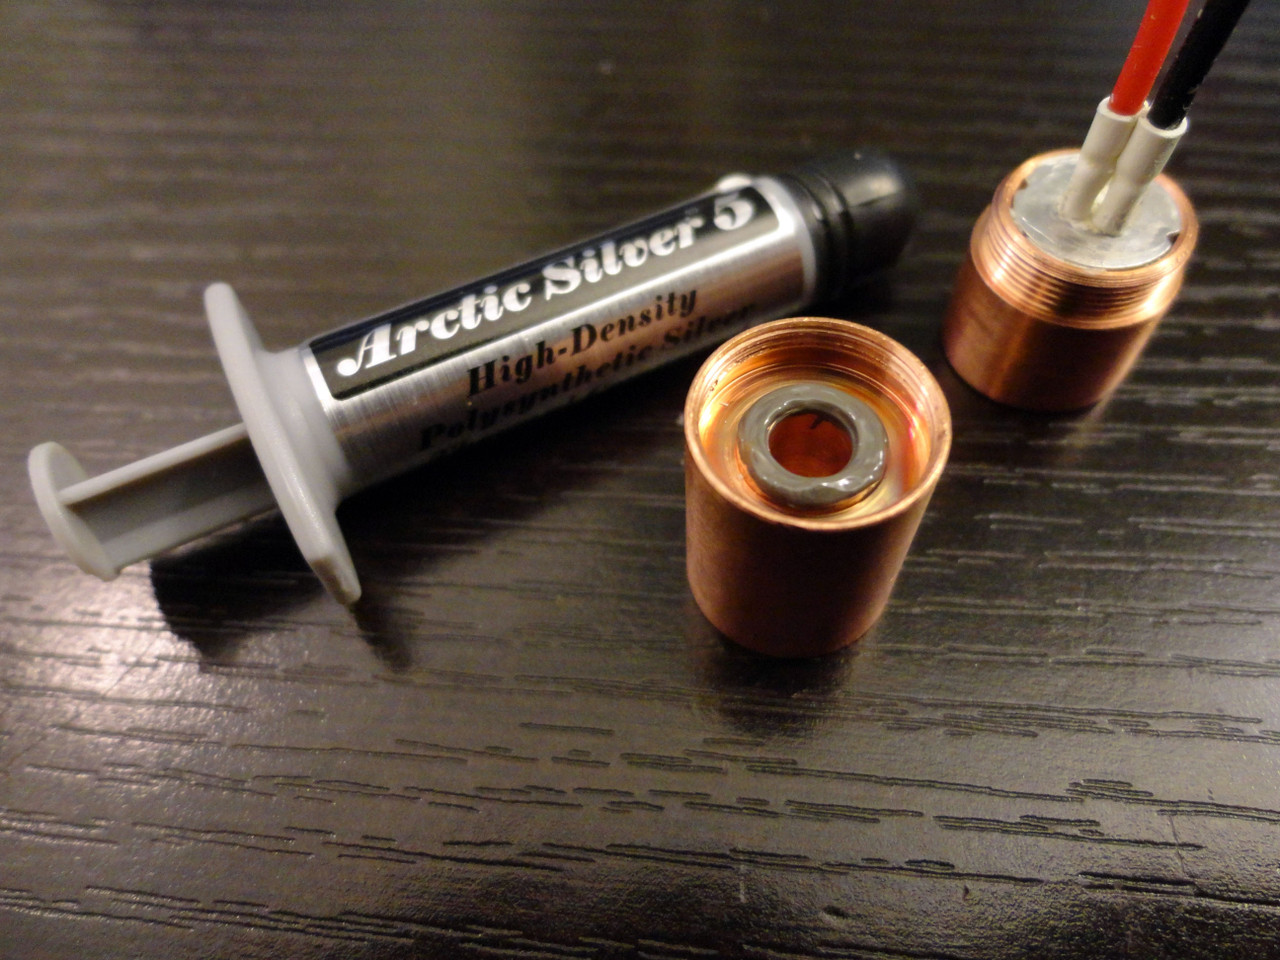
Unmounted the upper part with the diode from the DTR copper heatsink, shortened the heatsink and applied the thermal paste:
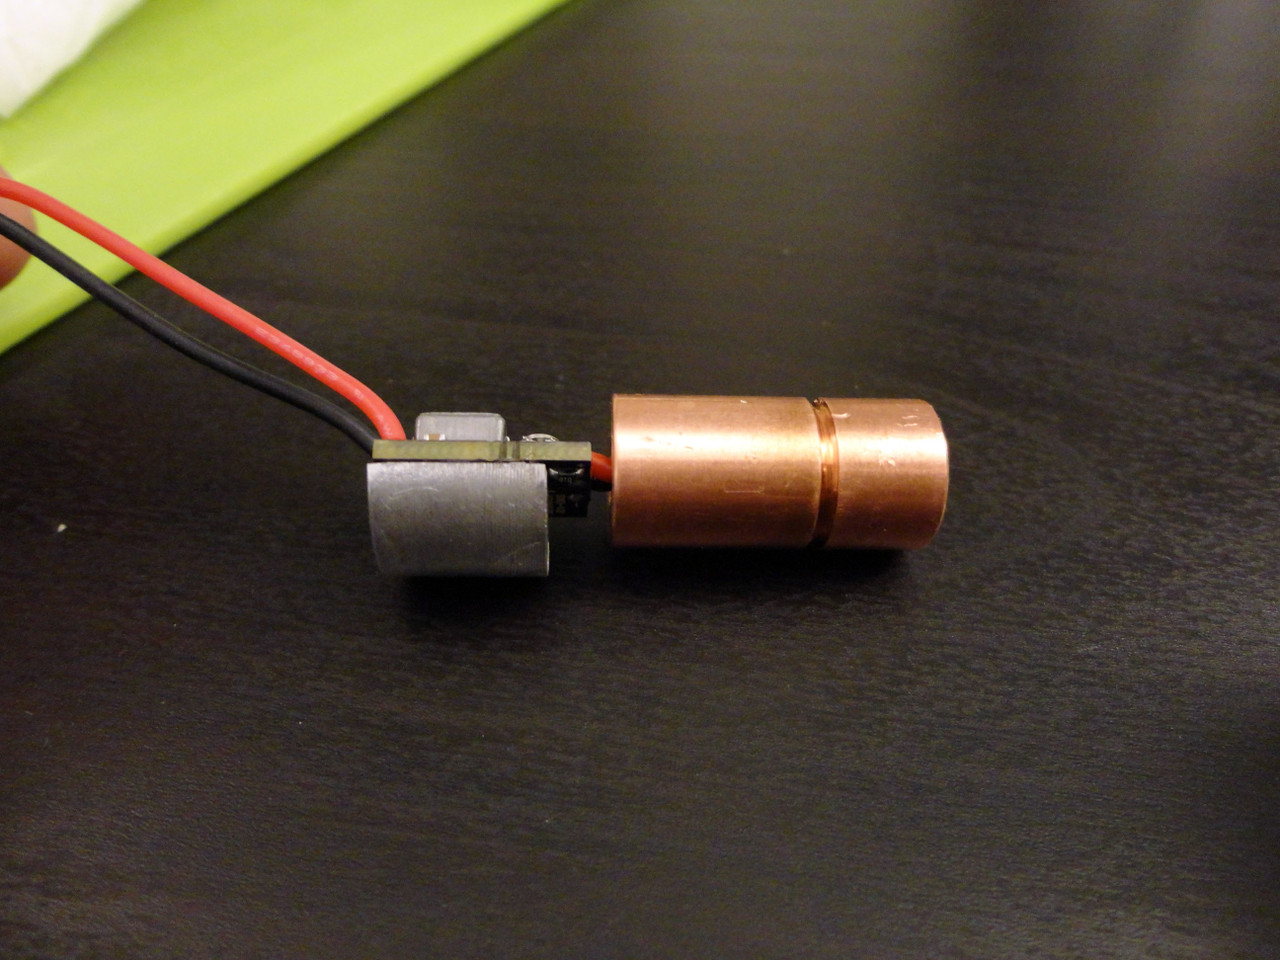
Remounted the shortened barrel, soldered the driver and glued the modified half-moon driver heatsink:
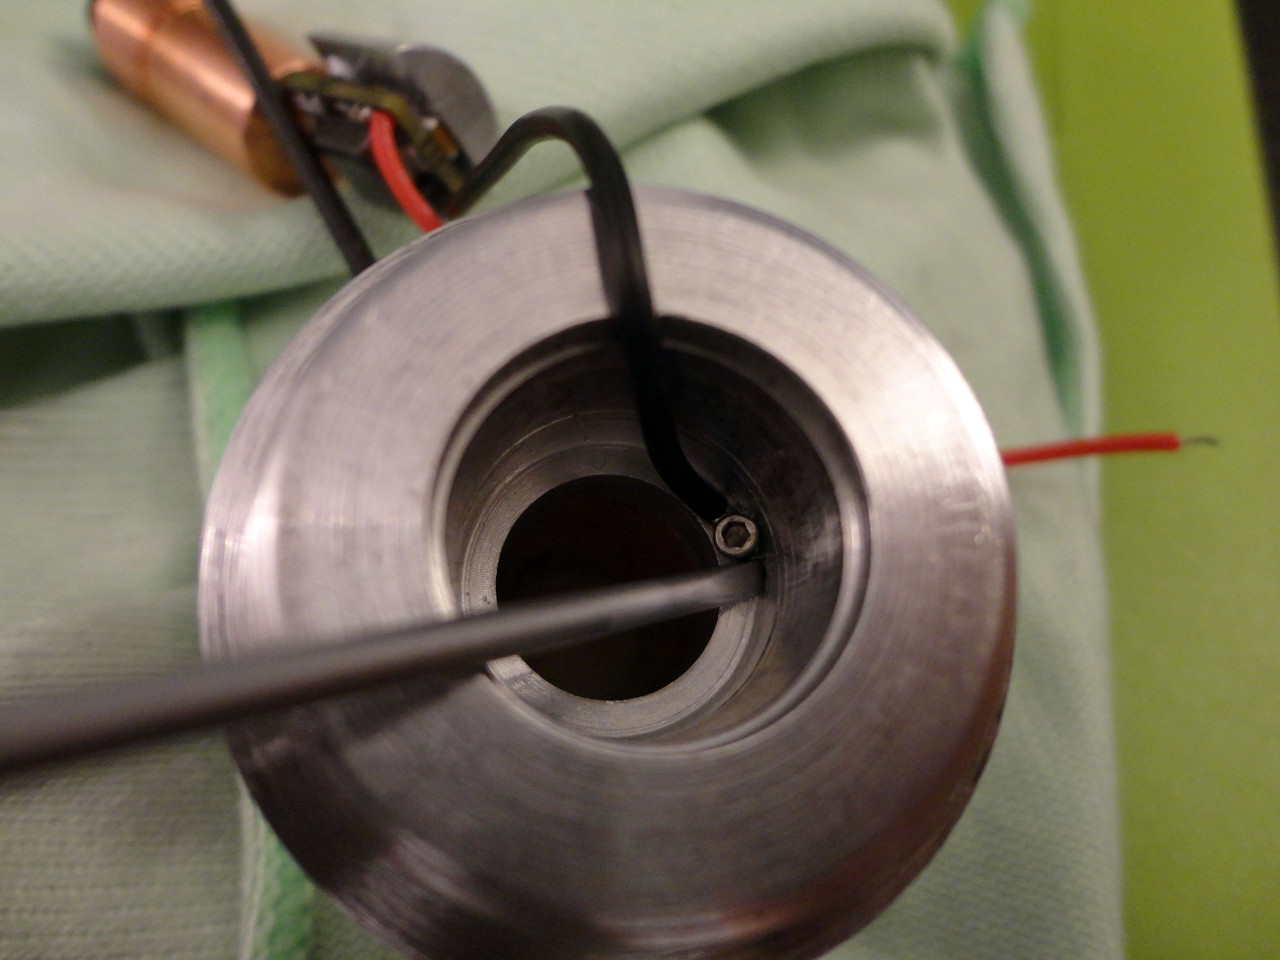
Created a solid negative path:
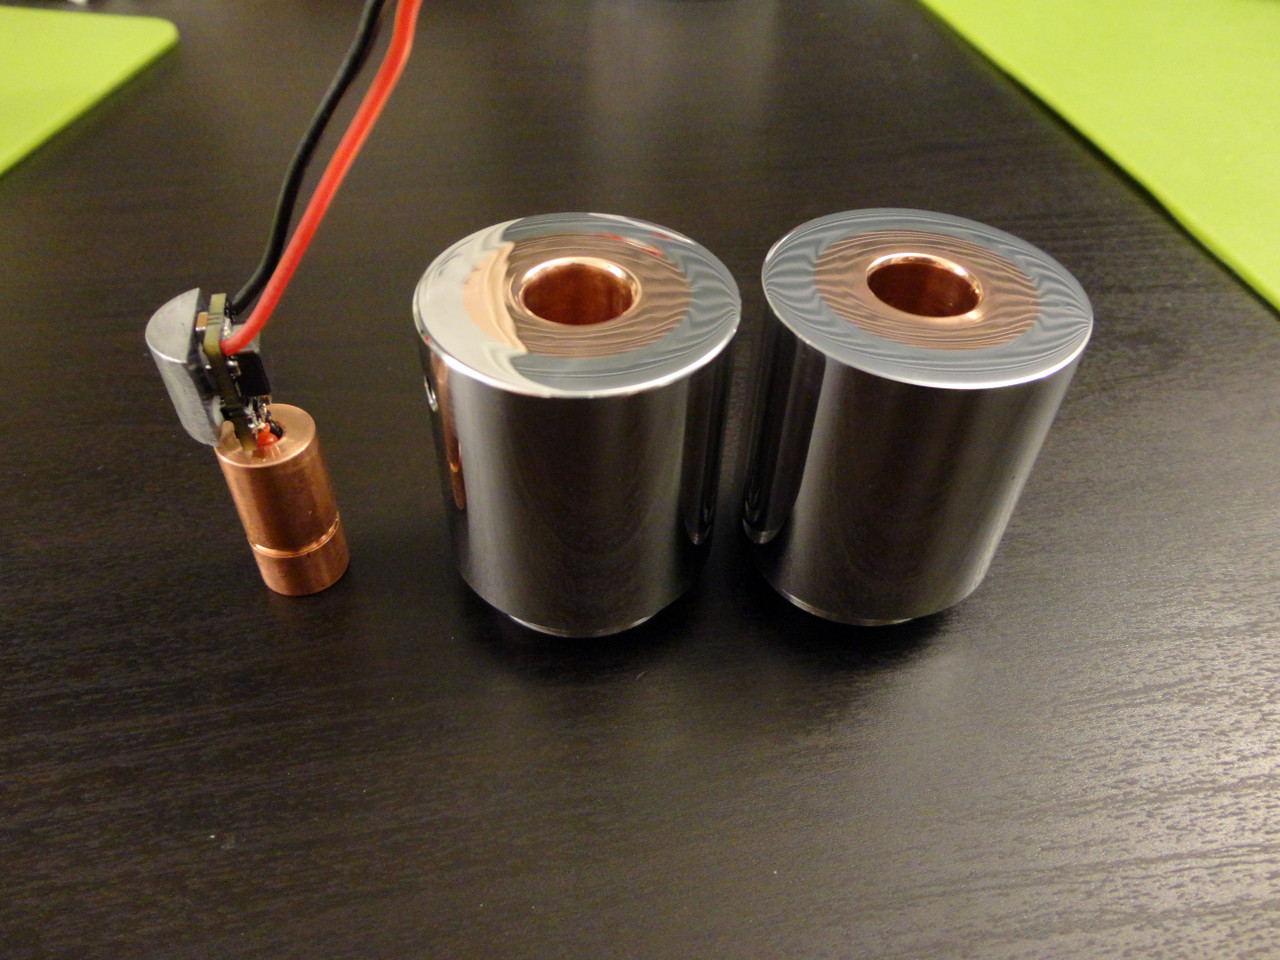
Awesome polished heads ready to accept the modules (one for me and one for a friend of mine):
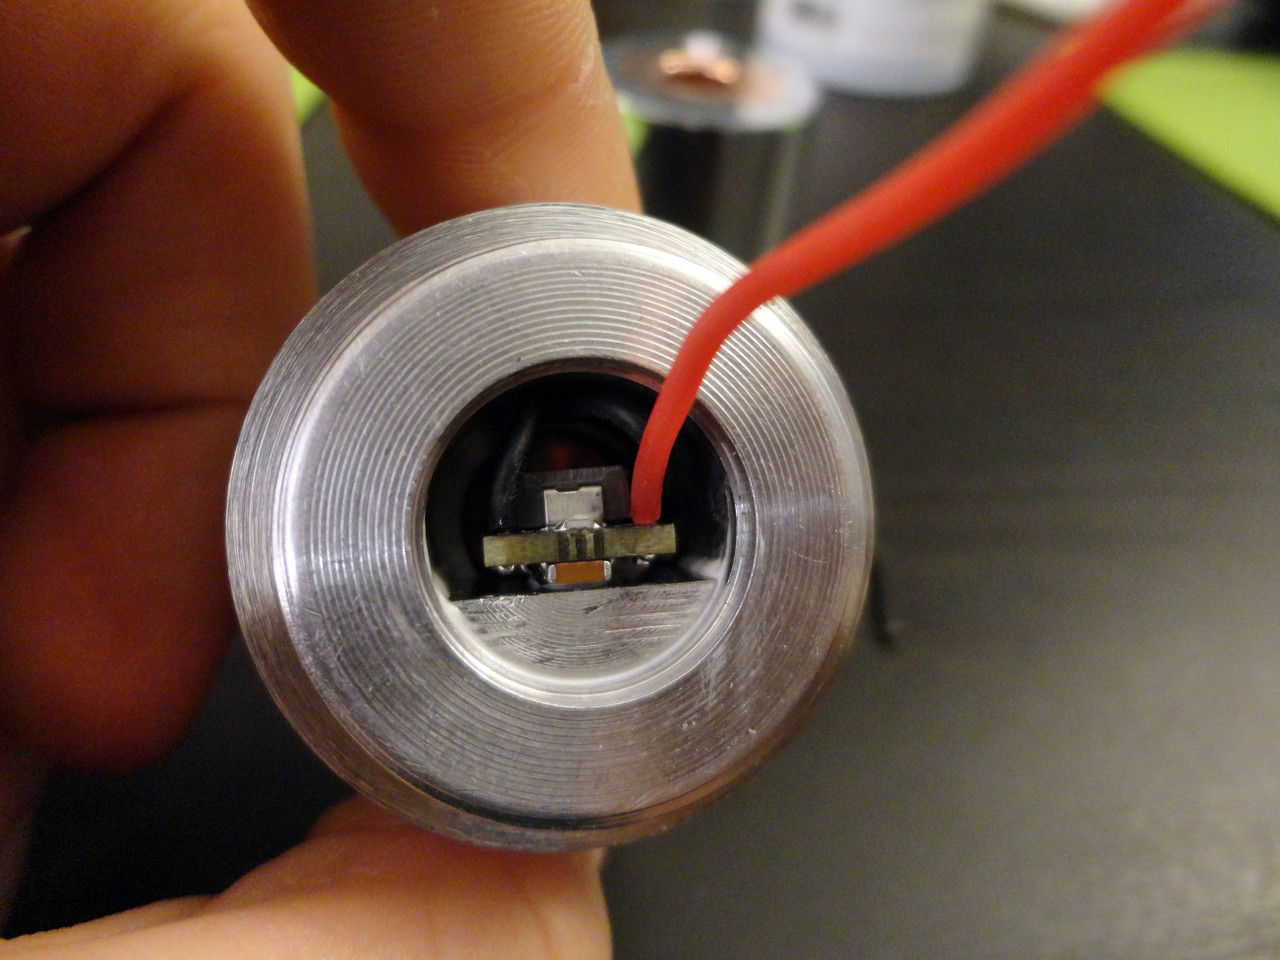
Nice perfect insertion of the whole module inside the head, glued the half moon heatsink to the main heatsink:
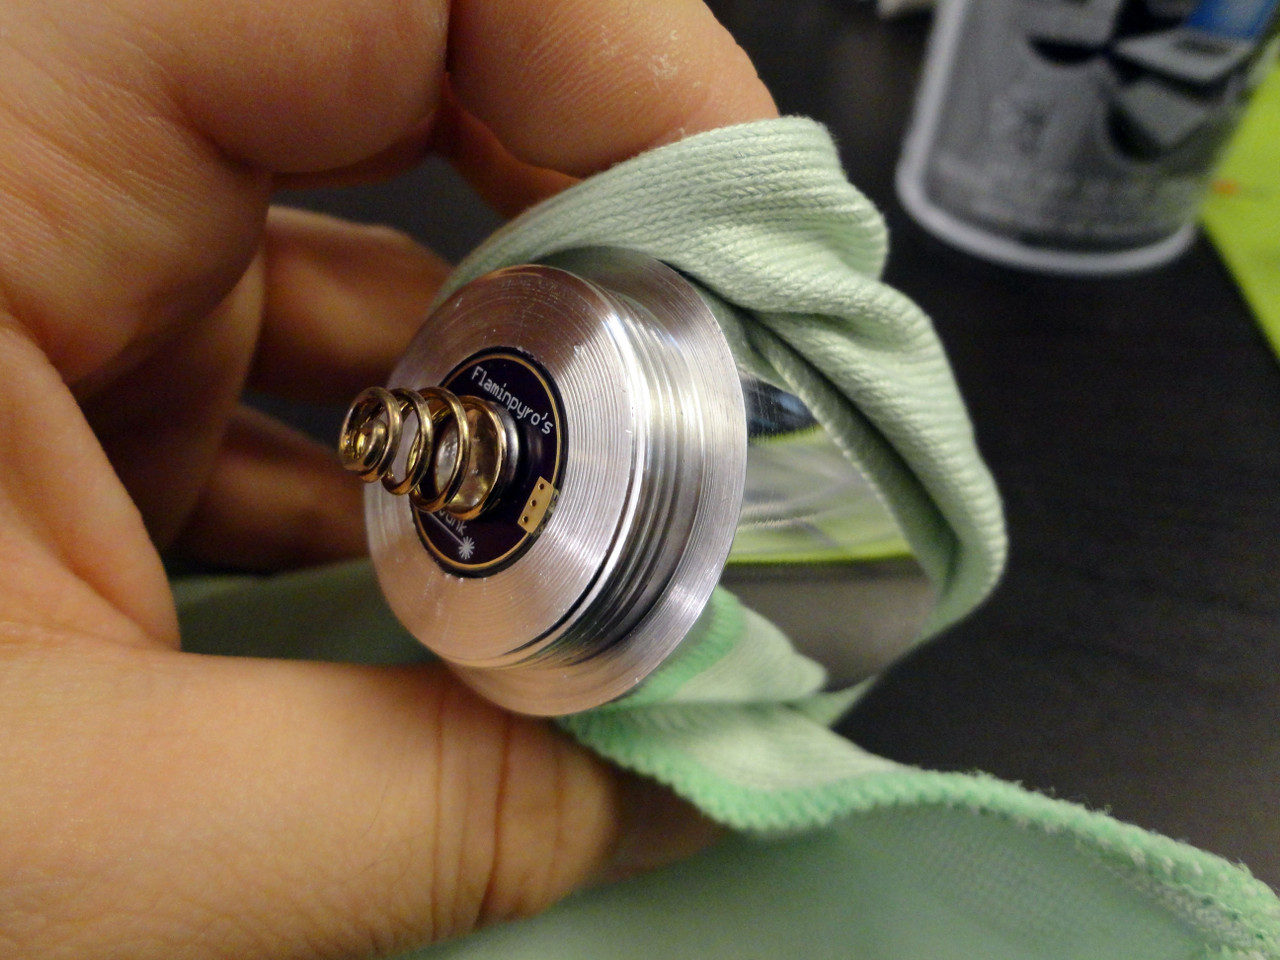
Spring soldered on a high current pill and inserted in place:
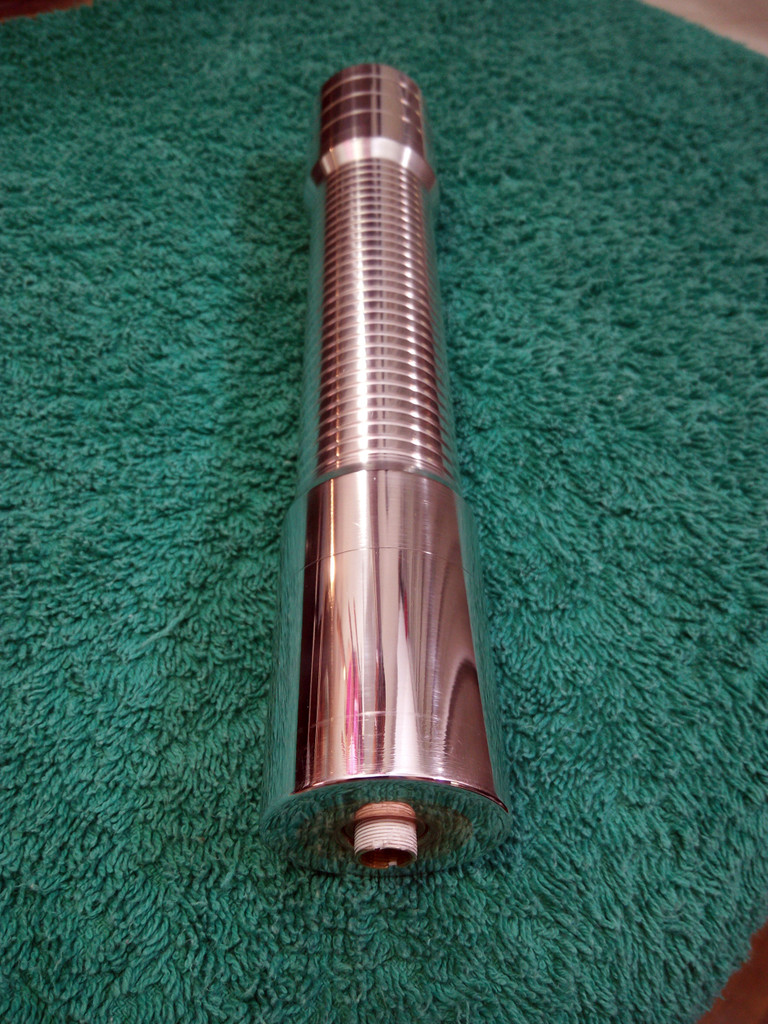
The host assembled:
The host assembled with a very nice adaptor created with the help of an high-precision CNC device by my friend
Dany from Fill Up company:
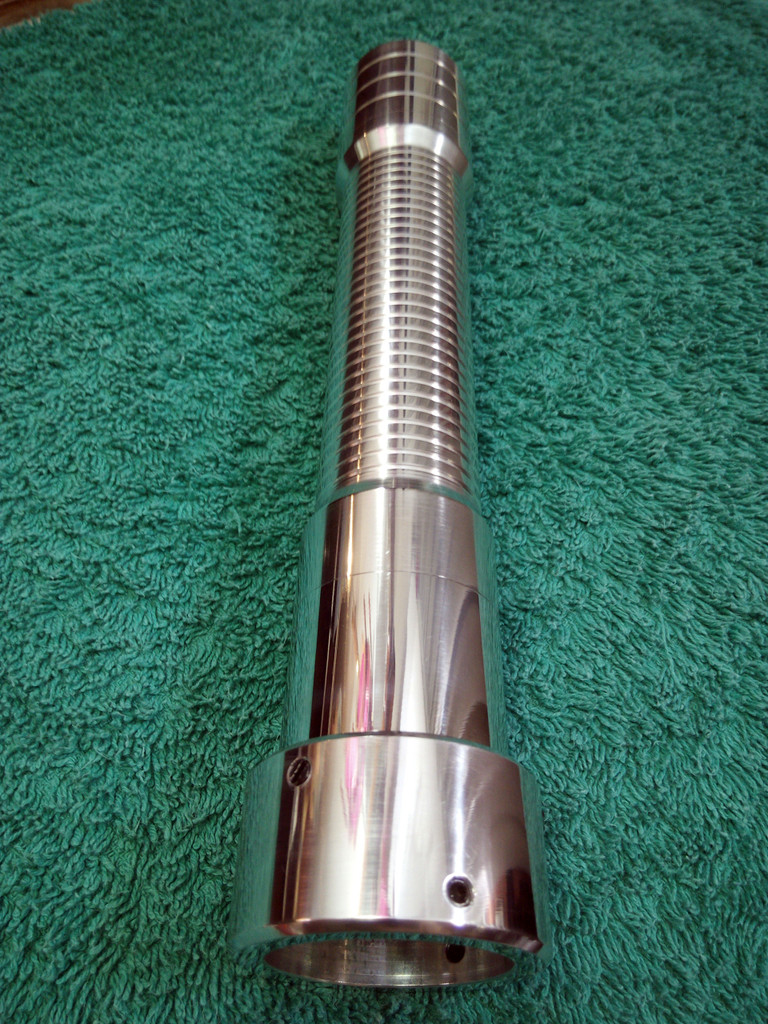
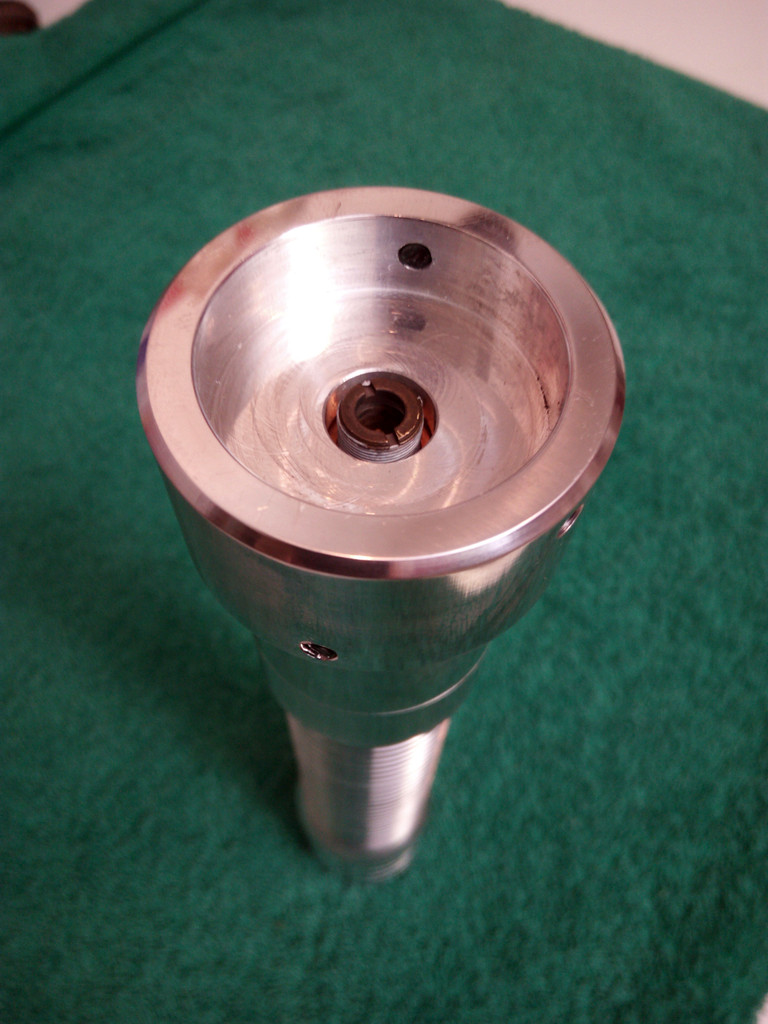
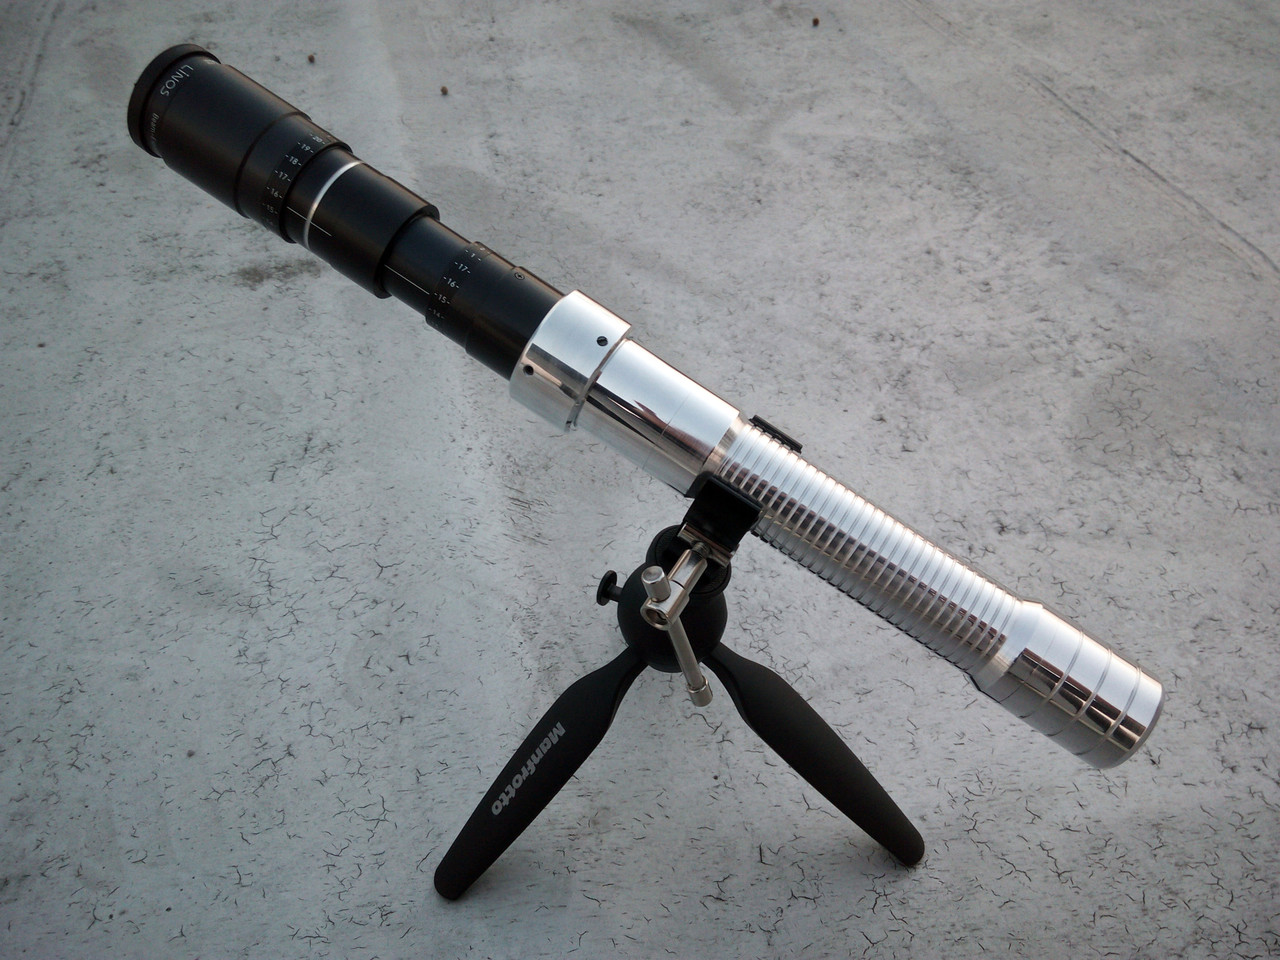
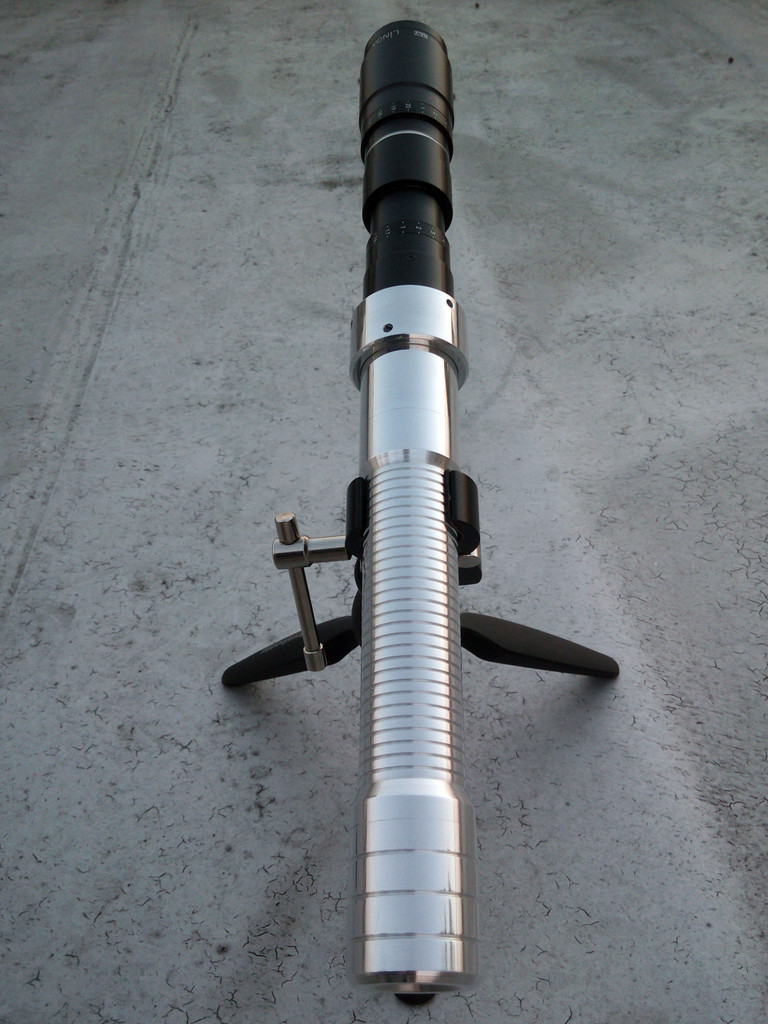
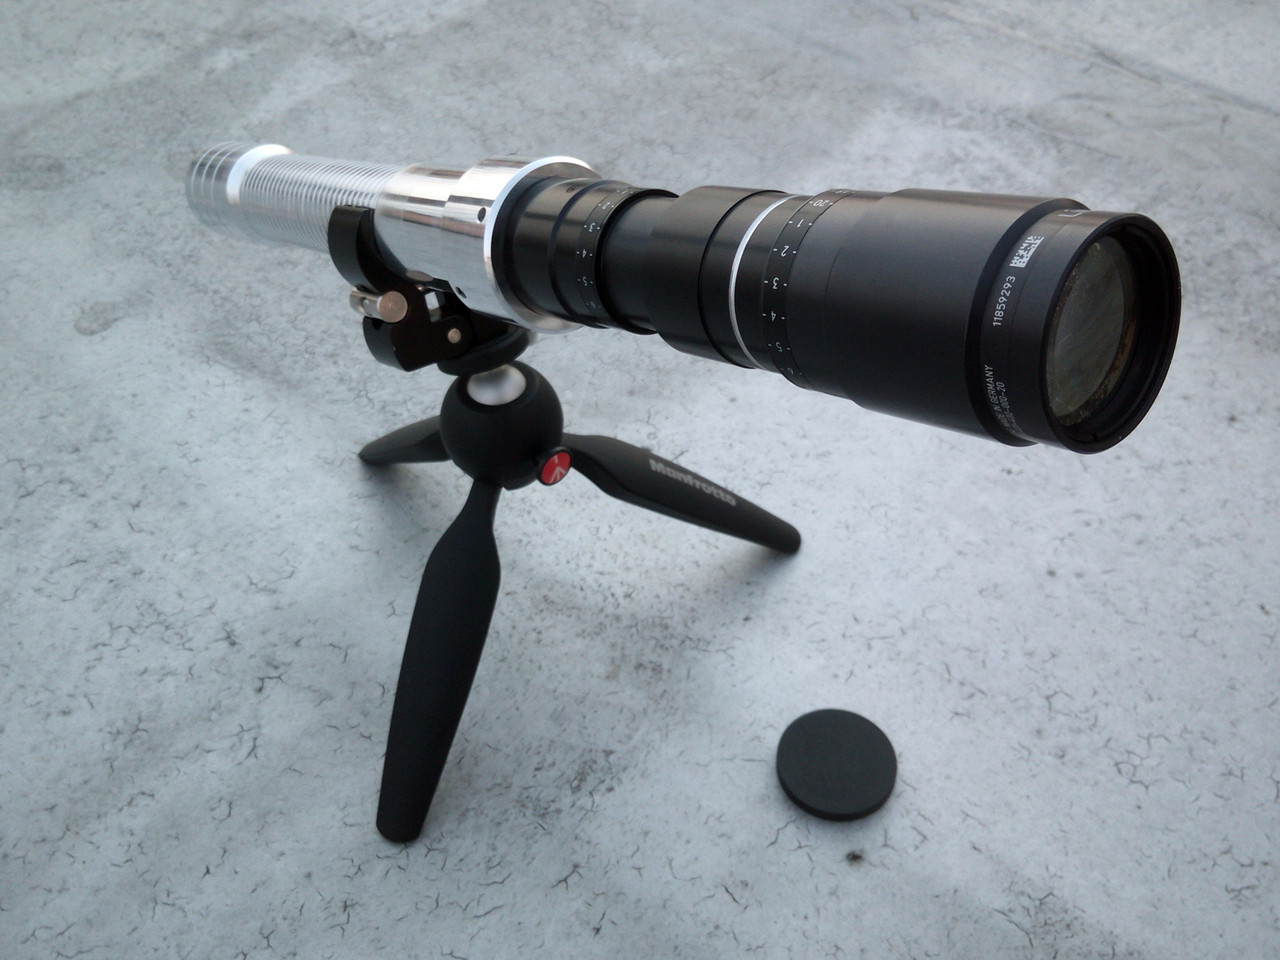
The fully assembled beast mounted on a quality Manfrotto tripod+clamp:
The 2 minutes performance graph:
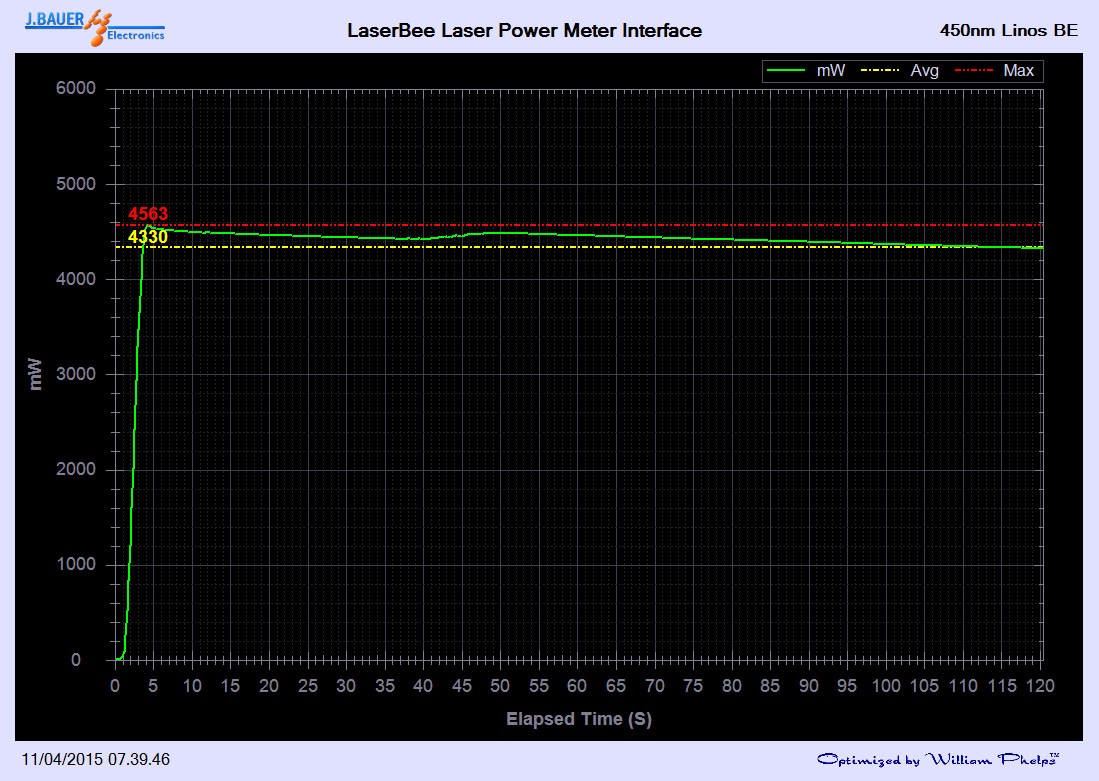
At around 40 secs from the beginning there is a little diode kink and the worderful Angelos driver @4.5A try to stabilize
the current in a best way, so the diode earn about 150 mW of extra power .. really appreciated!
You can also see a nice ramp up to avoid cold-start potential damages to the diode.
After 120 seconds working time the laser head was slightly warm in normal environment use (23 °C).
No overheating and no thermal protection was activated, so everything works fine at its best.
A small spot against a far building during daylight with no long exposure:
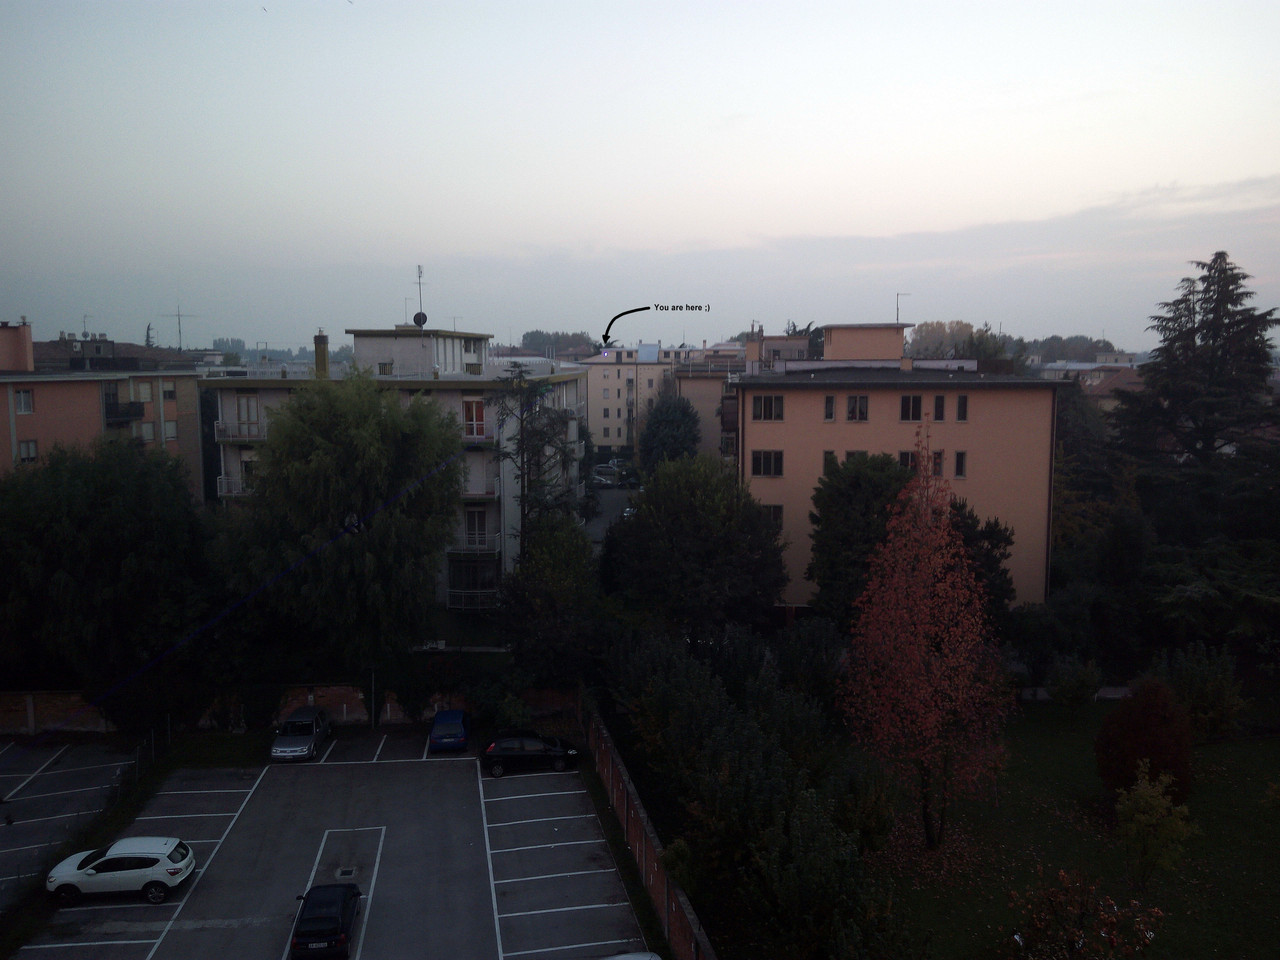
(Full resolution pic here: http://imageshack.com/a/img907/7408/yPS0qh.jpg)
An incredible tiny and collimated spot against my district belltower at about 200 meters from the laser aperture.
It is daylight, and You can see clearly both beam and dot without the aid of a long exposure:
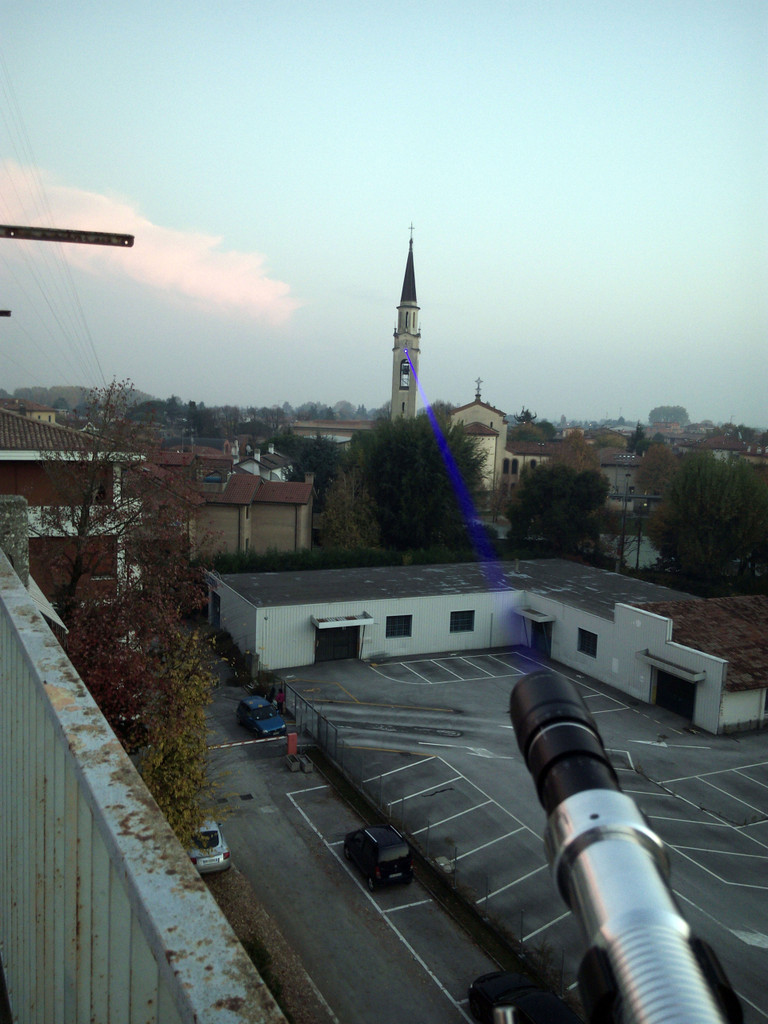
(Full resolution pic here: http://imageshack.com/a/img911/5971/5ZuL8X.jpg)
The power of a super-collimated beam:
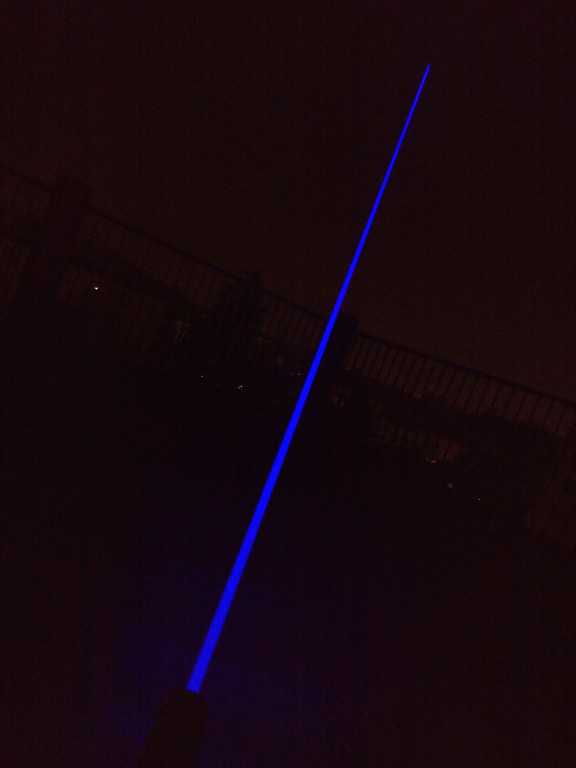
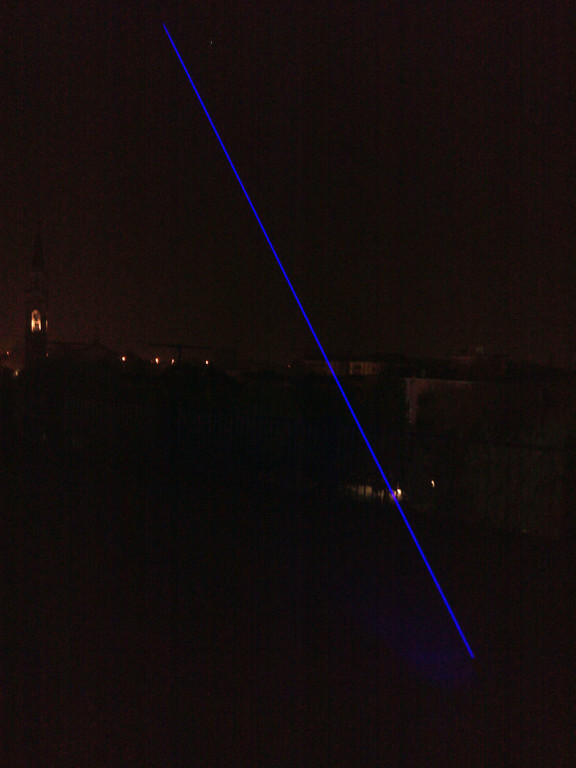
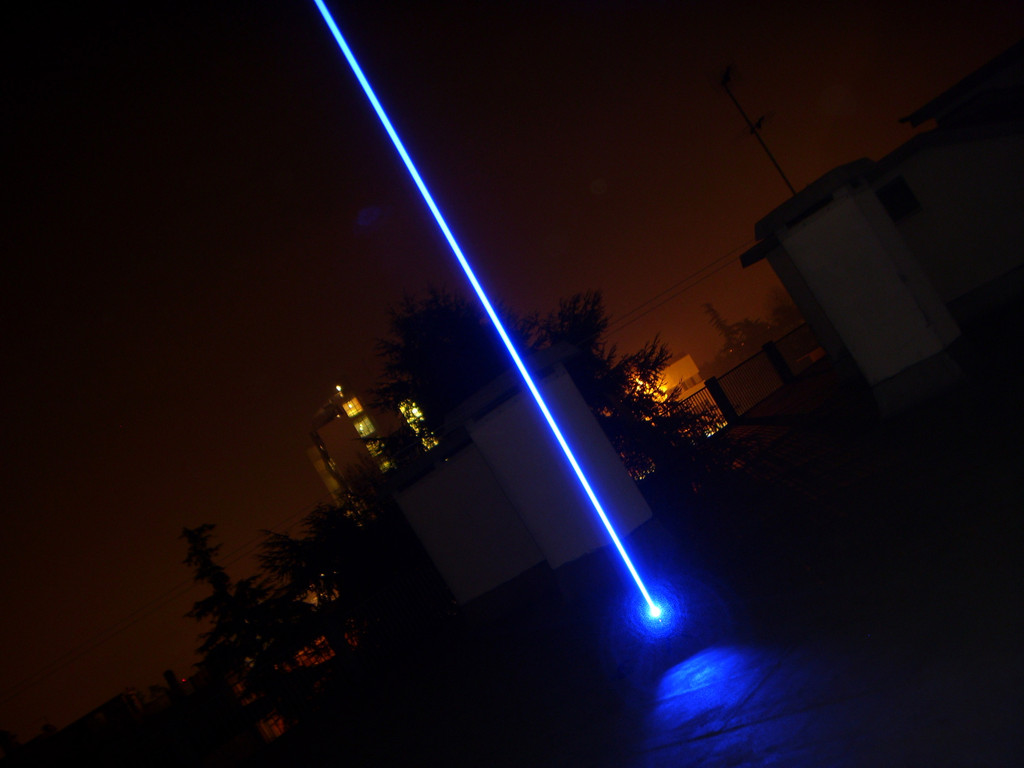
And finally, the magnificent collimated beam in the night:
(with a UMI Zero 13 MPixel phone cell and no long exposure)
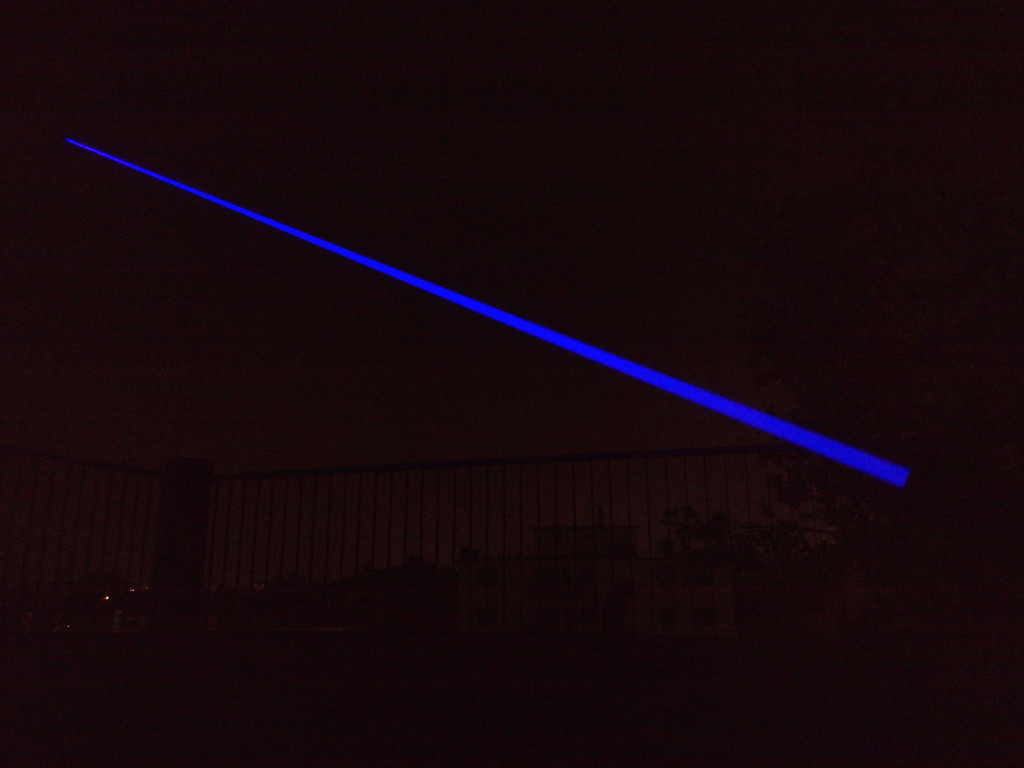
(with a Samsung 8 Mpixel compact flash camera and long exposure)
Conclusions.
With this build I'm really in love. What can I ask for?
All my other projects pale in comparison to this!
This time I have to thanks a lot of people:
- DTR for the diode pressed in a copper heatsink;
- Sinner for the beautiful rock solid host;
- Angelos for his wonderful drivers and for his honesty, patience, precision and professionality;
- Daniele from FillUp company for CAD design, CNC programming and item machining;
- Linos company for their high-end quality beam expanders.
See You soon for my next builds. I promise You to show up early two big news with a nice new entry among
my major helpers .. CDBEAM777 !!!
Richard.
The combination of the three elements glass lenses and the Linos beam expander (355nm coated version) is astonishing:
I can focalize a very small collimated line far away and I start smoking the bark and the leaves of the trees at dozens of meters
almost instantly!
For reasons, I cannot use 405-G2 lenses in conjunction with Jetlaser BE or Linos BE because I encountered some bad issues:
- I cannot create a decent focus near of far away from the aperture: the spot diameter rest always big and I'm not able
to reduce it in any way;
- I cannot focus the fast axis and the slow axis together. When an axis is focused, the other one is out of focus. Strange behaviour;
- I cannot obtain a balanced gap between the min and the max focus range;
- The beam after the 405-G2 lens is out of perpendicularity and it enter inside the first lens of the Linos BE in a wrong way,
so the output beam is near the edge of the output lens and not centered, so I will have some extra loss of power;
- The beam maintain a noticeable divergence, and during foggies nights and a long exposure shot I will see some highly
diverging purple wings around the main beam;
- Linos and JL beam expanders are not able to eliminate the classical squares and aberrations of the 405-G2 lenses around the main dot,
so the result is an ugly long line surrounded by crap reflections.
My diode with 405-G2 lens without Linos BE peak near 6.5W @4.5A, while it peak at 4.5+W with three elements glass lenses
and Linos BE.
Usually the three elements glass lenses lose about 30% of the diode output power, while the 355nm Linos BE has not
the ideal coating for a 450nm diode and loss about 7% of the input power in reflection.
6.5W less 37% is about 4.1W, so my 4.5W output power was really a nice surprise.
Those were the original Cypreus IIIb components of my first build:

... but now the gentle soul of Mr. Angelos has rebuilded the head in a much much better way! Next six shots were done by Angelos.
Unmounted the upper part with the diode from the DTR copper heatsink, shortened the heatsink and applied the thermal paste:

Remounted the shortened barrel, soldered the driver and glued the modified half-moon driver heatsink:

Created a solid negative path:

Awesome polished heads ready to accept the modules (one for me and one for a friend of mine):

Nice perfect insertion of the whole module inside the head, glued the half moon heatsink to the main heatsink:

Spring soldered on a high current pill and inserted in place:

The host assembled:

The host assembled with a very nice adaptor created with the help of an high-precision CNC device by my friend
Dany from Fill Up company:


The fully assembled beast mounted on a quality Manfrotto tripod+clamp:


The 2 minutes performance graph:

At around 40 secs from the beginning there is a little diode kink and the worderful Angelos driver @4.5A try to stabilize
the current in a best way, so the diode earn about 150 mW of extra power .. really appreciated!
You can also see a nice ramp up to avoid cold-start potential damages to the diode.
After 120 seconds working time the laser head was slightly warm in normal environment use (23 °C).
No overheating and no thermal protection was activated, so everything works fine at its best.
A small spot against a far building during daylight with no long exposure:

(Full resolution pic here: http://imageshack.com/a/img907/7408/yPS0qh.jpg)
An incredible tiny and collimated spot against my district belltower at about 200 meters from the laser aperture.
It is daylight, and You can see clearly both beam and dot without the aid of a long exposure:

(Full resolution pic here: http://imageshack.com/a/img911/5971/5ZuL8X.jpg)
The power of a super-collimated beam:
And finally, the magnificent collimated beam in the night:
(with a UMI Zero 13 MPixel phone cell and no long exposure)


(with a Samsung 8 Mpixel compact flash camera and long exposure)

Conclusions.
With this build I'm really in love. What can I ask for?
All my other projects pale in comparison to this!
This time I have to thanks a lot of people:
- DTR for the diode pressed in a copper heatsink;
- Sinner for the beautiful rock solid host;
- Angelos for his wonderful drivers and for his honesty, patience, precision and professionality;
- Daniele from FillUp company for CAD design, CNC programming and item machining;
- Linos company for their high-end quality beam expanders.
See You soon for my next builds. I promise You to show up early two big news with a nice new entry among
my major helpers .. CDBEAM777 !!!
Richard.
Last edited:


