Welcome to Laser Pointer Forums - discuss green laser pointers, blue laser pointers, and all types of lasers

LPF Donation via Stripe | LPF Donation - Other Methods

Links below open in new window

ArcticMyst Security by Avery

Custom 405 nm laser transit

Joined
Jul 10, 2009
Messages
1,476
Points
63
Final render before chips start flying. ;)


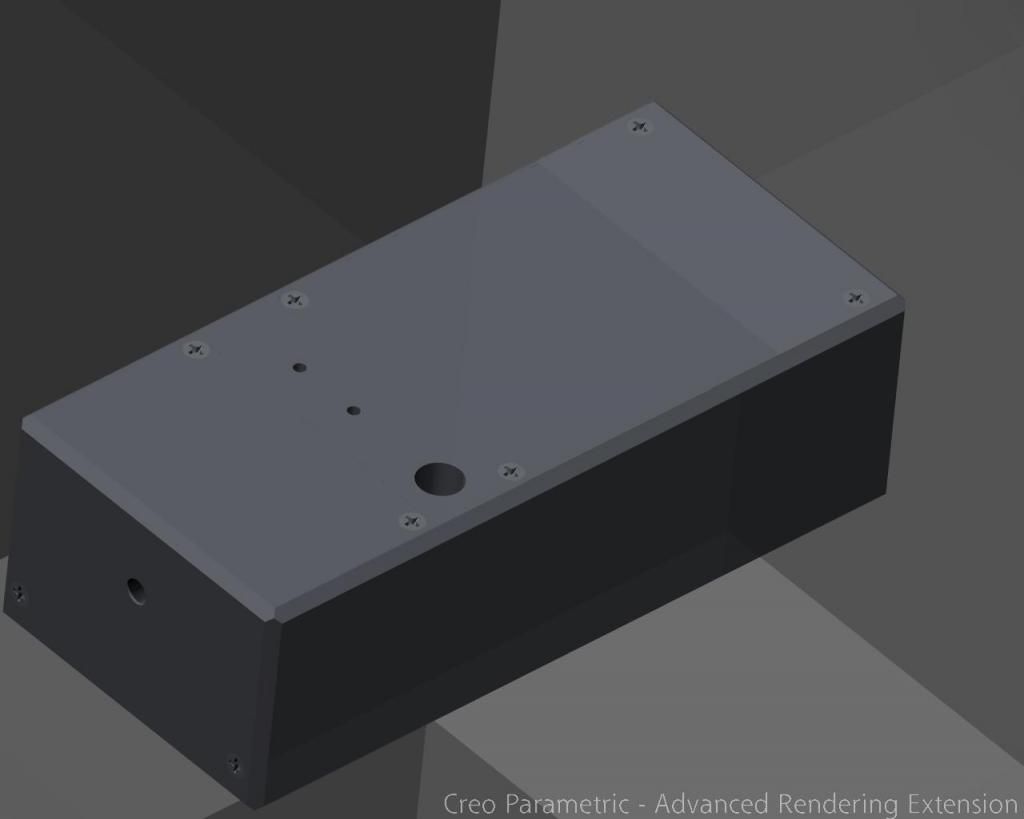
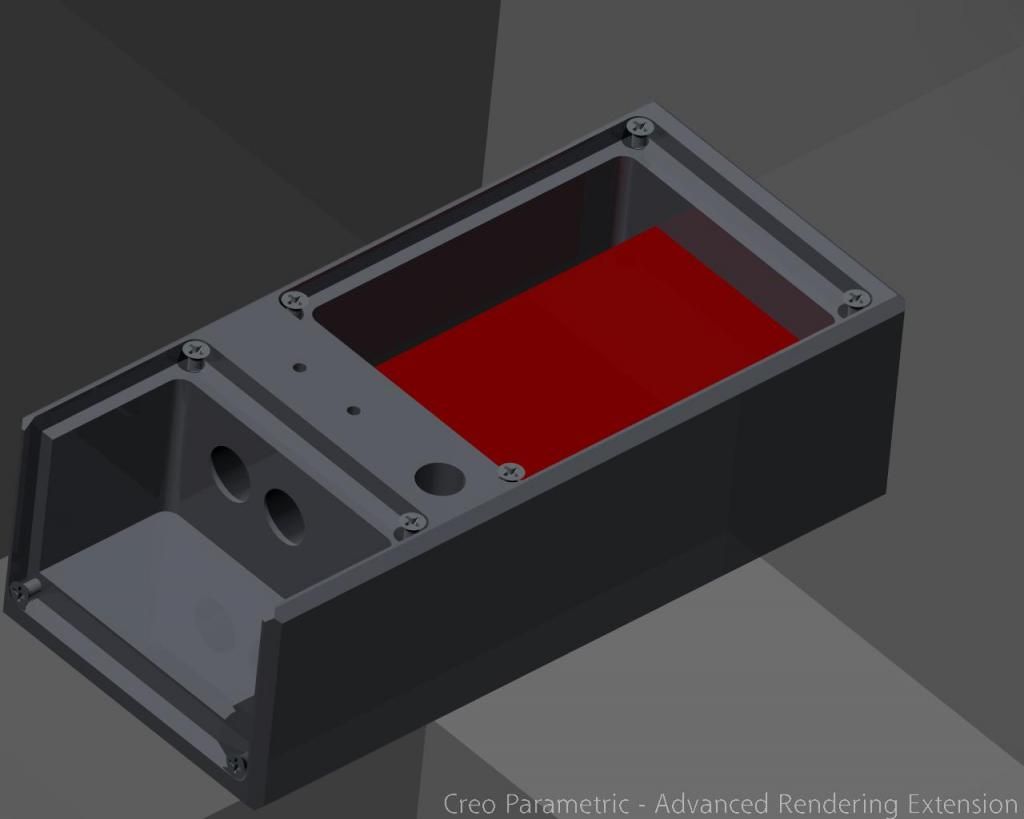
(First 2 holes are for set screws, 3rd and larger one is where the switch will be)
All good?


Joined
Nov 12, 2011
Messages
956
Points
43
Thete should be a groove down the middle for quick.sighting. it can be a V ggroove about 3/166 deep
 
Joined
Apr 26, 2010
Messages
4,175
Points
83
High quality optics are very important. Don't scrimp when it comes to the optics.

I'm using a 405nm coated 15mm PBS and a 99% reflect blue dichroic. I also got a broadband mirror as well just in case.
 
Joined
Nov 12, 2011
Messages
956
Points
43
Can't really do that since the covers are on top and 3/16 thick.

Just make a 1/8 x1/16 deep score line then. or what is possablé . let the chips fly! !Does Bloompile like the drawing? if so
Can't really do that since the covers are on top and 3/16 thick.

Just make a 1/8 x1/16 deep score line then. or what is possablé . let the chips fly! !Does Bloompile like the drawing? if so
Can't really do that since the covers are on top and 3/16 thick.

Just make a 1/8 x1/16 deep score line then. or what is possablé . ! !Does Bloompile like the drawing? if so let the chips fly!!!
 
Joined
Apr 26, 2010
Messages
4,175
Points
83
Either setup works for me, I don't care really if there's a groove...doesn't affect the electronics.

I like the current setup.
 
Joined
Jul 10, 2009
Messages
1,476
Points
63


Good luck finding a lab enclosure this size and more sturdy than this. It is basically a brick. ;)
 
Last edited:
Joined
Nov 12, 2011
Messages
956
Points
43
Thats it, a brick. I wanted a jobsite laser that will easilly be clamped or set on a flat surface. now its up to Bloompyle to get beam to alighn with host :)
 
Joined
Apr 26, 2010
Messages
4,175
Points
83
Guess who's working all night building and aligning this bad boy ;) Drivers are finally in, and it's time to get to work!

I will post picture updates for those who wants to follow along :)

s0mw.jpg

of1o.jpg

ne5k.jpg


Color coded it a bit. The switch is using only blue wire, the diodes + is always red, and the neg on one is white, and the other, black. Trying not to lose myself in wiring here ;) Then there will be driver wires too, I will try to keep the same scheme (white/red and black/red) to keep some order.

Enjoy the updates as they come!
 
Joined
Apr 26, 2010
Messages
4,175
Points
83
She lives! Hooked everything up and did a quick check for operation. Did minor checks along the way of each diode, but it's nice to see them both up :) Now time to clean it up and spend the next 12 hours aligning :crackup:

gsl7.jpg

jq35.jpg
 
Last edited:


Top